Creating Beaded Felt Tiebacks
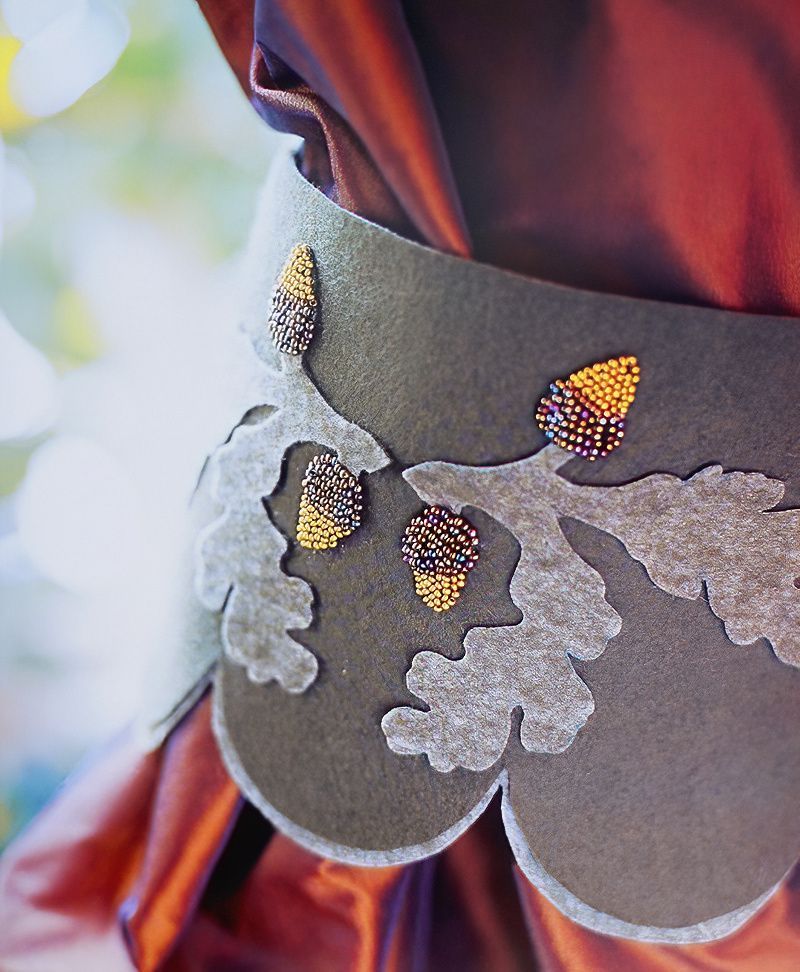
Creating Beaded Felt Tiebacks is a delightful crafting endeavor that combines intricate beadwork with the tactile warmth of woven felt. This project begins by meticulously tracing and cutting out elegant tieback and oak leaf motifs from fern green felt, cleverly utilising both the right and wrong sides of the fabric to achieve subtle tonal variations.
The real magic happens when each acorn on these motifs is adorned with a harmonious medley of bronze, iridescent green, and matte gold beads, transforming them into shimmering focal points. These embellished motifs are then expertly secured onto the felt tieback using a strategic application of white glue and acetone-based adhesive. The final result is a beautifully handcrafted tieback, with an exquisite blend of nature-inspired motifs, ready to infuse charm and sophistication into any curtain ensemble.
Materials You'll Need To Make Beaded Felt Tiebacks
- 2 squares of woven felt in fern green, each measuring 50cm (20in)
- Bronze and iridescent green seed beads
- Matte gold and iridescent brown smaller seed beads
- 1.2m (47in) bronze shoelace cord
- Green sewing thread
- Beading needle
- Pins
- Acetone-based glue
- White glue
- Fine-tipped and broad-tipped flat-end brushes
- White gel pen
- Paper scissors and embroidery scissors
- Pack of 6 black eyelets with a 14mm (9/16in) diameter and an eyelet punch
Prepare the Motifs For The Beaded Felt Tiebacks
Step One
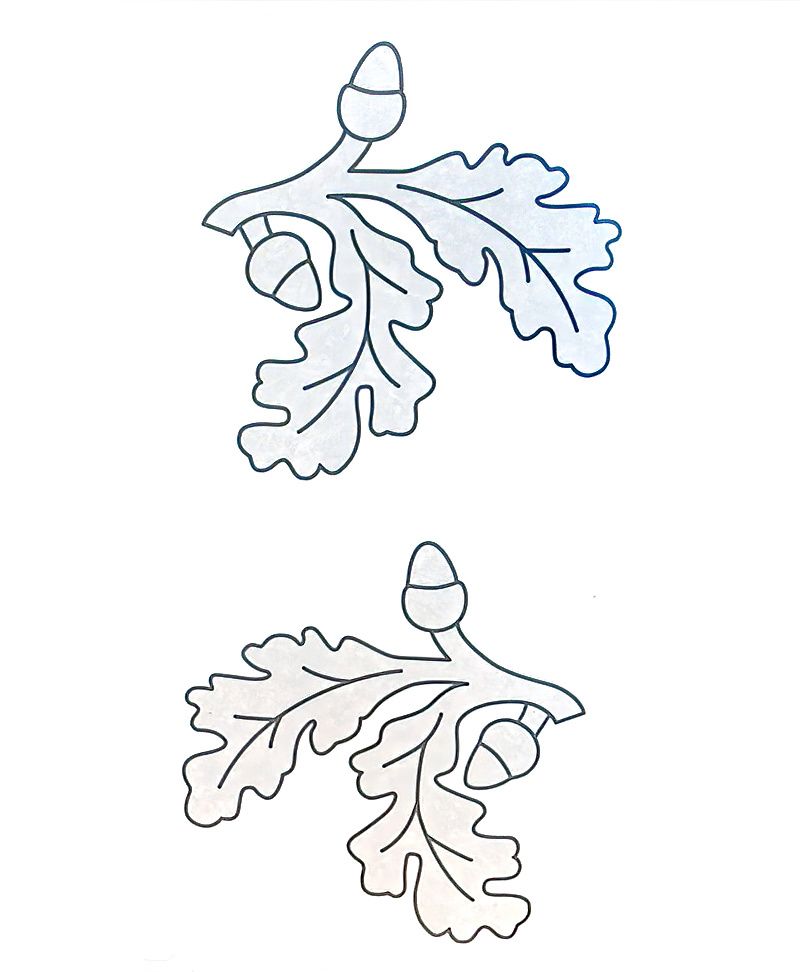
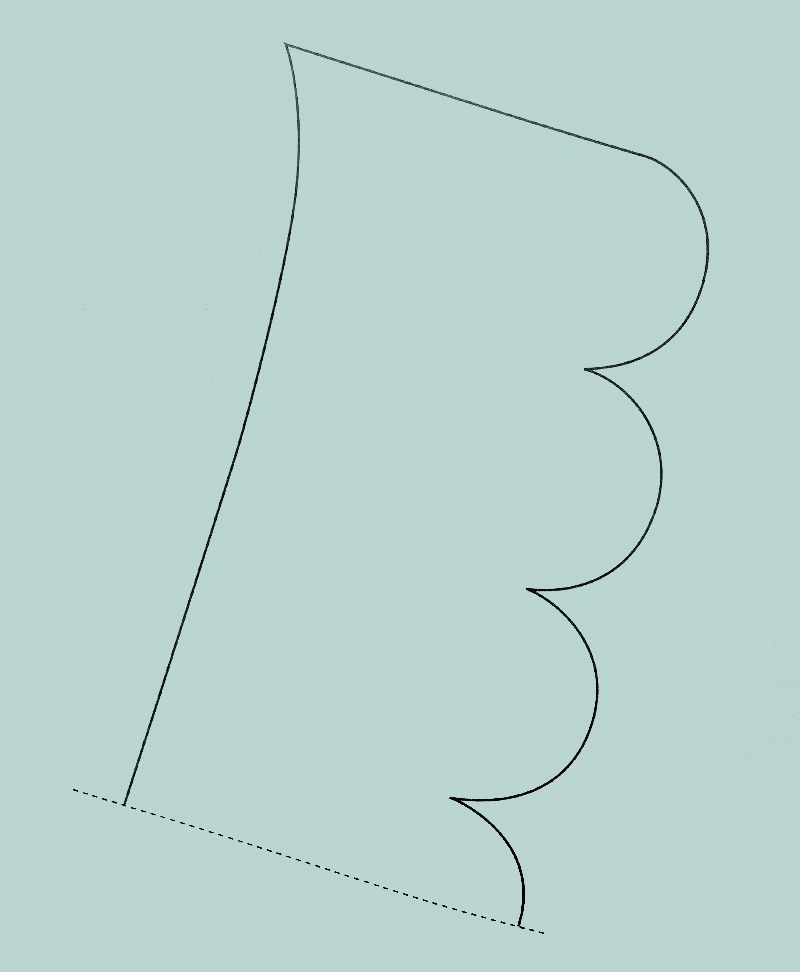
Enlarge the tieback and oak leaf templates by 130%. Place the tieback template on thick tracing paper's fold and cut it out. Pin it to the right side of one felt square on the diagonal for the desired width.
Trace the tieback outline using a gel pen, then cut it out. Repeat this process on the other felt square, but on the reverse side. Cut out two oak leaf templates from thick tracing paper and pin them onto the wrong side of the felt, tracing and cutting them out.
Make Up The Motif For The Beaded Felt Tiebacks
Step Two
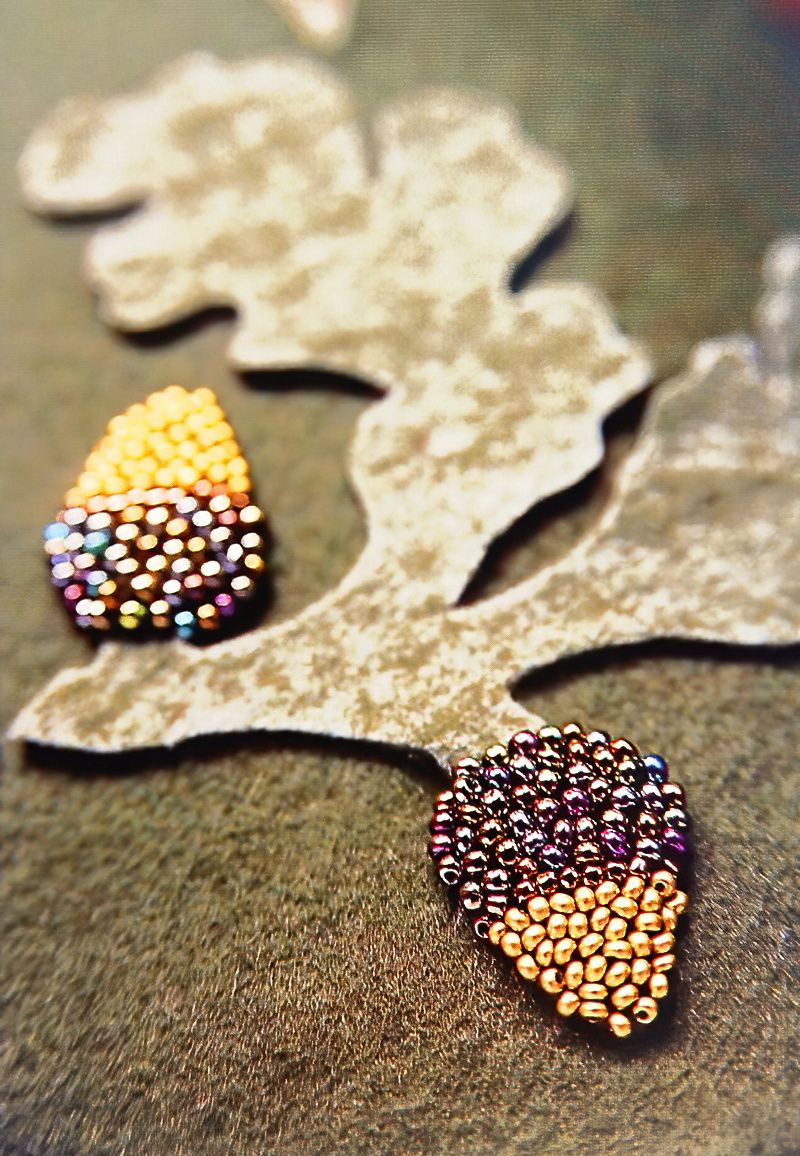
Begin by sewing a cluster of brown beads closely in the center of the acorn cup. Combine bronze and iridescent green beads and add them to the base of the acorn cup. Finish by sewing matte gold beads onto the top of the acorn.
Repeat this beading process for all the acorns. Position the two oak leaf motifs on the right-side felt tieback using pins. Use a fine-tipped paintbrush to apply white glue to the backs of the motifs (excluding the acorns).
Place them on the marked positions and press down with your palm for five minutes. Lift each acorn individually and apply a small amount of acetone-based glue to the back of each one. Allow them to dry for one hour.
Put The Beaded Felt Tiebacks Together
Step Three
Use a broad-tipped paintbrush to generously apply white glue to the wrong-side felt tieback, excluding the scalloped edge. Position the decorated right-side tieback on top, ensuring 1cm (3/8in) of the wrong-side tieback is visible at the bottom.
Let it dry for two hours.
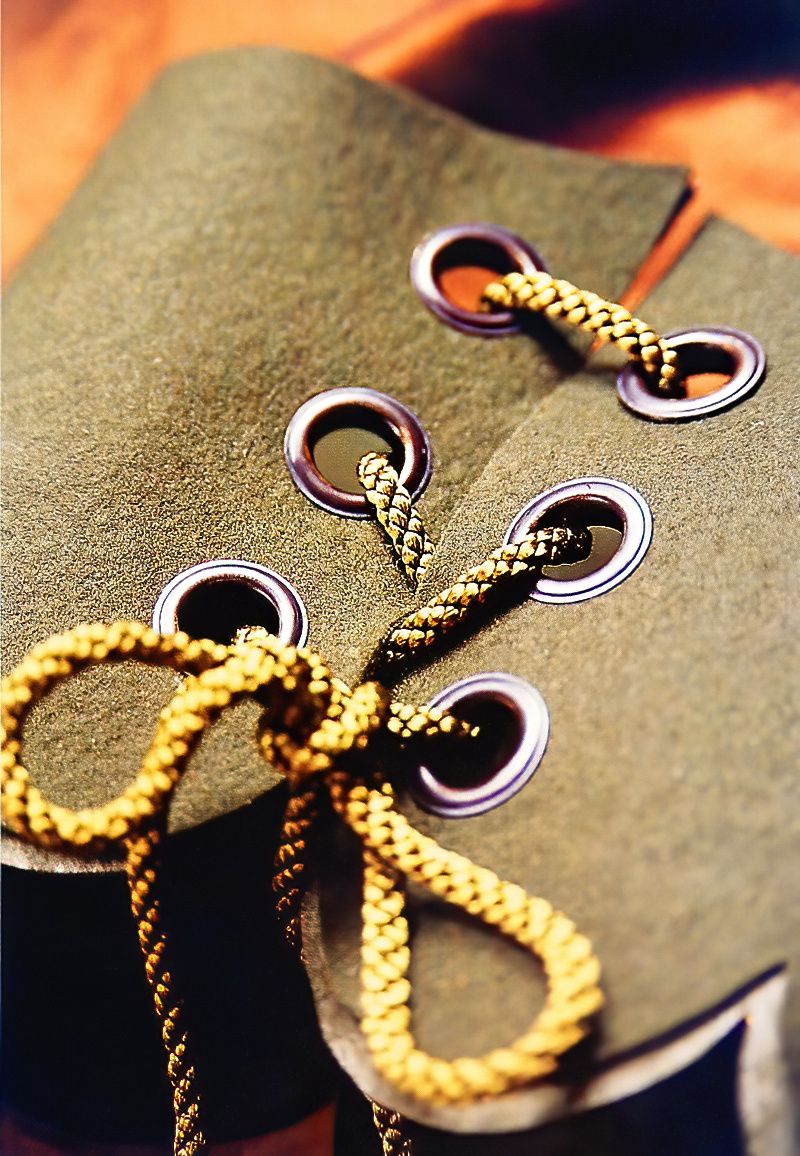
Attach three eyelets to each end of the tieback, positioning them 2cm (3/4in) from the edge. Follow the instructions provided with your eyelet kit. Thread the shoelace through the eyelets to fasten the tieback onto the curtain.












.jpg)
