Time To Make A Papier Mache Necklace
I really love doing papier mache, but I don't do it that often. When I do, I like to try and make something special. This papier mache necklace is a really different idea for something to make using papier mache. If you decide to give this a try, you can use any colours and any designs or patterns.
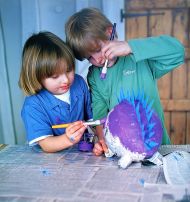
A great project for kids of all ages. Get them involved and inspire them to explore their creativity and make something fun and wearable.
Craft Materials & Equipment
Corrugated Cardboard
Newspaper
PVA Glue
White Emulsion Paint
Poster Paints or Gouache Paints
Clear Gloss Varnish
Strong Glue
Eye Pins
Coloured Cord
Large Coin
Pencil
Scissors
Container for PVA Glue
Fine and Medium Artists Paint Brushes
Darning Needle
Starting With Papier Mache
1st Stage
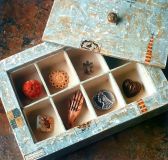
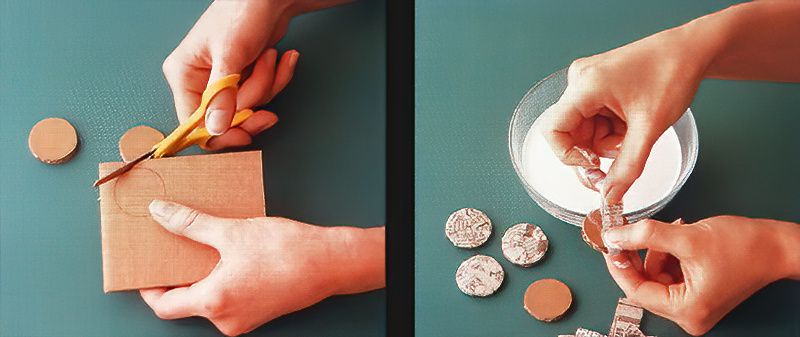
Starting with a large coin, place it onto the cardboard, and draw around it 12 times to make 12 cardboard discs. This will be the start of your papier mache necklace.
2nd Stage
I love the messy bit. Next, tear the newspaper into strips around 2.5cm, and dip them into diluted PVA glue. Make sure that you cover each disc thoroughly, they will need three layers of papier mache. Then leave them all to dry.
Painting On Papier Mache
3rd Stage
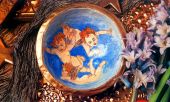
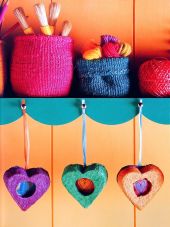
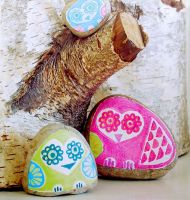
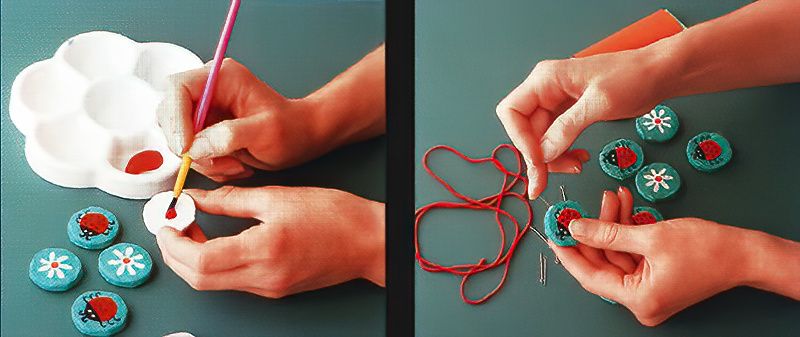
Once the papier mache discs are completely dry, prime each of them with a coating of white emulsion paint, and leave to dry again. Then you can draw your designs onto each of the discs, and it can be any design or pattern of your choosing. Then paint each of the necklace discs with colourful paints.
4th Stage
Now, seal each of your painted discs with two coatings of the clear gloss varnish, this will protect your designs. Once completely dry, make a hole in the top of each one using a darning needle. Put a bit of glue over each hole and push in the eye pins.
Assembling A Papier Mache Necklace
5th Stage
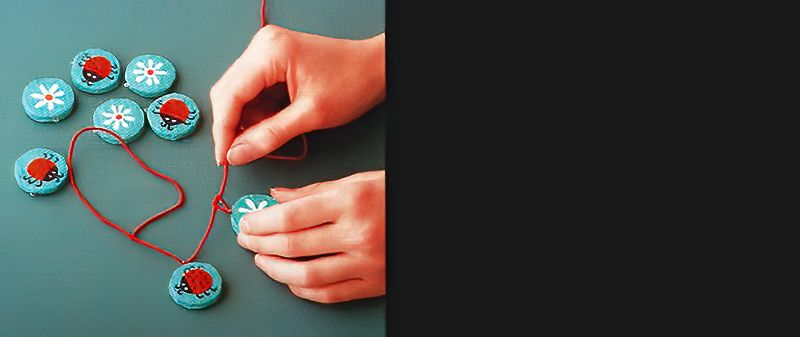
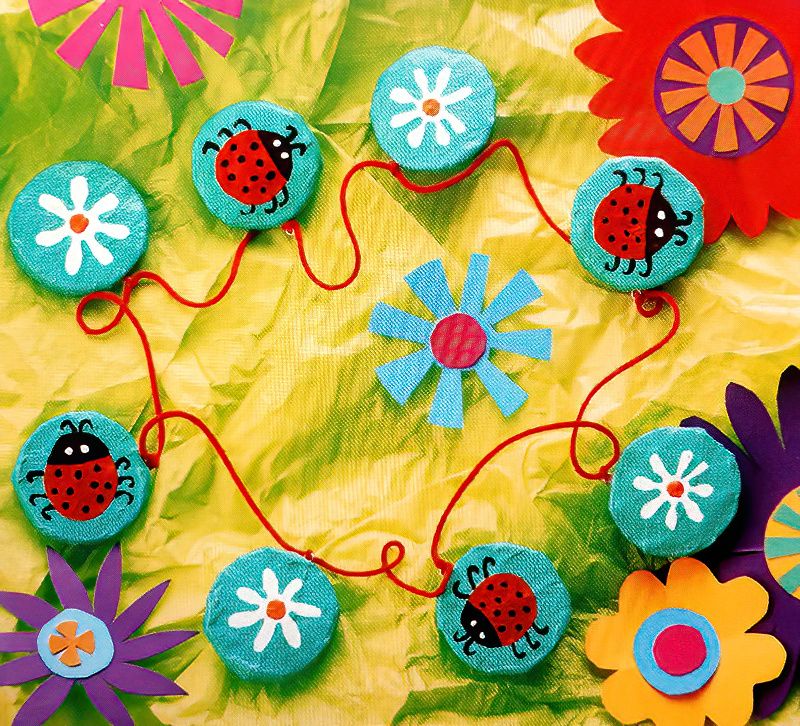
Now it is time to start assembling your papier mache necklace. Cut a long piece of cord in any colour that you like. Then pass the cord through each of the eye pins on all of the discs. Make sure that you tie off each one along the way to secure them into position. Now you have a lovely papier mache necklace.


.jpg)