How To Make A Felt Butterfly Lampshade
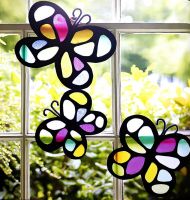
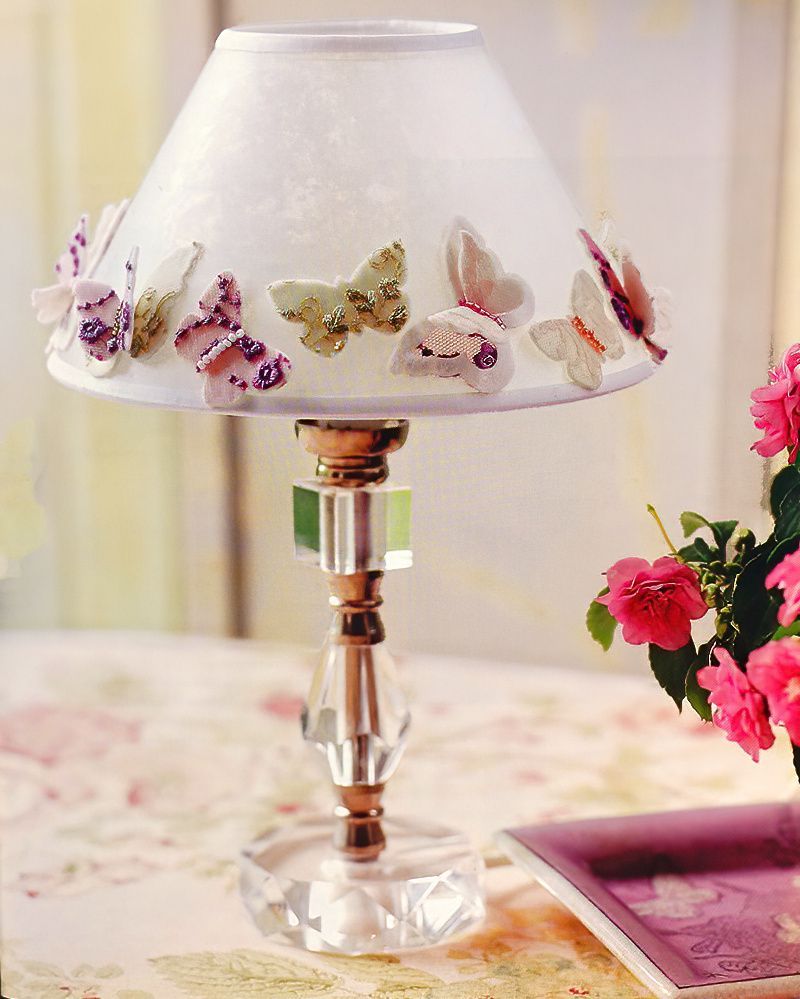
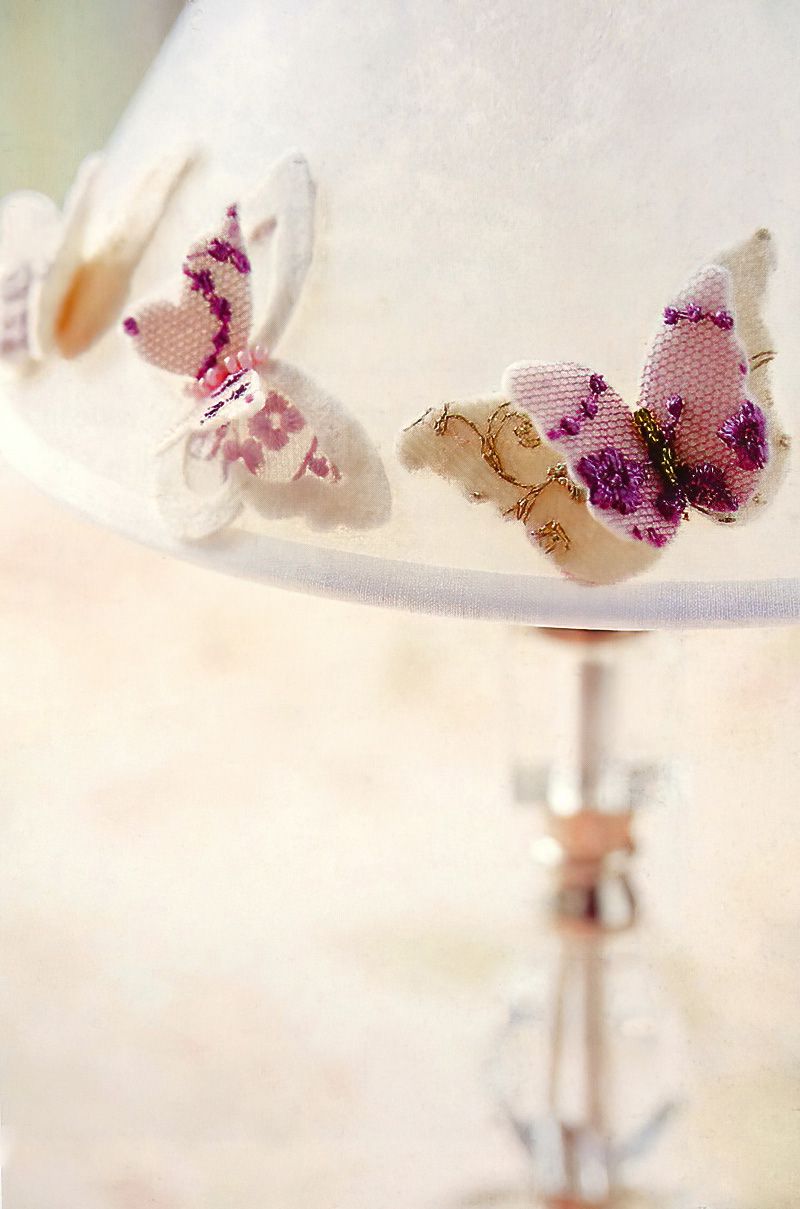
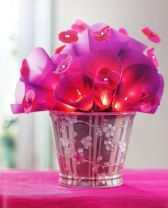
The Felt Butterfly Lampshade is a delightful and enchanting piece of decor that effortlessly infuses any room with a touch of whimsy and elegance. Crafted with meticulous attention to detail, this lampshade showcases a delicate array of felt butterflies, each painstakingly hand-cut and layered to create a sense of fluttering movement when the light filters through.
The soft, muted colors of the felt lend a soothing and inviting ambiance to any space, making it a perfect addition to nurseries, bedrooms, or even a cozy reading nook. Whether illuminated or not, the Felt Butterfly Lampshade serves as a captivating focal point, bringing a sense of serenity and enchantment to its surroundings, making it a cherished piece of decor for those who appreciate both beauty and craftsmanship.
Materials You Will Need To Make A Felt Butterfly Lampshade (to make about 20 butterflies)
- White woven felt, measuring 36 x 22cm (14 3/16 x 8 5/8in)
- 25cm (10in) squares of embroidered lace in pink, white, lilac, violet, and green
- Seed beads in coral pink, white, pistachio, mauve, pink, and green
- Sewing thread matching your beads
- Beading needle
- Permanent spray adhesive
- White glue
- Fine-tipped paintbrush
- Soft (2B) pencil
- Thick tracing paper
- Fine-tipped water-soluble fabric pen
- Paper scissors and embroidery scissors
Start Making The Felt Butterfly Lampshade
Step 1 Make Butterfly 1
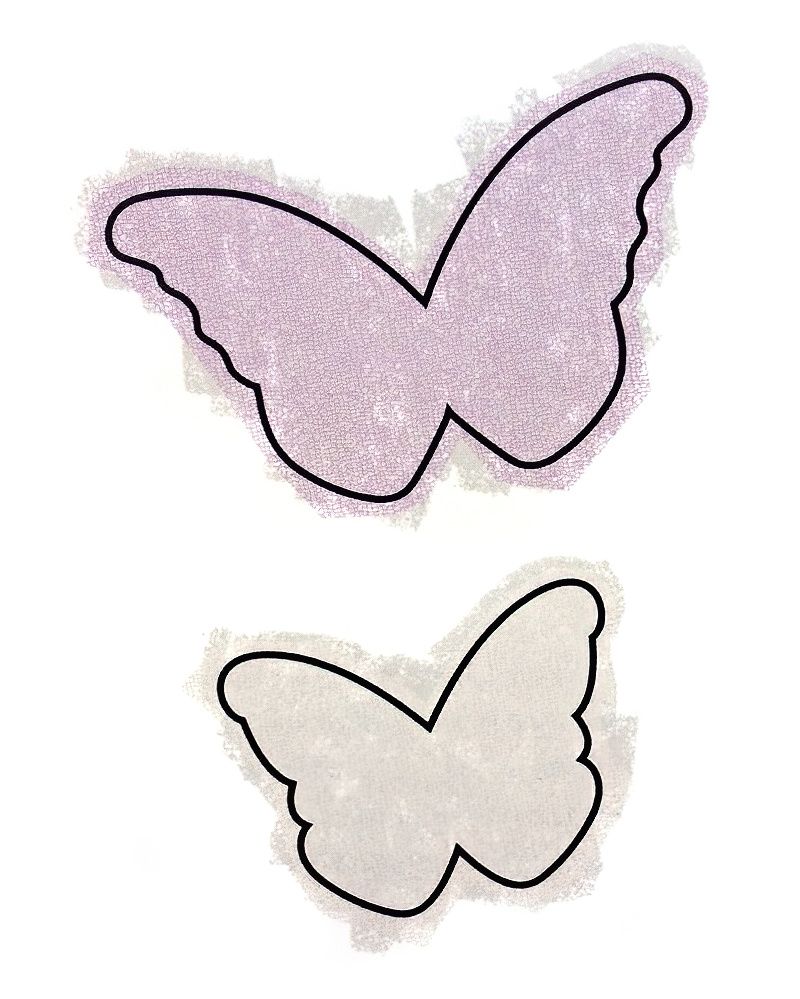
Trace the butterfly template and cut it out. Place the template on the reverse side of the white felt, draw the outline, and cut it out with embroidery scissors.
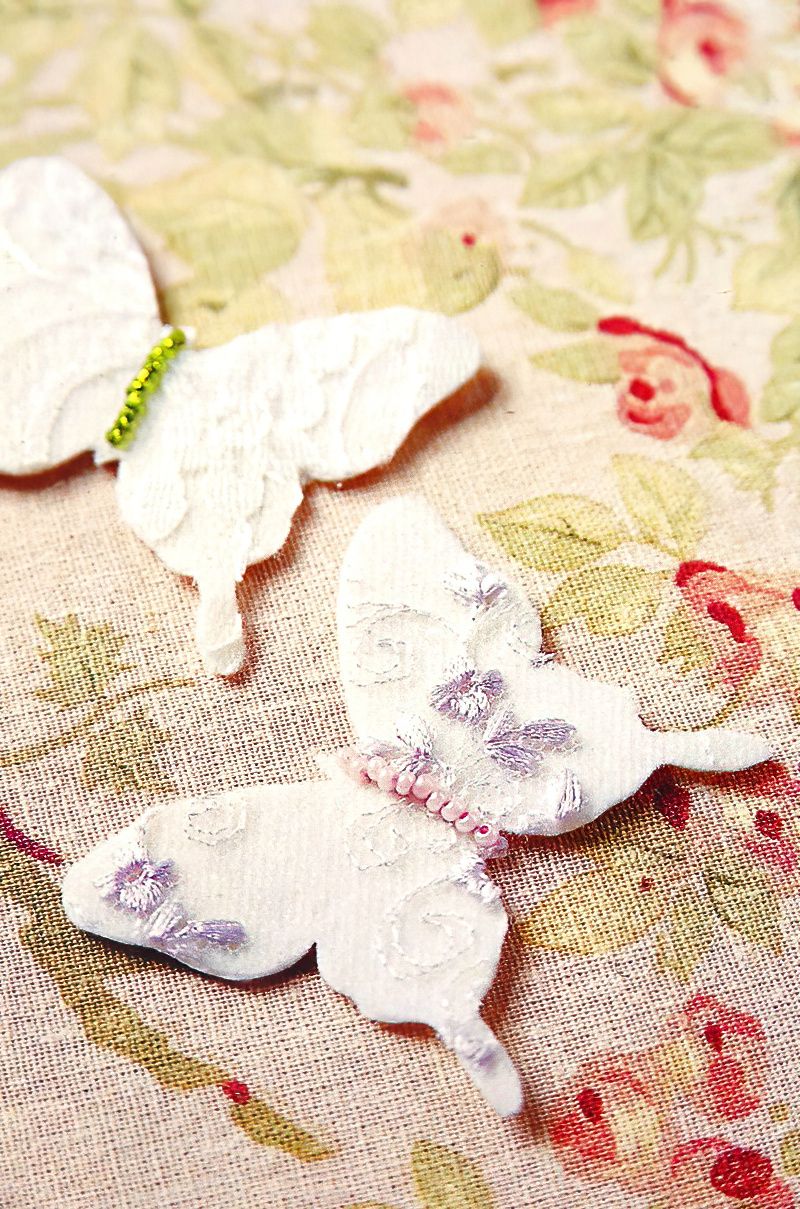
On another piece of tracing paper, trace the outline of the hatched area of the butterfly and cut it out. Lay this template on the reverse side of your felt butterfly, trace the outline, and cut out the center. Spray glue on the reverse of the butterfly and on the right side of the part you've cut out. Place the butterfly with the cut-out on a piece of lace in one color and place a piece of lace in another color over the butterfly shape that was cut out.
Leave it to dry for 30 minutes, then trim any excess lace around the felt shapes. Sew three small stitches on the reverse in the center of the two wings created from the cut-out shape to lift them slightly. Place this part on top of the other butterfly and secure them together by sewing on beads to create the body.
Step Two — Make Butterfly 2 and Butterfly 3
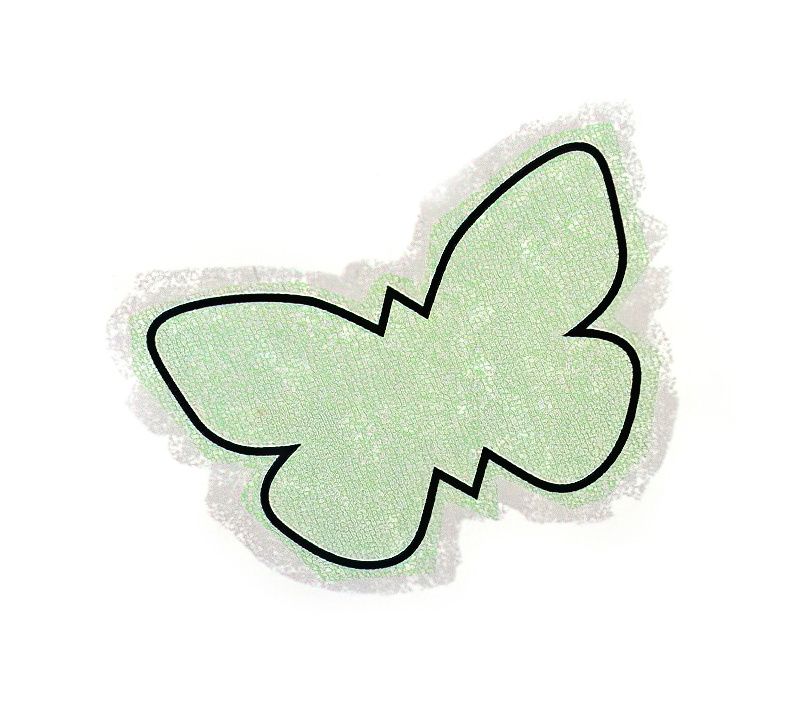
Trace the butterflies and cut them out. Place the butterfly templates on the reverse side of your felt, draw around the outlines, and cut them out.
Spray a little glue on the right side of the butterflies and place pieces of lace in your chosen color on top.
Leave them to dry for 30 minutes, then turn the butterflies over and trim off the excess lace. Sew seed beads in colors of your choice to create the bodies.
Note: Butterfly 3 is only needed for lampshades with a diameter equal to or greater than 22cm (8 5/8in) and is not used on a 20cm (8in) diameter lampshade.
Finish Making The Felt Butterfly Lampshade
Step 3 — Make Butterfly 4
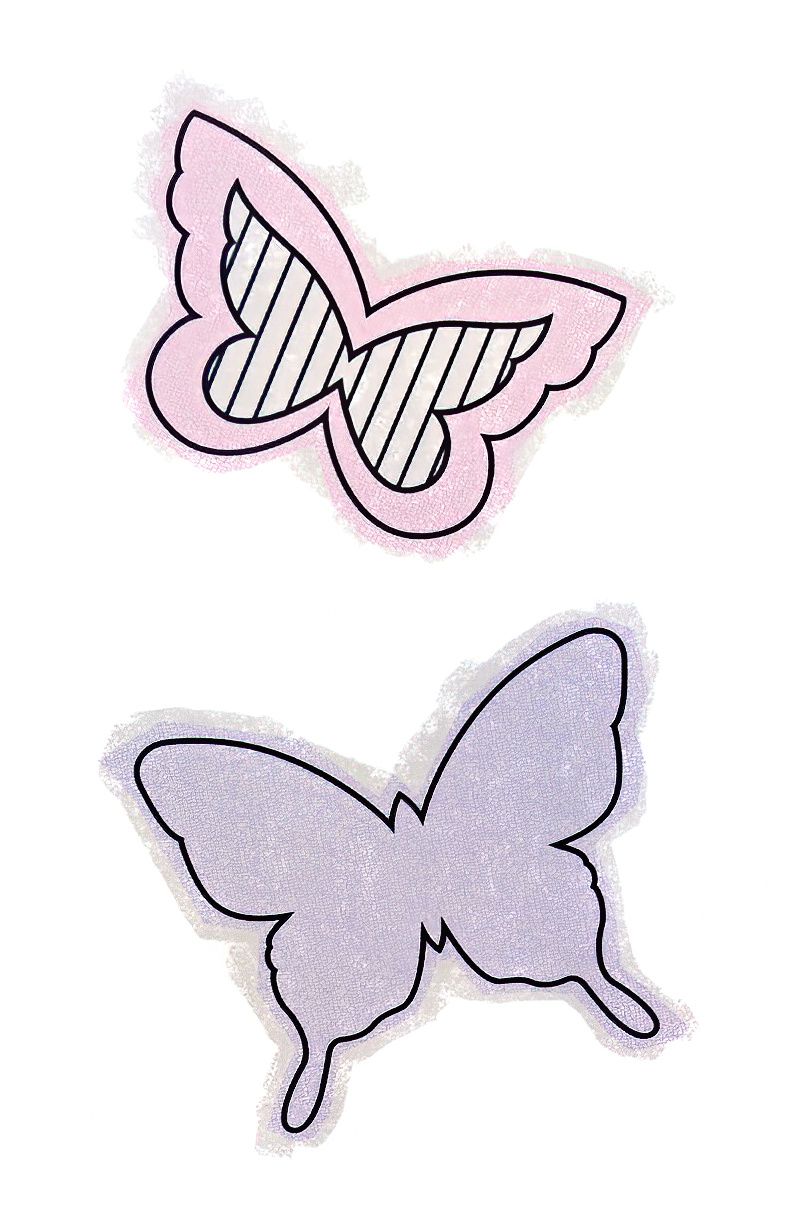
Trace the two butterfly templates and cut them out. Place the templates on the reverse side of the felt, draw around the outlines, and cut them out.
Spray glue on the right side of each butterfly and attach lace in one color on the large wings and lace in another color on the small wings.
Leave them to dry for 30 minutes, then turn the butterflies over and trim the excess lace. Sew three small stitches on the reverse along the back of the small wings in the center to lift them slightly. Secure the small wings to the large wings by sewing on a few beads to create the body.
Step 4 — Assemble the Felt Butterfly Lampshade
Apply glue to the reverse of your butterflies and adhere them to the lampshade. Alternate different butterflies around the shade, positioning them so that they appear to be flying.




.jpg)

