Let's Make A Paper Pirate Hat For Dressing Up
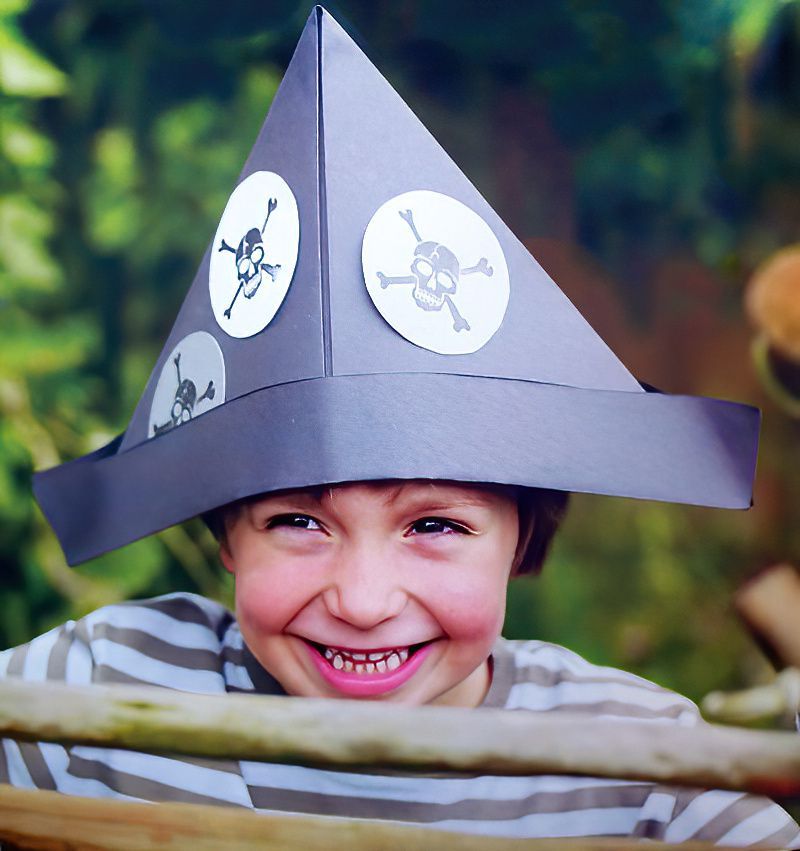
This is a great project for children of any age. When playing dress up or going on an adventure it is always fun to make other accessories and decorations. So if you have hunting down some treasure and want to make sure your pirate gang all looks the same. Maybe get your friends together and all make pirate hats from paper.
Simply made from a big pieces of thick black paper and decorated with skulls and cross bones.
What we need to make a paper pirate hat
- 1 piece of A2 thick black paper / 16 and a half x 23 and on third inches
- Pencil
- White glue
- White or grey card scraps
- Skull and cross bones stamp
- Black inkpad
Let's Start To Make A Paper Pirate Hat
Step One
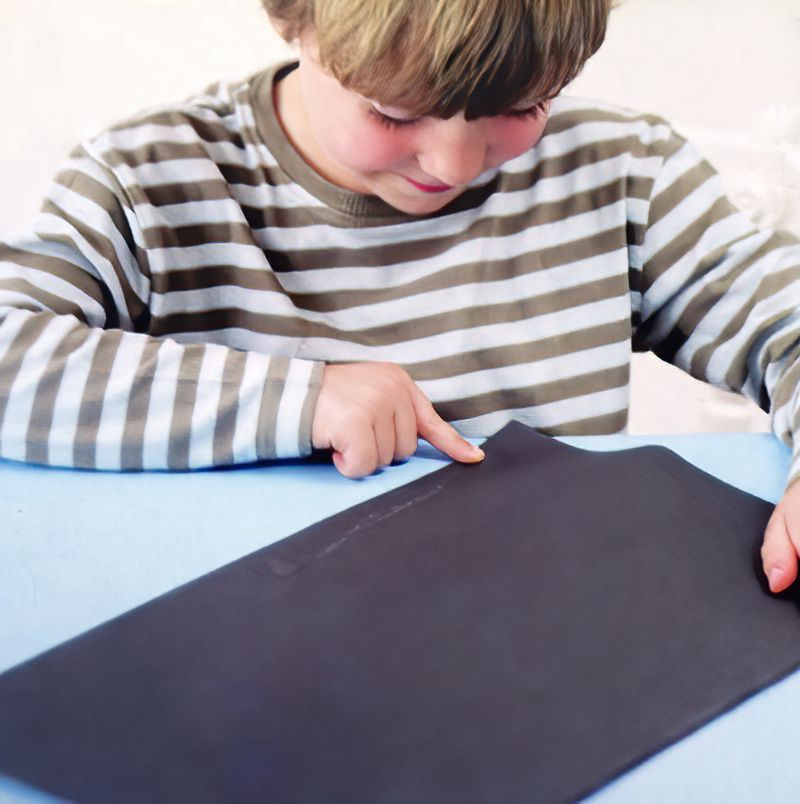
Layout our large pieces of paper on a table. Make sure the shorter side of the paper and facing you. Now we want to fold the paper but which direction? We are actually going to fold it both ways.
First fold it from side to side, like a book. Line up the edges and crease the long fold flat. Open the paper up again.
Now fold the top edge of the paper down towards you. So we are putting the two shorter sides together now. Carefully align everything up and then crease down the fold.
It's Fun To Make A Paper Pirate Hat
Step Two
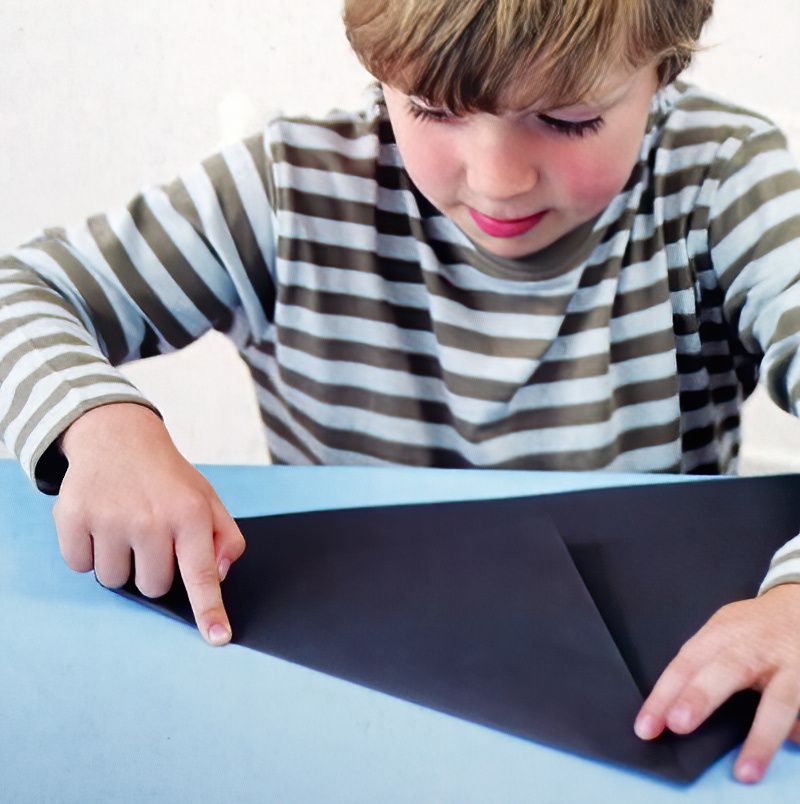
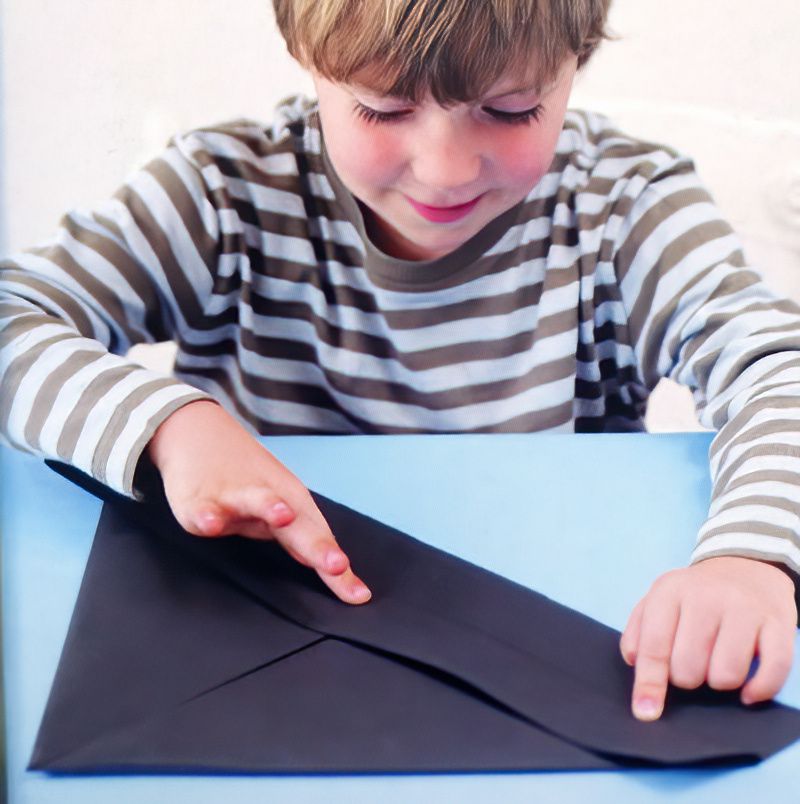
Now we can see the first fold me made in the centre. We can use this as a guide. Again with the fold at the top. Take the top left corner and fold it down and towards the centre making a triangle. Use the central crease as a guide to line up your fold.
Now to the same on the other side. Fold down the top right corner to meet the other corner we just folded. We are making a triangle shape for the top of our paper pirates hat.
We have a little piece of paper stick out of the bottom of the triangles. This is ok, we need these for the pirate hat brim.
Continue To Make A Paper Pirate Hat Brim
Step Three
Now you will see there are two layers of paper sort of sticking out the bottom. From underneath where the triangle pointy bit is. Take the top layer of the two and fold it up and over the top of the triangle. Press it down flat.
Now turn over the hat and do the same on the other side. Fold up the flap and crease it down. You can use some white glue on the ends to hold these flaps together.
The Final Stage Of The Make A Paper Pirate Hat Project
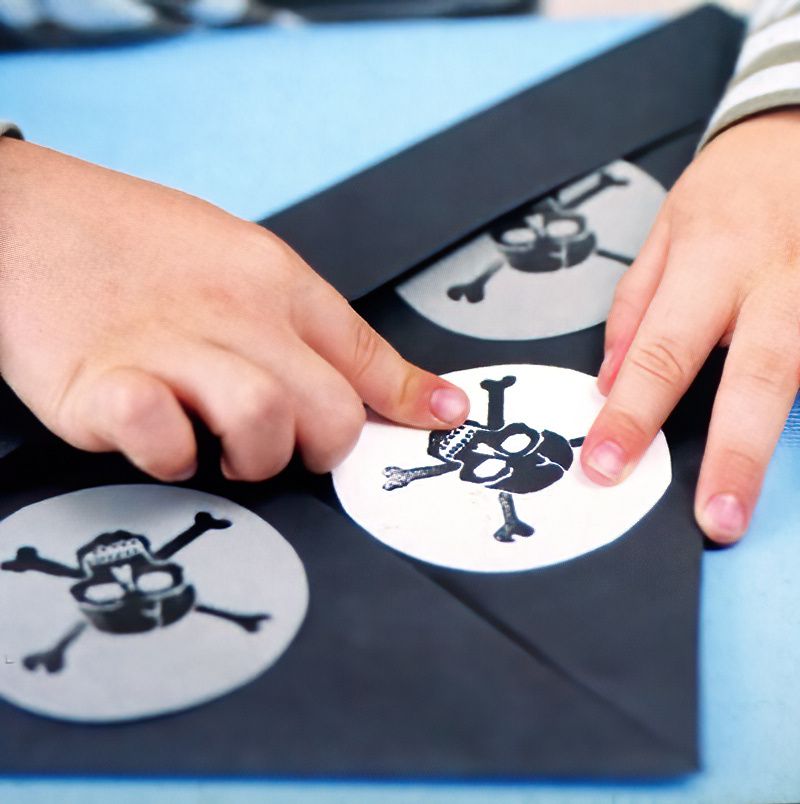
Now if you have a skull and bones stamp we can use it here. Or you could search "skull and bones templates" and print out one you like.
Finally, cut out some circles from white scraps of paper. Use a small glass or something round from the kitchen to draw around to get circle shapes. Now stamp your skull and bones designs on to these circles and glue into the front of your pirate hat.
If you have print out, draw a circle around them using a small glass and cut them out and stick them.
Hoooray! We now know how to make a paper pirate hat. Tell your friends to come over and make them with you. Or make them beforehand and invite your friends or family over for a crazy pirate adventure.
Think about looking at our "Make A Pirate Map Project" to add some more excitement to your day.

