How To Make A Winter Felt Hand Warmer
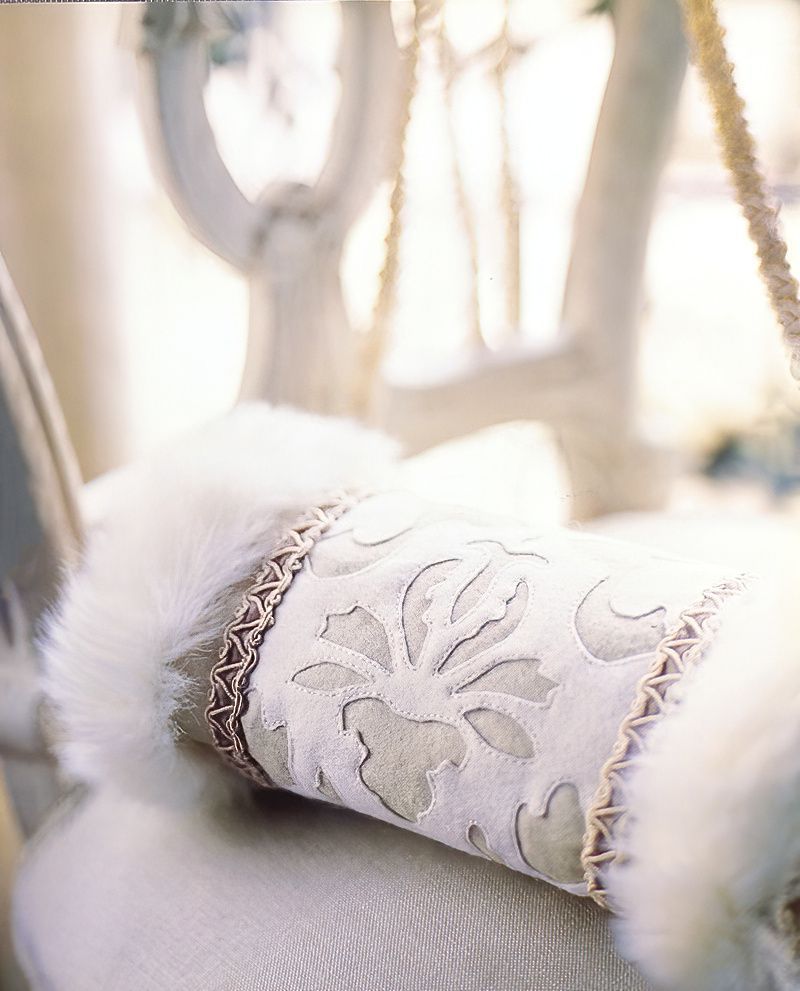
The winter felt hand warmer is an absolute game-changer when it comes to battling the bone-chilling cold of the winter season. Crafted with precision and designed for maximum comfort, this handy accessory is your secret weapon against frosty fingers. Made from soft, high-quality felt material, it feels incredibly cozy against your skin.
Simply slip your hands into the warm embrace of this innovative hand warmer, and within moments, you'll experience an instant surge of comforting warmth. Whether you're braving the snowy outdoors or snuggled up by the fireplace, this winter felt hand warmer is your ultimate companion for keeping those digits toasty and making winter a lot more bearable. Say goodbye to icy hands and hello to a winter wonderland with this must-have accessory.
Materials Needed To Make A Winter Felt Hand Warmer
- 25 x 34cm (10 x 13 1/2in) woven felt in beige
- 13 x 33cm (5 x 13in) woven felt in ivory
- 27 x 36cm (11 1/2 x 14 1/8in) woven mohair in ecru
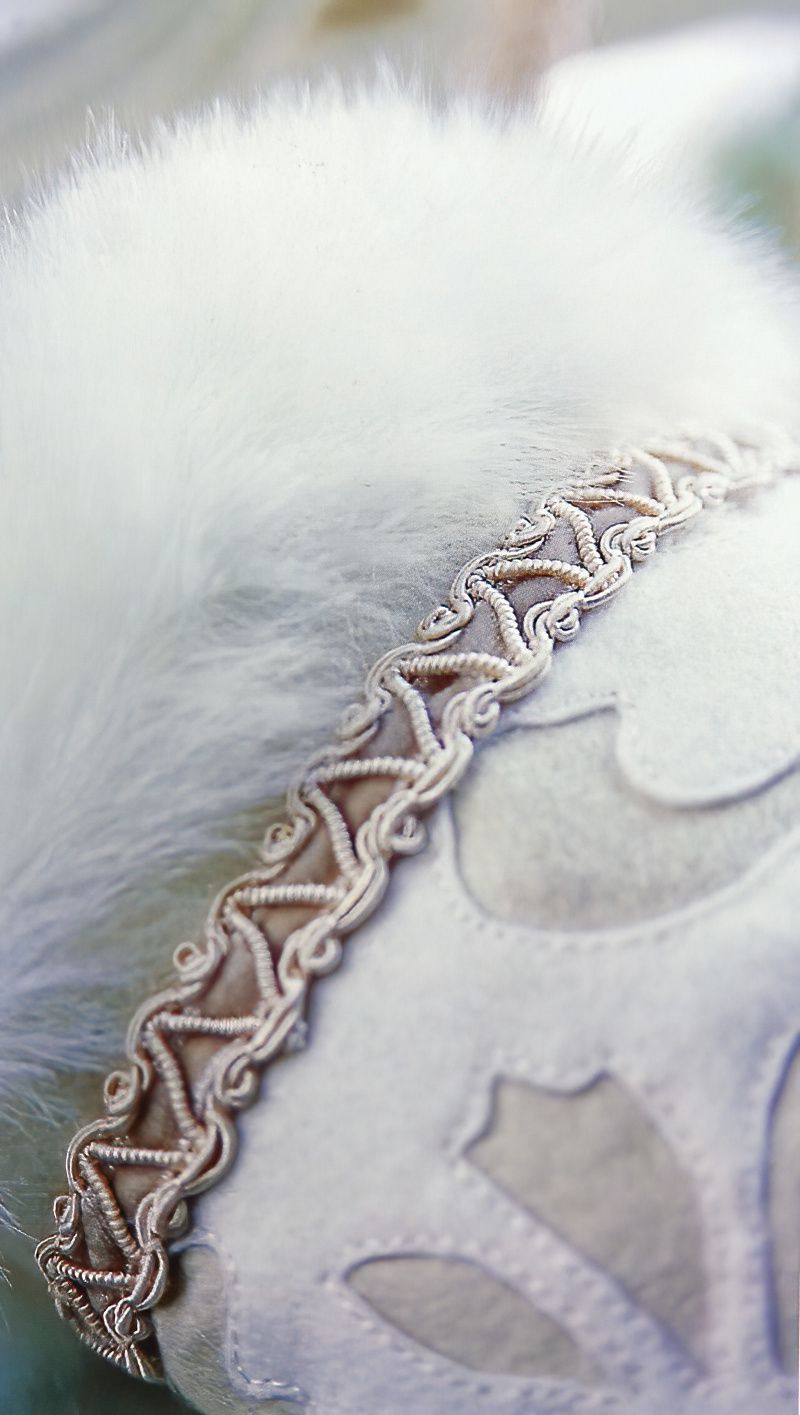
- 2m (2 1/4yd) braid ribbon
- 68cm (26 5/8in) synthetic fur, 2.5cm (1in) wide in ivory
- White glue
- Fine-tipped paintbrush
- Pins
- Ivory sewing thread
- Sewing needle
- Tracing paper
- Soft (2B) pencil
- Paper scissors and embroidery scissors
- Iron
Start Making Your Winter Felt Hand Warmer
Step One — Cut Out The Winter Warmer Motif
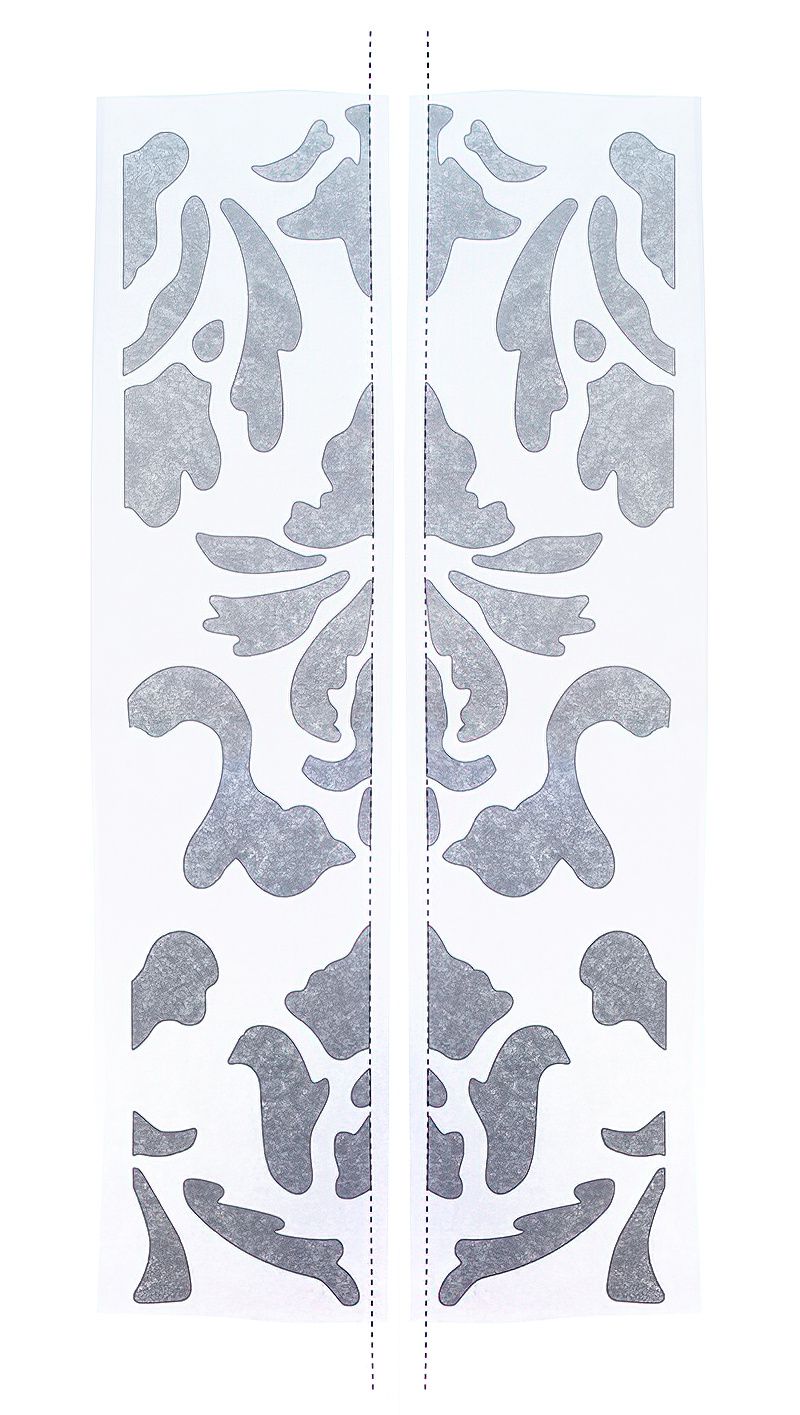
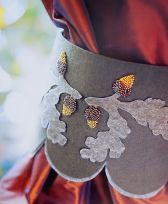
Trace the motif onto the reverse side of the ivory felt using a soft pencil. Since the motif is symmetrical, you only need to trace half of it, then copy it twice onto the ivory felt.
Carefully cut out the shaded pieces of the motif using embroidery scissors. Iron the piece of felt with a cool iron.
Step Two — Glue The Winter Warmer Motif
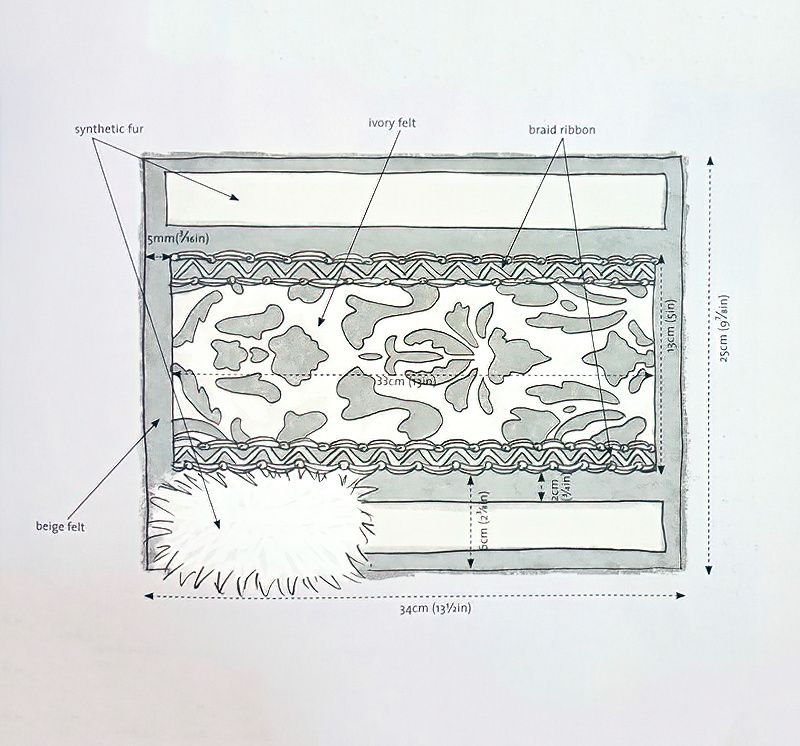
Use a paintbrush to apply a small amount of glue to the felt motif, then stick it onto the beige felt rectangle. Position it 5mm (3/16in) from the top and bottom edges and 6cm (23/8in) from the sides, following the diagram as a guide.
Apply glue about 2mm (3/32in) from the edges of the cutouts. Avoid applying glue too close to the edges to prevent stiffness. Allow the glue to dry for at least one hour.
Step Three — Embroidery
Use ivory thread to sew a small running stitch close to the edge of all the outlines on the motif. Aim for even and neat stitches.
Step Four — Attach The Braided Ribbon
Cut two 34cm (13 1/2in) lengths of braid ribbon. Apply glue along the join between the ivory and beige felt pieces and attach the ribbon. It should overlap the ivory felt by about 5mm (3/16in). Leave 5mm (3/16in) at the ends of the motif.
Finish Making The Winter Felt Hand Warmer
Step Five — Attach The Lining
Sew a 1cm (3/8in) hem around the edges of the mohair piece with a running stitch. Pin the mohair, wrong sides together, to the reverse of the beige felt.
Stitch the long edges of the felt and mohair together. Sew down the edges of the braid ribbon to secure the mohair to the felt.
Pin strips of synthetic fur 2cm (3/4in) from the braid and 5mm (3/16in) from the ends. Sew them on with small stitches.
Step Six — Put The Winter Felt Hand Warmer Together
Assemble the hand warmer with the long sides together lengthwise so the edges overlap. Pin the two edges together and secure with a running stitch. Turn it right side out.
Step Seven — Finishing Touches
Take the remaining length of braid ribbon and sew small stitches at each end to prevent fraying. Slide the ribbon through the hand warmer and join the two ends by overlapping them by 2cm (3/4in) and sewing them together.
Hide the join inside the hand warmer and wear it around your neck.










.jpg)
