Add Colour To Coat Time With This Decoupage Coat Rack
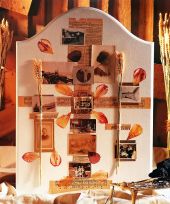
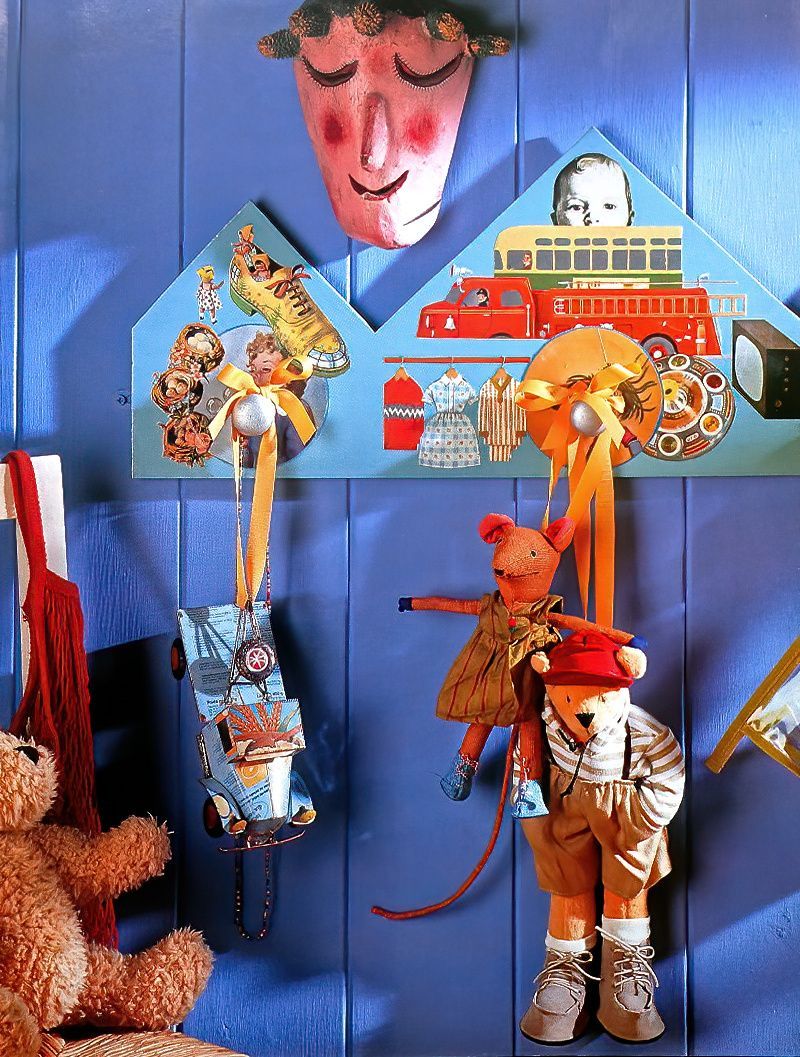
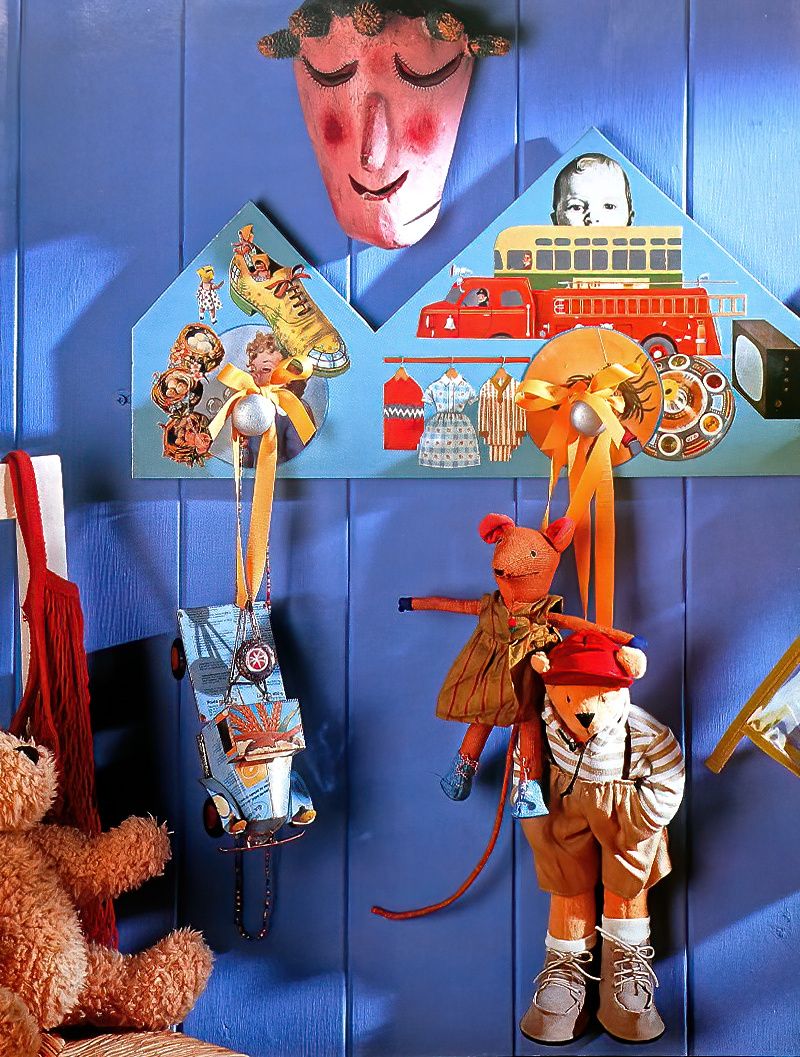
This vintage looking decoupage coat rack for children's coats, scarfs, hats, etc, is really fun to make. My sister and I wanted to make one for my nephew and niece. You can choose any colours and any designs to suit, and make them personal to your children.
It is fun to use pictures from worn out books, magazines, posters, and even print outs or photocopies. Some minor woodworking stills are needed to make this decoupage coat rack, but nothing too difficult.
Craft Materials & Equipment
1cm Thick MDF
Duck Egg Blue Emulsion
Magazine Pictures
Plain Coloured Paper
PVA Glue
3 Wooden Knobs
Silver Acrylic Paint
3 Countersunk Screws
Clear Matt Water Based Acrylic Varnish
2 Mirror Plates and Screws
Ruler
Pencil
Jigsaw
Protective Mask
Small Decorators Paint Brush
Craft Knife
Cutting Mat
Medium Artists Paint Brush
Container for PVA Glue
Drill
Wood Drill Bits
Screwdriver
Making The Shape And Painting The Decoupage Coat Rack
1st Stage
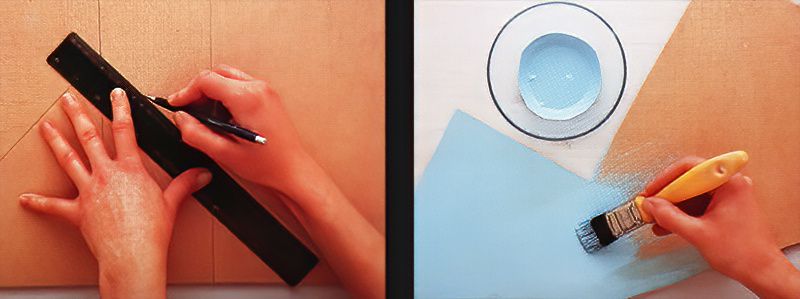
First you will need to make a template for the shape of the coat rack, and you can choose any shape and size that you like. Then draw out the shape of the coat rack onto a sheet of MDF using a ruler and pencil.
Then carefully cut it out using a jigsaw, making sure that you are wearing a protective mask, as you don't want to breath any MDF dust in.
2nd Stage
Wipe off any excess dust. Then paint the coat rack with two coats of duck egg blue emulsion paint (you can paint it a different colour if you prefer). Make sure that you leave the emulsion paint to dry thoroughly between coats.
Cutting Out Decoupage Pictures
3rd Stage
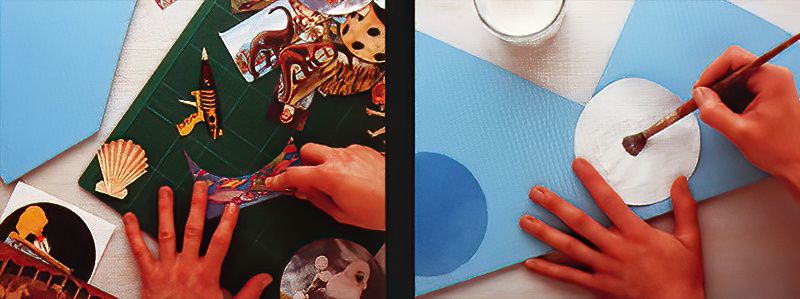
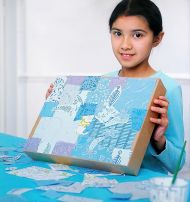
Next you need to select and cut out some pictures from worn out books, magazines, posters, or print outs or photocopies. Use a craft knife and cutting mat to carefully cut out the decoupage pictures.
4th Stage
Now, cut out three 10cm circles from coloured plain paper. Put glue onto the backs and arrange them along the base of the rack below each of the points.
Adding Decoupage To The Decoupage Coat Rack
5th Stage
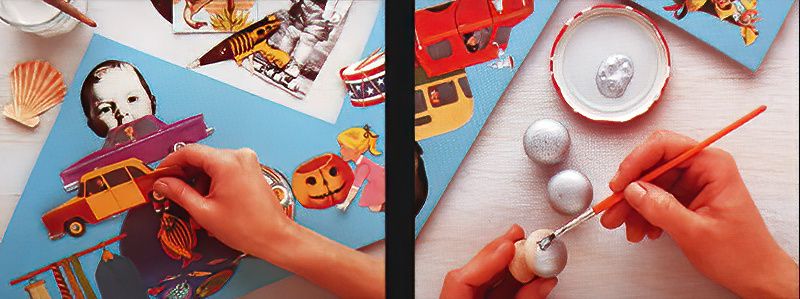
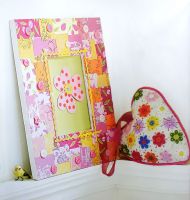
Now for the really fun part, arrange all of your chosen pictures on the coat rack and stick them down firmly. I find it best to start with my favourite pictures, and then add the others in to complement them.
6th Stage
Then paint the wooden knobs using silver acrylic paint, and leave them to dry thoroughly.
Assembling And Varnishing The Decoupage Coat Rack
7th Stage
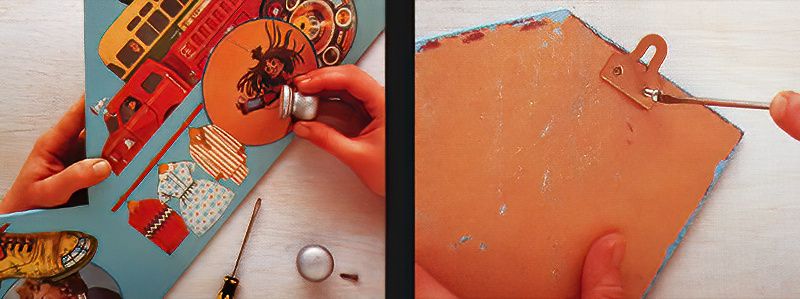
Next, drill three holes into the decoupage coat rack, one in the centre of each of the paper circles. Then countersink the holes on the back of the coat rack, and use the countersink screws to attach the knobs securely in place. Then varnish the whole decoupage coat rack, and leave it to dry completely.
8th Stage
Finally, attach a mirror plate to each end of the back of the decoupage coat rack. Now you have a lovely fun decorative coat rack.



.jpg)
