A Lovely Personalised Picture Frame Is The Perfect Gift
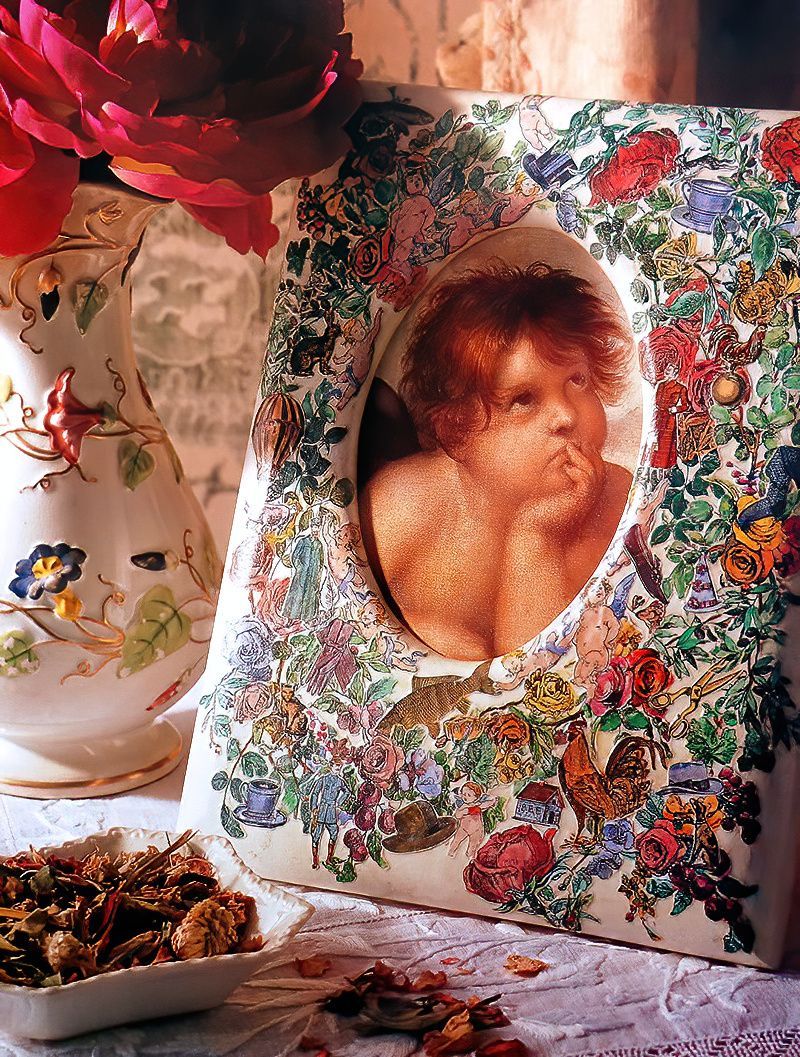
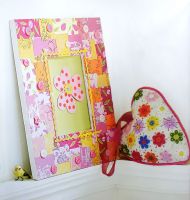
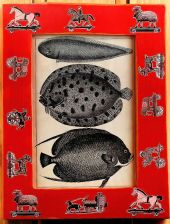
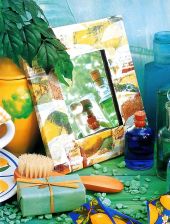
Making a personalised picture frame can create a perfect personalised gift for a family member or friend. You can personalise it using pictures relating to the things that they love such as hobbies, flowers, etc. Or it can just be something for fun using random pictures.
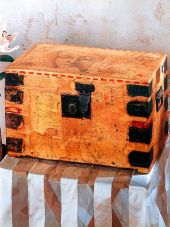
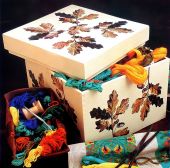
My children and I are making some frames for their grandparents for a gift to go with some memory boxes that I made in one of my other studio posts. You will be able to find that as the first tutorial on my studio. I think these two items complement each other really well as they both hold memories.
To Make A Personalised Picture Frame You Will Need
Materials
- Brown Wrapping Paper
- 6mm MDF
- Wood Glue
- White Acrylic Primer
- White Emulsion
- Selection of Pictures
- Watercolour Paints
- Glue Stick
- Gloss Varnish
Equipment
- Pen
- Ruler
- Scissors
- Drill
- Jigsaw
- Medium and Large Sized Surforms
- Fine Grade Sandpaper
- Fine and Medium Artists Paint Brushes
- Small Sharp Scissors
- Brush for Varnish
Making A Personalised Picture Frame
Step 1
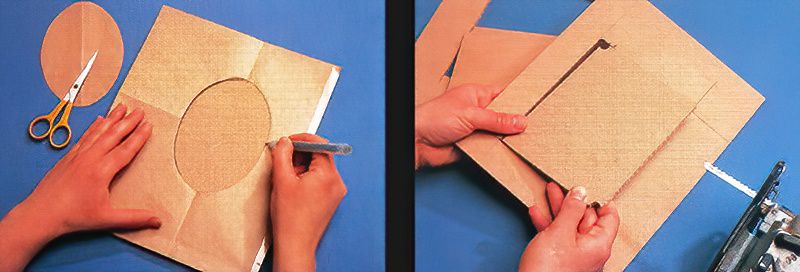
Start by cutting a piece of brown wrapping paper out measuring 20cm X 22cm, and fold it into quarters. Next, draw a shape in the centre to create the frame opening and then cut it out. This will allow a photograph to show through at the end.
Open up the template, and then mark the opening onto a piece of MDF. I have chosen an oval shape, but you can choose any shape that you like, circle, square, rectangle, etc.
Step 2
Now, from the other two pieces of MDF, cut out a rectangle shape 11.5cm and 15cm, big enough to fit over the oval, or whichever shape you have chosen. Then drill a hole in the corners of the rectangle, and use the jigsaw to carefully cut out the shape.
Putting The Personalised Picture Frame Together
Step 3
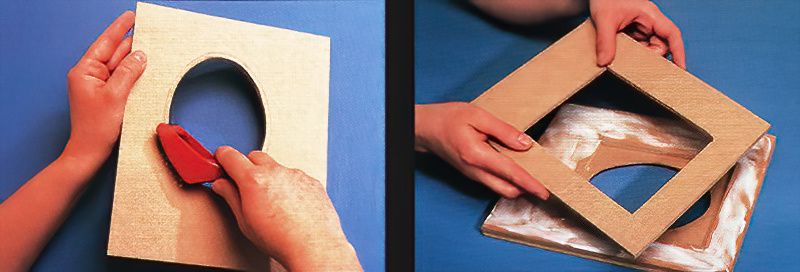
Now, using the medium sized surform, file the edges of the personalised picture frame to smooth and round off the edges.
Step 4
Next, glue all three pieces of MDF together using the wood glue, and leave to dry thoroughly.
Shaping A Handmade Picture Frame
Step 5
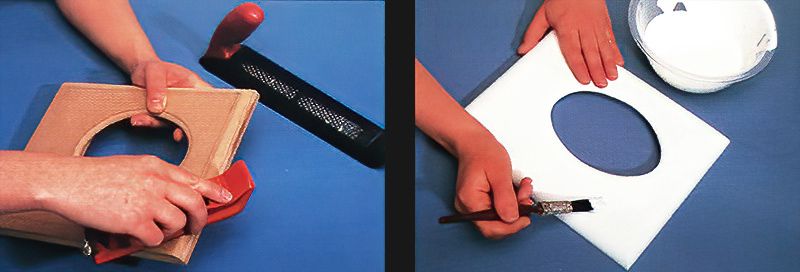
Once dry, use the medium and large surforms again to smooth the whole frame and round all of the edges.
Step 6
Then, finish off all of the edges using the fine grade sandpaper to make all of the edges extra smooth. Now that it is smooth, prime the picture frame using the white acrylic primer, then apply a coating of white emulsion paint.
Now For The Fun Part of Decorating
Step 7
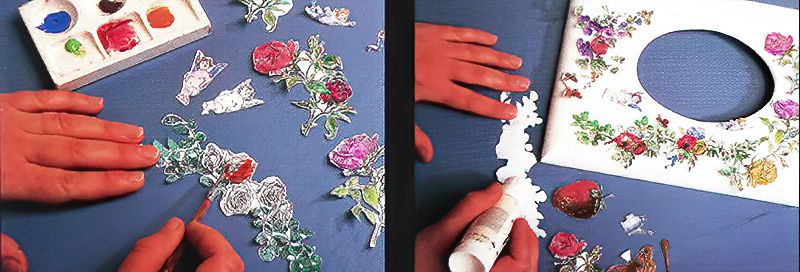
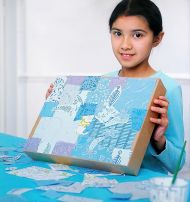
Now for the decoration, I love this part. Cut out a selection of pictures that you have printed off. Use the small sharp scissors to cut them out. Children may need a little help with this as it can be fiddly. Then you can tint all of the pieces using a wash of watercolour paint.
Step 8
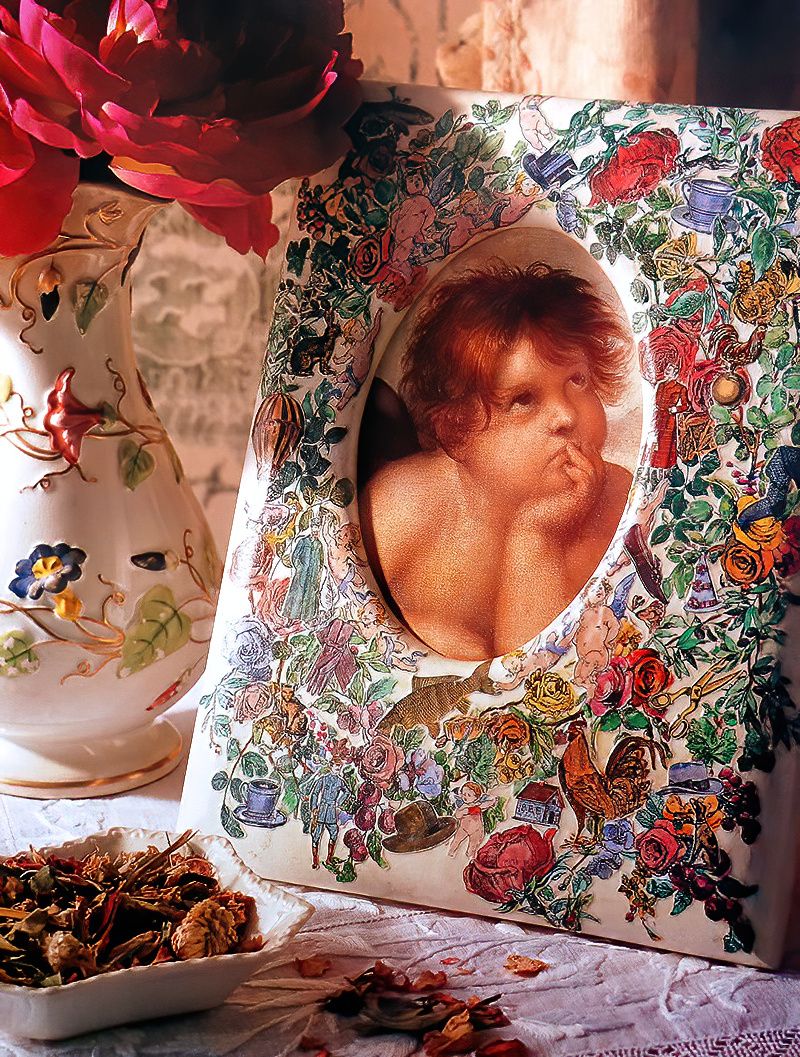
Next, you can glue all of the tinted pieces onto the frame using the glue stick. Then gently smooth them out with your fingers to get an even finish and to remove wrinkles in the paper.
Finishing It Off The Personalised Picture Frame
Step 9
Finally, use the gloss varnish to cover the whole frame to seal and protect the design. It will also give the frame a nice shiny finish. Once completely dry, you can personalise it further with a photograph.
Additionally, you can add extra embellishments to the frame. My girls really want to add little gemstones to theirs.














.jpg)