It Is Easy To Decoupage A Tray
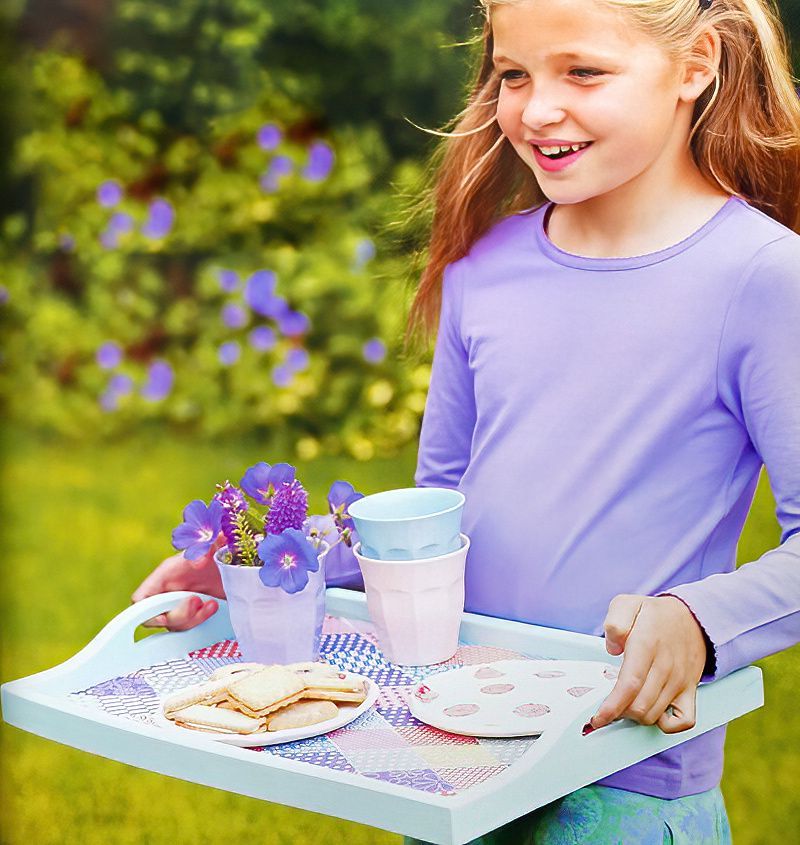
This project really makes a wonderful gift for any adult in your life. Maybe an older relative who enjoys the simple pleasures of a nice cup of tea in the garden, and some lovely biscuits or cookies. Add a very personal touch to a simple wooden tray and brighten up someone's life.
Or keep it for yourself and put a smile on your face, every time you use it.
What we need to decoupage a tray
- Wooden tray
- Paper for templates
- Scissors and a pencil
- Decorative paper in all different designs
- PVA glue
- Water based acrylic varnish
- Paintbrush
Let's Stat Our Decoupage A Tray With Some Diamonds
Step One
When we decoupage a tray, we are basically going to make a pretty diamond pattern of different decorative papers. So we need a basic diamond shape template that we can draw around.
So simply search the internet for a diamond shape template. Then copy, resize and print it out. Or simply just draw a diamond shape on a piece of paper with a ruler. A diamond is really only two triangles next to each other.
Then cut out the paper and use it as a template to draw around onto the decorative papers. We need enough diamonds to cover the bottom of the decoupaged tray.
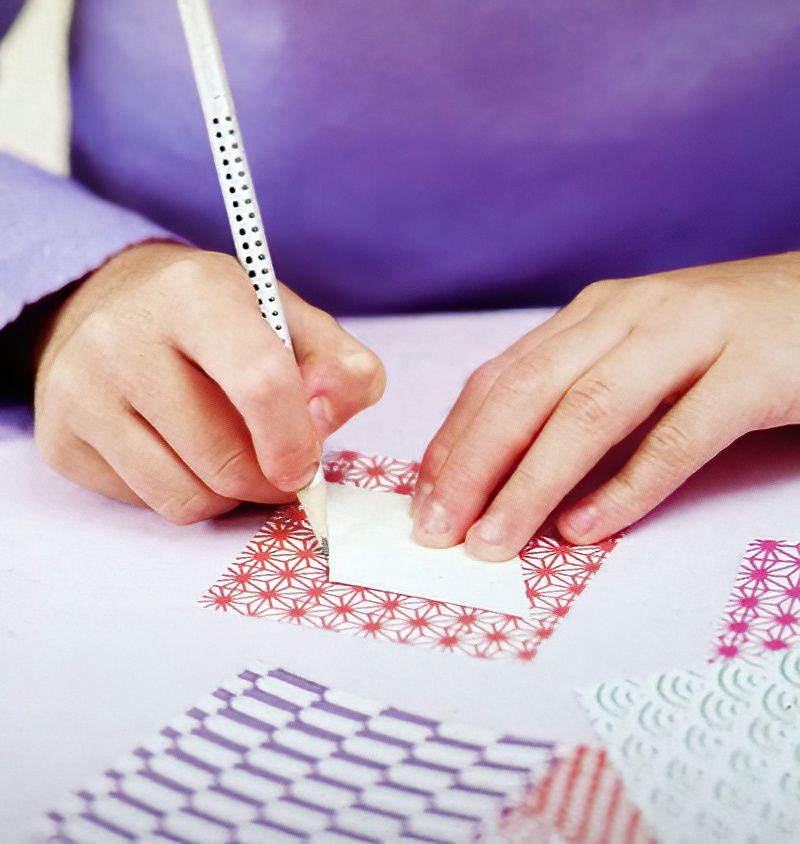
Cut Out All The Diamond Shapes For Our Decoupage Tray Design
Step Two
Now we can use our scissors and cut out all the diamond shapes we drew on the decorative papers. You can use any papers you life, maybe even print out some photos, use old books, wrapping papers or magazines.
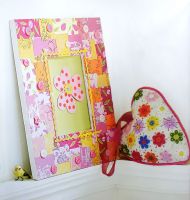
Here we are using origami papers to decoupage a tray.
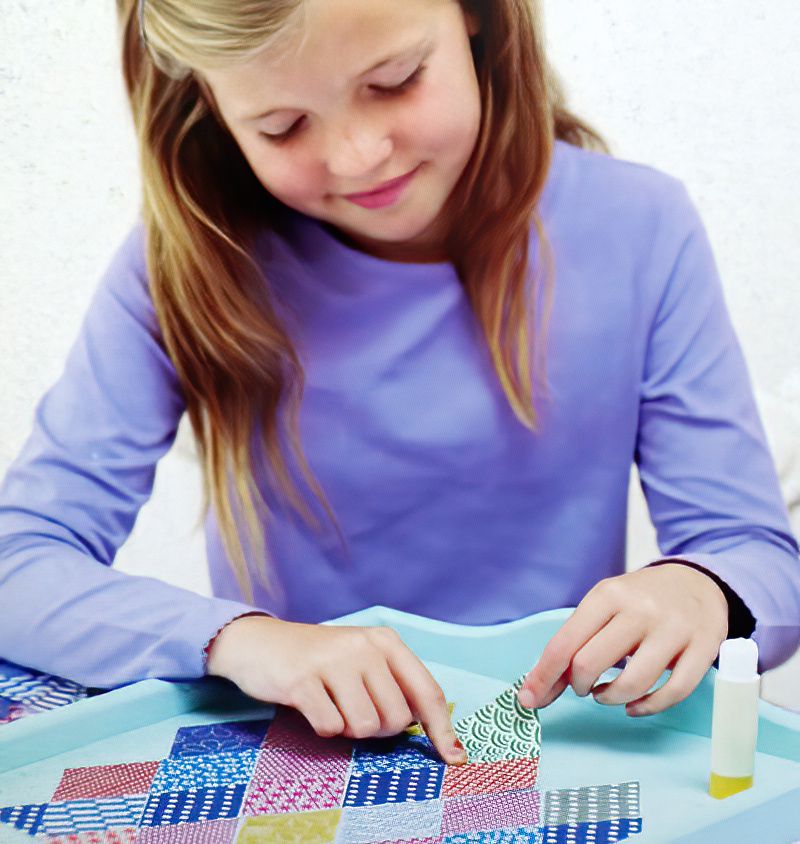
Layout A Fun Design For When We Decoupage A Tray
Step Three
Now the best idea is to layout all our little diamonds before sticking. This way we can move them around. So all the different colours are spread evenly around and not all just bunched in one corner.
Once you are happy with the design layout, gently start gluing and sticking each diamond down onto the tray. Press them flat so they stick nicely.
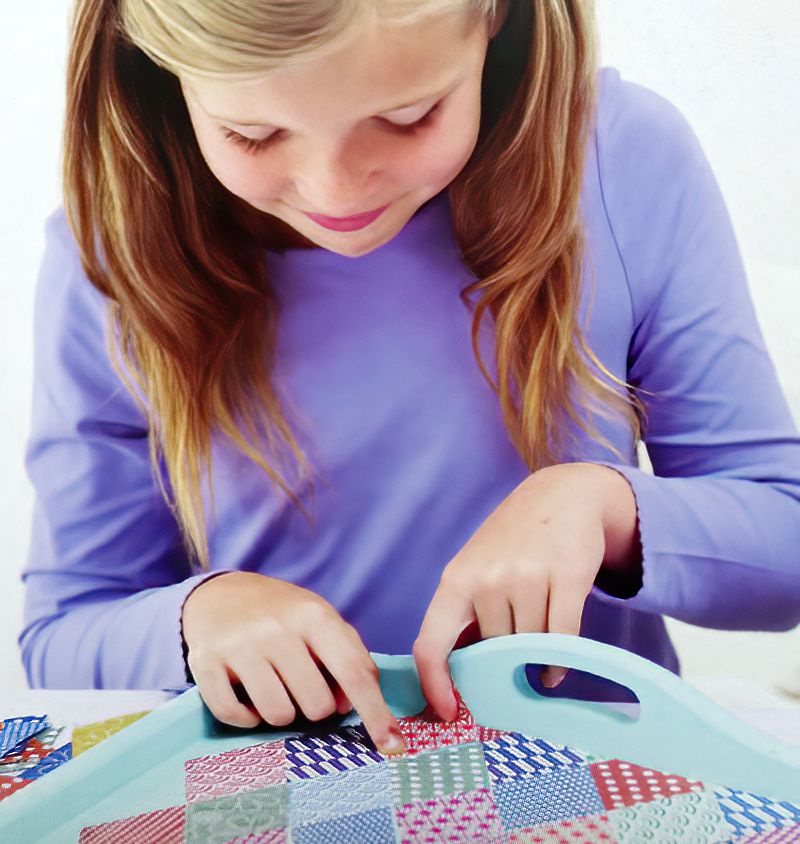
Finishing Our Decoupage A Tray Project
Step Four
When we get to the edges, position your diamonds without any glue. Then fold over the part that comes up the edge. Then simply cut off the folded over piece. Now you can glue the part back in place, like a jigsaw.
Let all the glue dry.
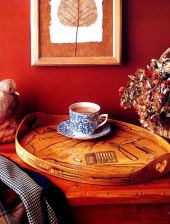
Finally to protect our design from a spilt cup of tea or some biscuit crumbs we can coat the bottom with a couple of layers of water-based acrylic varnish.
And there we have completed our fun little decoupage a tray project. What else can you decoupage and use as a gift or for decorating your room?