There Is Something Classy About This Wooden Decoupage Chest
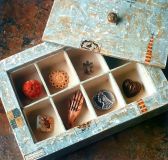
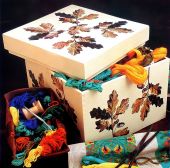
This is a fun decorative project. A wooden decoupage chest is not too difficult to make. It is something you can make for yourself for storage, or maybe you have a child that likes pretending to find treasure.
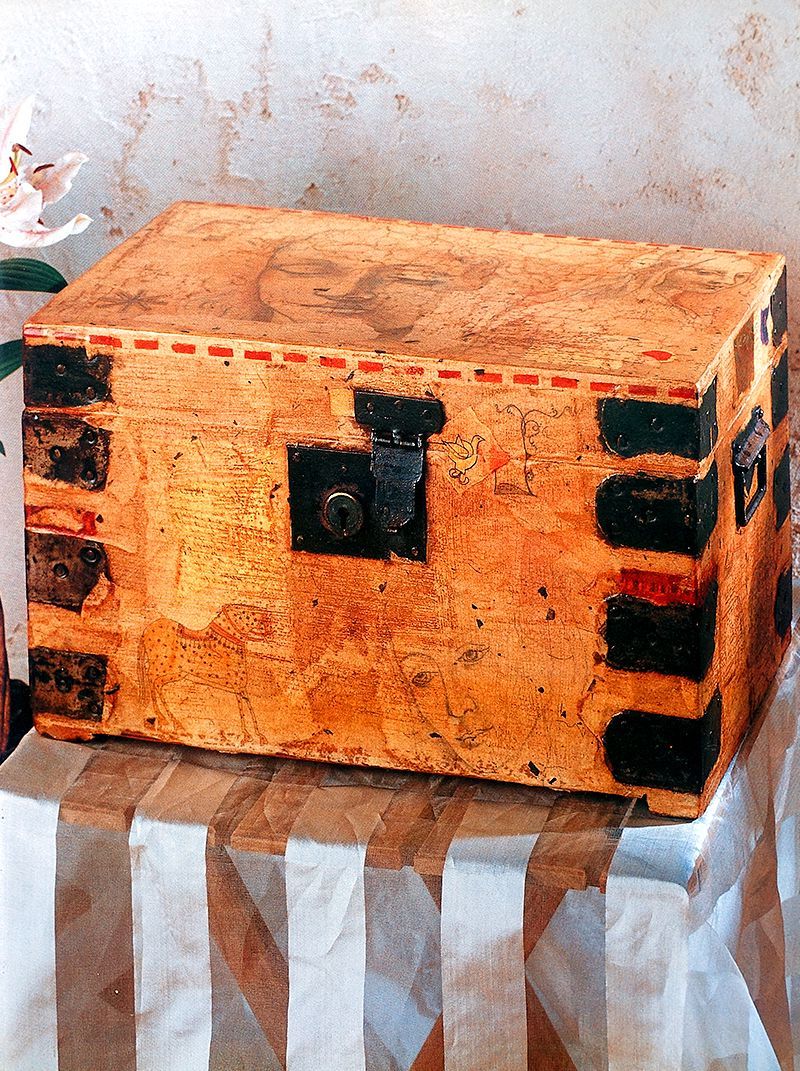
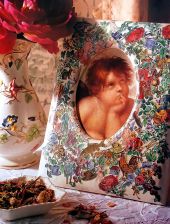
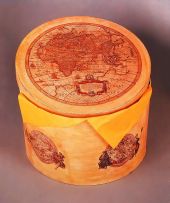
You can make it as big as you like and add any vintage pictures that you like for your own design. I have chosen to make a vintage wooden decoupage chest, using the decoupage technique to store some of my art supplies.
To Make A Wooden Decoupage Chest You Will Need
Materials
- Wooden Box
- Reproduction Pictures of Old Masters Style Faces, Animals, Lettering
- Handmade Uncoloured Japanese Papers
- PVA Glue
- Pictures or Photocopies of Old Parchment
- Watercolour Paints
- Pictures from Magazines
- Burnt Umber Acrylic Paint
- Clear Oil Based Matt Varnish
Equipment
- Fine Grade Sandpaper
- Tracing Paper
- Pencil
- Small and Medium Decorators Paint Brushes
- Container for PVA Glue
- Fine and Medium Artists Paint Brushes
- Scissors
- Stencil Cardboard
- Ruler
- Craft Knife
- Cutting Mat
- Sponge
Creating A Treasure Chest
Step 1
Start by sanding your chosen wooden box down with the fine grade sandpaper to make a smooth surface to work on. If your box has metal hinges and catches, also clean the metal.
Step 2
Print off or photocopy reproduction pictures of old masters drawings and artwork. Then trace over the pictures and transfer them onto the pieces of handmade paper.
Decoupaging With Vintage Designs
Step 3
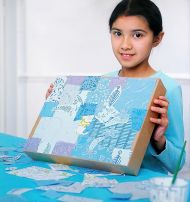
Once you have traced and transferred a selection of the pictures, tear around them roughly. Also, tear up some pieces of plain handmade paper into irregular shapes. Then arrange all of the pictures onto the box.
Step 4
Now, glue down all of the paper pieces using PVA glue. Makes sure that you completely cover the whole surface of the box. Now you can layer it up with additional coloured prints or photocopies of things like lettering and pictures of old parchment.
Painting Your Own Designs For Decoupage
Step 5
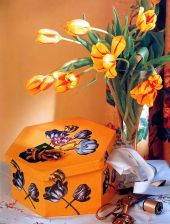
Next, if you choose to, you can hand paint some additional designs to add to your box. This will add a really personal touch. Leave them to dry completely, then roughly tear around your pictures and glue them in place on the box. You can even add more from magazines etc.
Step 6
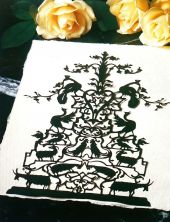
Next, design and carefully cut out a stencil pattern to decorate the edges of the box. Use stencil cardboard, a craft knife and a cutting mat to do thing.
Making An Easy Stencil
Step 7
Once you have your stencil design cut out, use a sponge to stencil the border pattern onto the handmade paper. Use watercolour paints to colour it.
Step 8
Now, you can enhance the pictures of faces, animals, etc, by adding washes of colour using the watercolour paints. Paint an acrylic burnt umber diluted wash over the entire box to create a vintage antiqued look.
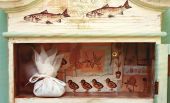
Our Wooden Decoupage Chest Almost Ready For Treasure
Step 9
Lastly, finish off the box with a coating of clear oil based matt varnish. This will protect your finished box. Leave it to dry thoroughly.
Wooden Decoupage Chest Conclusion
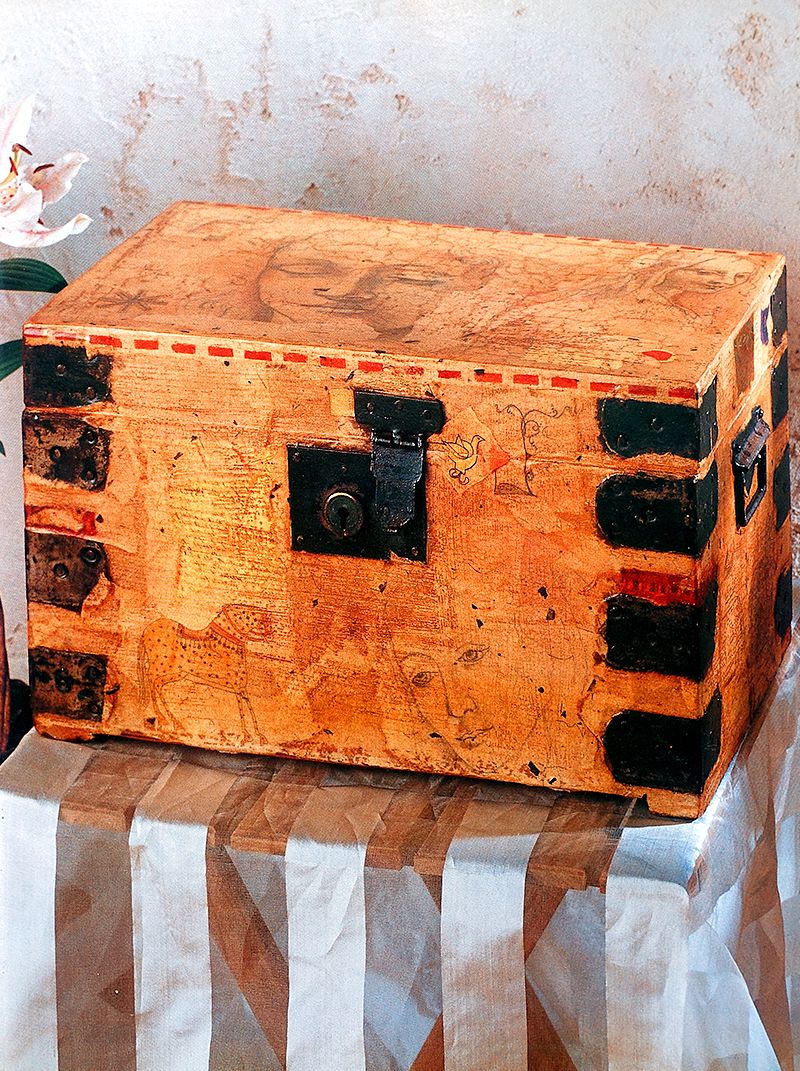
Now you have a lovely box/chest to store your important things. Or for children to hunt for treasure. We are sure you will love this chest for years. And it will create many more happy memories for your family or friends.






.jpg)

