Making Marbled Paper Is A Classic
Making marbled paper for a long time has been a classic craft project that many of us made at school. A really quite simple process that results in endlessly different and beautiful results. Each piece of marbled paper is unique.
For many years, marbled papers, were used to decorate the inside covers of expensive books. So it is amazing that we can even make the very same marbled papers at home. But how to make marbled paper?
What We Need To Make Marbled Paper
- Marbling inks in different colours
- A large dish big enough to float our paper in
- Paintbrush for stirring
- A4 / letter-sized white paper
Let's Start The How To Make Marbled Paper Project
Step One
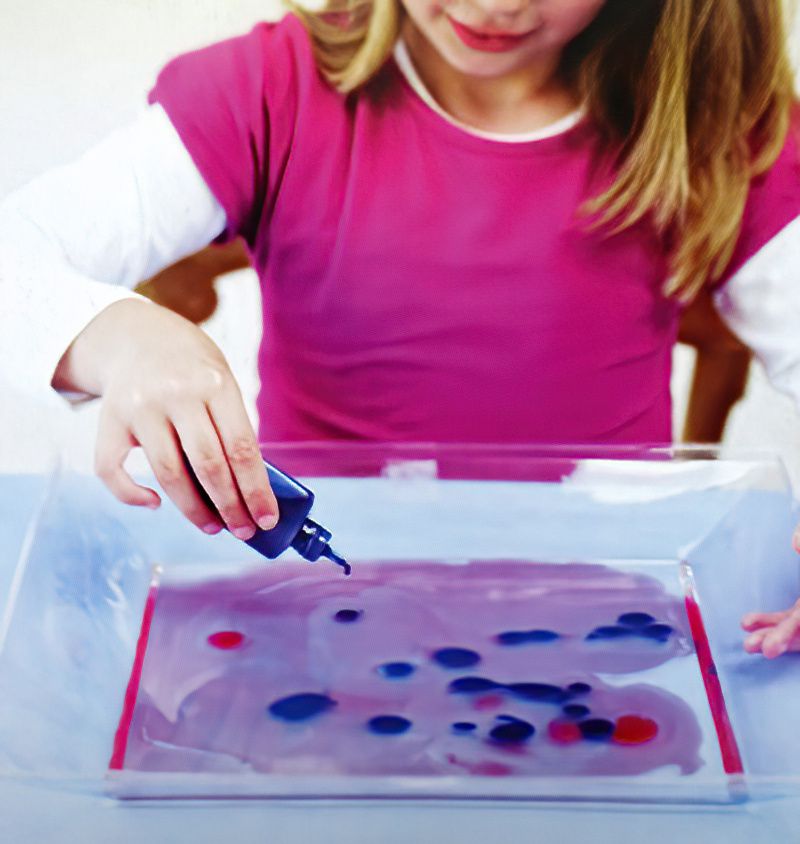
Take your bowl and pour in some water to a depth of around 2.5cms or 1inch. Now we take our marbling paints and start making drops of paint onto the water's surface.
Add drops of two or three different colours. Only add a few drops at a time, we don't want too much ink.
Let's Continue With How To Make Marbled Paper
Step Two
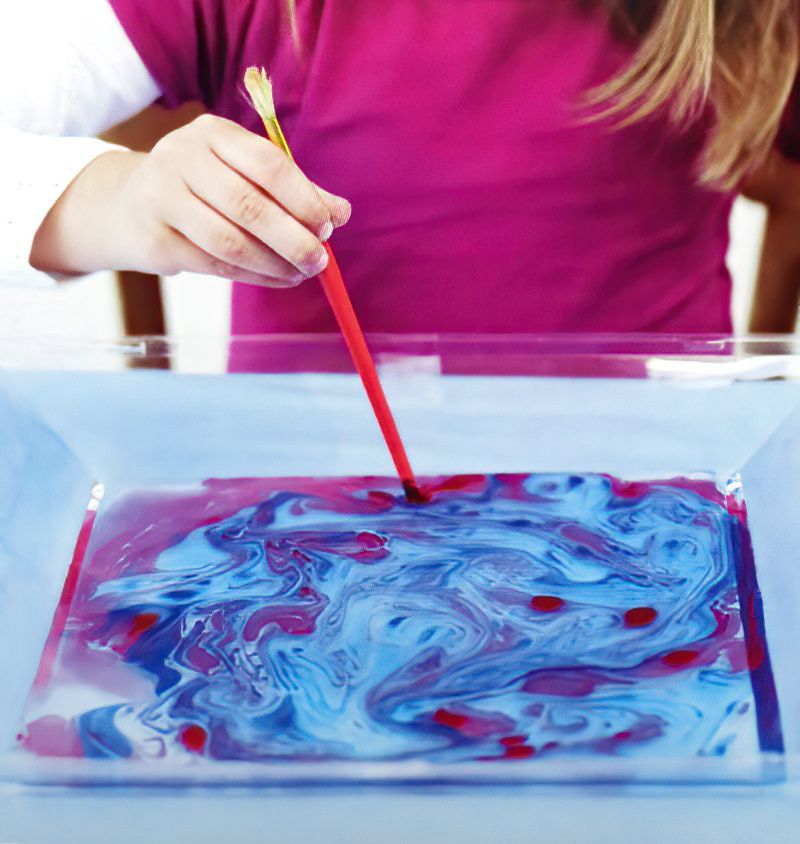
Now we can take the end of our paintbrush and gently start moving the blobs of floating paint around. Be very gently.
We want to make some simple swirls of paint. But stop after a few seconds. We really don't want to over stir the blobs. So really just a few gently movements of the paint blobs is enough.
Stop when you see an interesting swirly pattern of paint floating on the water.
Now Lay Your Paper Onto The Floating Swirled Paint
Step Three
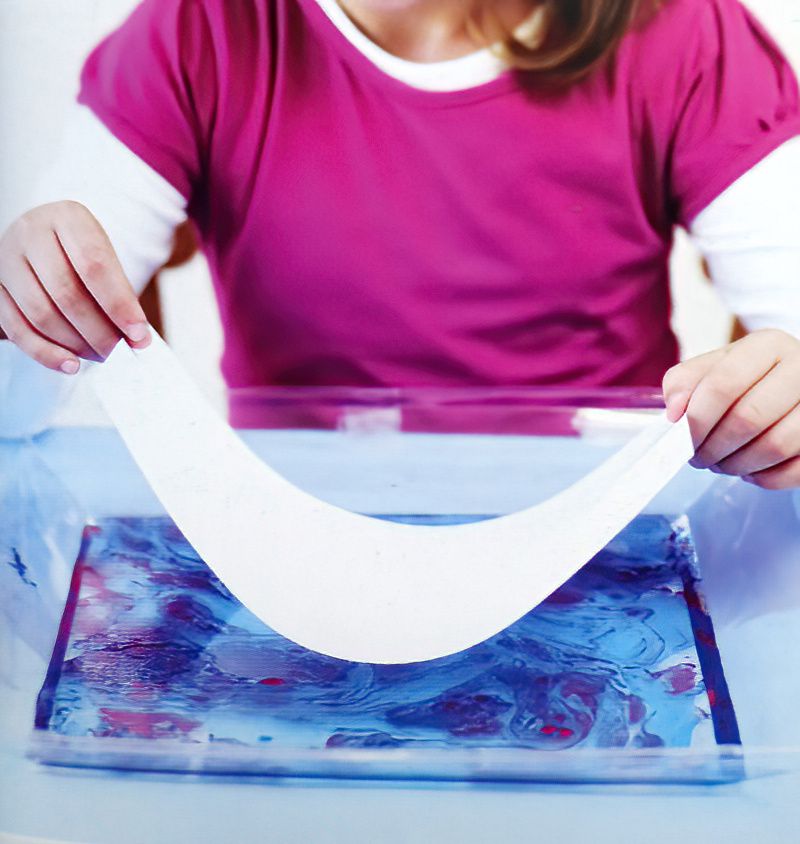
Next, we want to print our paper. Hold your paper above the bowl of water and gently lower it onto the paint swirls. Move slowly.
You can make the paper have a little curve in it like the picture above. This will help you not to have blank spots, which you sometimes get. Make the paper have a little curve and gently lower it onto the water surface. When it touches, gently lower the edges into the water as well.
Now we know how to make marbled paper. Amazing isn't it!
Finish How To Make Marbled Paper
Step Four
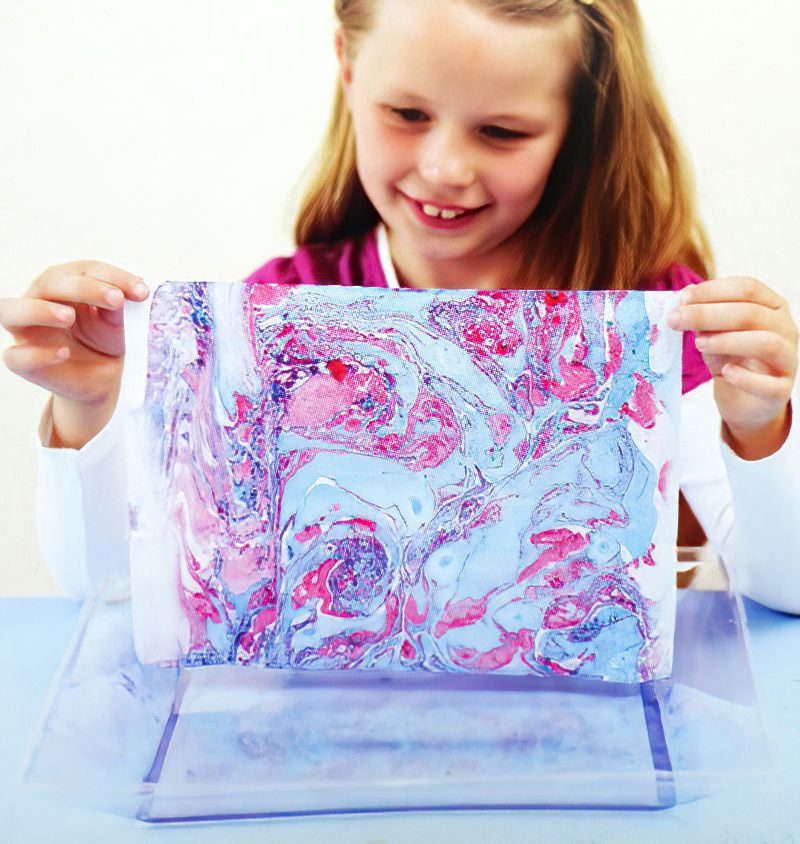
You don't need to leave the paper in the water for a long time, just a few seconds is enough. After a few seconds, carefully lift the edges again, the same way you put it in.
Let the water run off and then lay the marbled paper flat somewhere it can dry completely. I lay mine out on some tea towels and to let my papers dry.
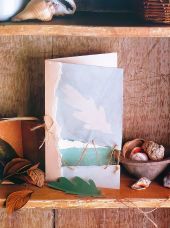
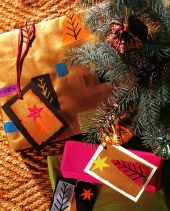
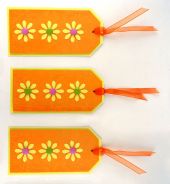
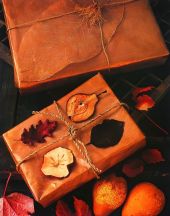
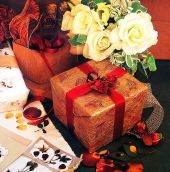
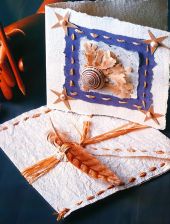
Once completely dry you can use the marbled papers to decorate lots of different things. Maybe make greetings cards or even wrapping paper. Gift tags or just use the marbled paper as decorative papers.
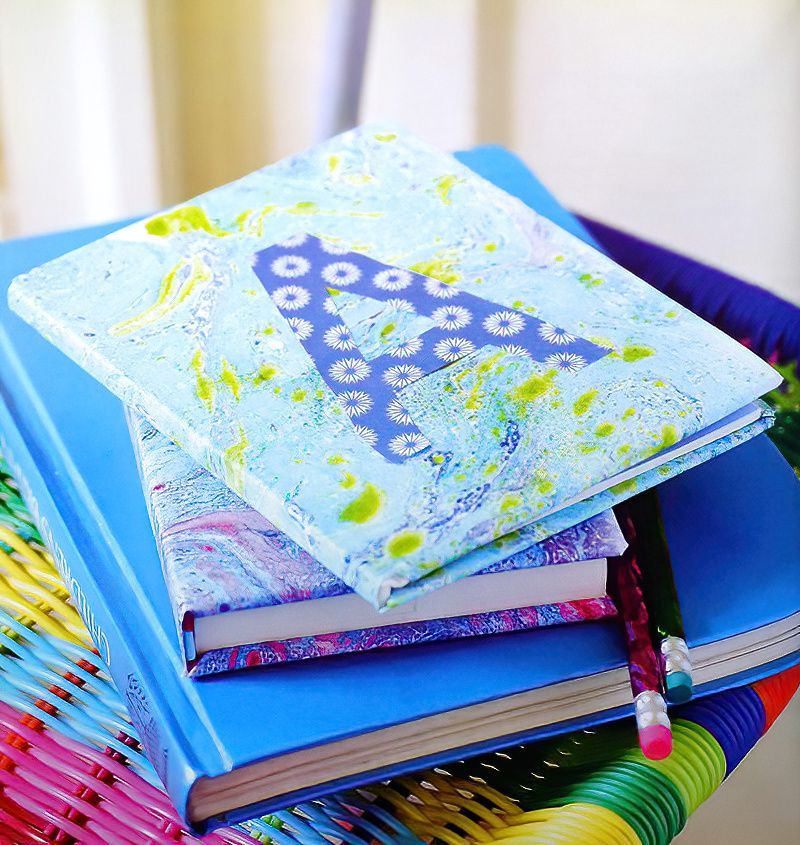
Maybe wrap you own notebooks and add a letter motif.
Thanks for following our how to make marbled paper tutorial. We would love to see some pictures of your marbled papers. Make your own studio on Society of Makers and add some images. Then leave a comment below with the name of your studio. Then we can search your name back to your studio.










.jpg)
