A Decoupage Gift Box Will Be Kept For Years
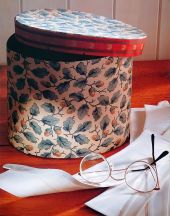
I really love making pretty gift boxes to put gifts in for my family and friends. They just make the perfect all round present for birthdays or Christmas. It is something really simple to do, but feels like you have made an extra effort to make a gift even more special.
You can decoupage your gift boxes with any designs that you wish. I usually put flower designs on mine. Here are some quick and easy steps for decorating gift boxes.
Things You Will Need To Make A Decoupage Gift Box
Materials
- Small Cardboard Box with a Lid
- White Emulsion Paint
- Coloured Emulsion Paint
- Old or Vintage Floral Print
- PVA Glue
- Green Paper
- Clear Water Based Acrylic Satin Varnish
Equipment
- Small and Medium Decorators Paint Brushes
- Small Sharp Scissors
- Container for PVA Glue
- Medium Artists Paint Brush
- Craft Knife
- Cutting Mat
- Ruler
Choosing Your Decoupage Gift Box Design
Step 1
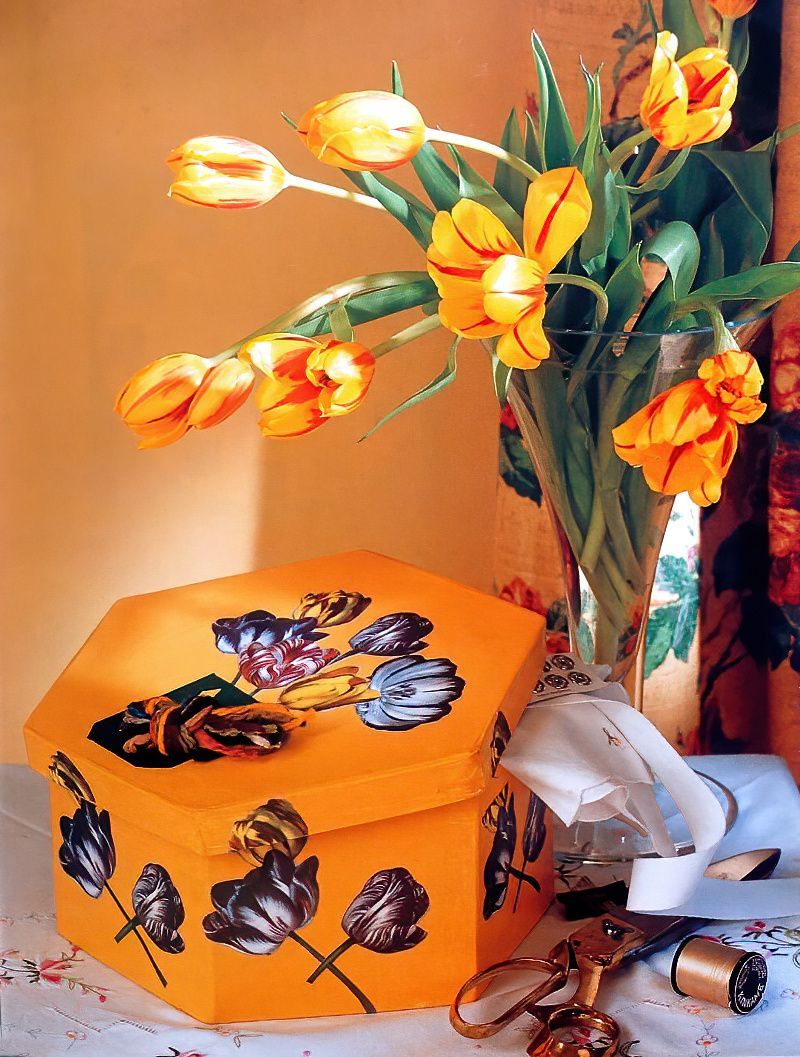
Start by painting your box with your chosen colour. I have used a warm sunny yellow colour for mine. First paint it with white emulsion, leave it to dry and then paint with the coloured emulsion. The reason we paint it white first is because this really makes the colours you paint on top, pop.
Step 2
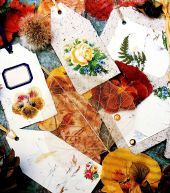
Print out your design in colour. I have chosen some pretty colourful flowers. Then carefully cut around your design using small sharp scissors.
Decorating A Decoupage Gift Box
Step 3
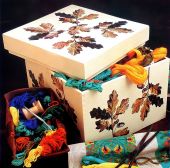
Next, arrange the flowers on the lid of the box. I have kept the stems quite close together to make it look like a bunch of flowers. Then glue them into place using PVA and a small paintbrush.
Step 4
Now, if you wish, cut out a rectangle of green paper, or a colour of your choice. Then fold it in half length ways, and cut it in half again. Next, cut three small triangles from the folded edge. Open up the paper and glue onto the lid of the box to make a vase for the flowers.
Decoupaging The Sides Of A Box
Step 5
To match up the design on the sides of the box and the edges of the lid, hold each of the flowers against the lid and press them to form a crease.
Step 6
Then cut along the crease using a craft knife and a cutting mat. Use the ruler as a guide to ensure that you get a straight edge.
The Perfect Gift Box
Step 7
Now, glue the flower onto the edge of the lid, then line up the side of the box and glue the other part of the flower into place, matching up the edges. Repeat this on all of the sides of the decoupage gift box.
Step 8
Finally, varnish the finished box using three to four coats of clear satin varnish. Remember to leave the box to dry thoroughly between each coat.

