How To Make A Lovely Cardboard Satchel Bag
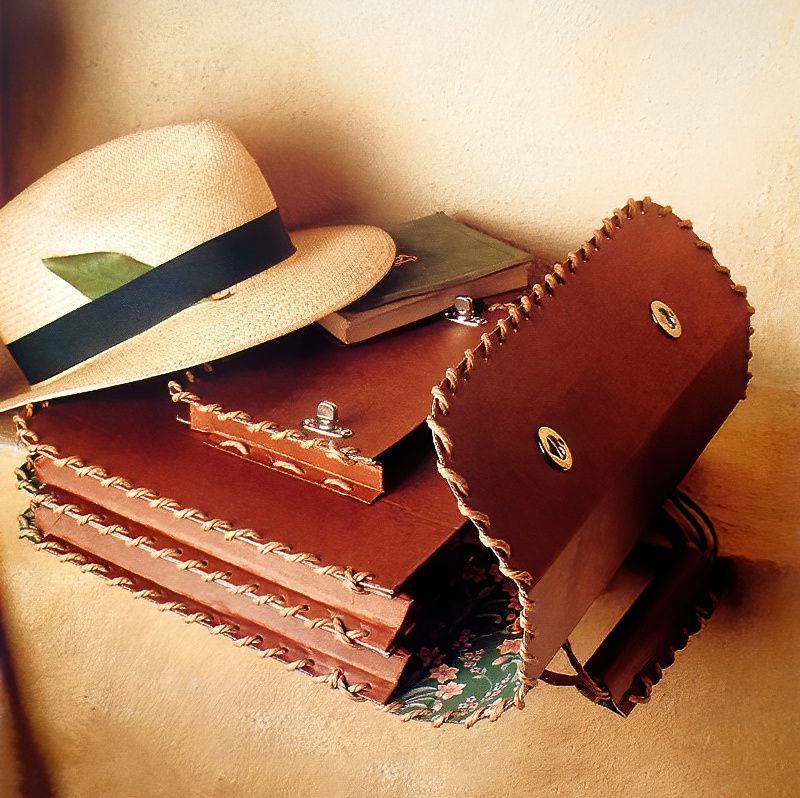
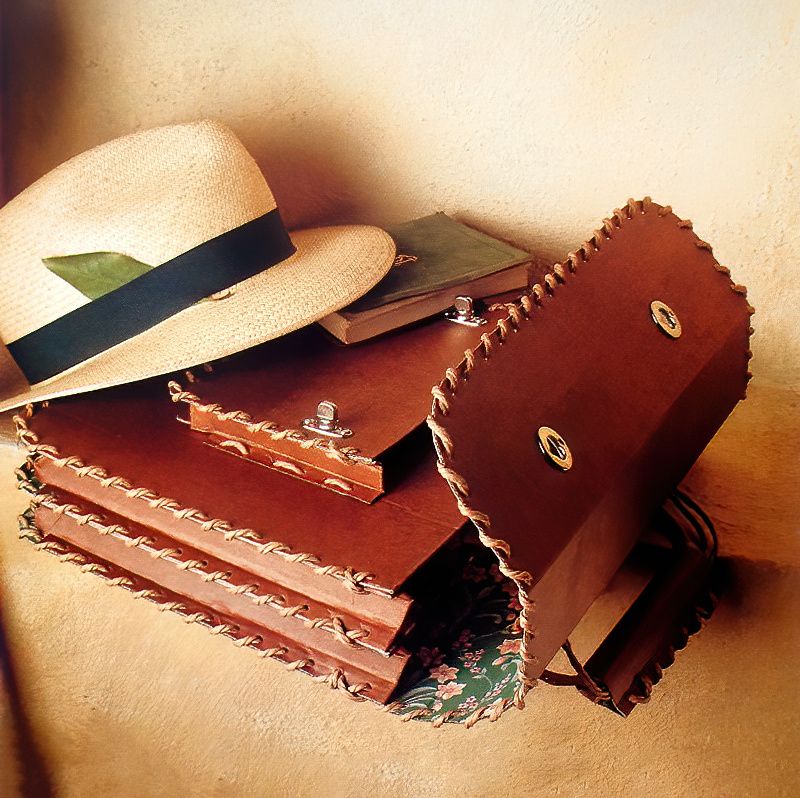
This is such a lovely craft to do with cardboard. It is really surprising what beautiful things can be made with a selection of simple craft materials. This is easily one of my favourites. And I really love working with cardboard. I would also love to see some of your cardboard craft creations, so please feel free to show them off in the comments below.
List Of Items Needed To Make A Cardboard Satchel
- Spray Adhesive
- Wallpaper
- Small Flute Single Wall Corrugated Cardboard
- Wax for Waterproof Clothing
- Eyelets
- Paper String
- Plastic Piping
- Metal Fasteners
- Washers
- Soft Cloth
- Hair Dryer
- Tracing Paper
- Pencil
- Craft Knife
- Metal Ruler
- Cutting Mat
- Wooden Spoon
- Hole Punch
- Revolving Hole Punch
A Basic Cardboard Satchel Bag Shape
1st Step
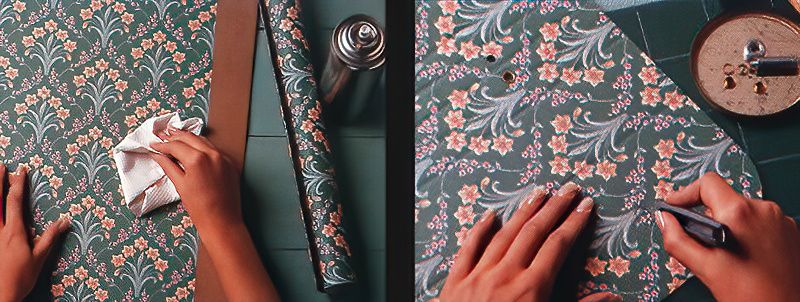
To begin making your own beautiful decorative satchel, start by spraying some spray adhesive onto the back of your chosen wallpaper. And then stick it onto one side of the cardboard. Then gently smooth over the wallpaper to remove any air bubbles. Then use a soft cloth to apply an even coating of wax all over the opposite side. And use a hair dryer to melt the wax so that it soaks into the cardboard.
2nd Step
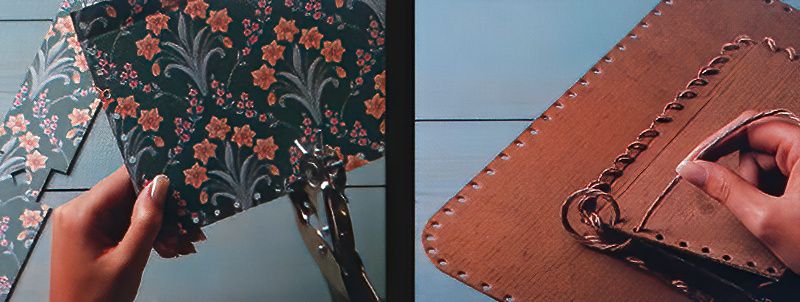
Next, find a template for a satchel style bag, these can be found online, but you can also buy a pattern if you wish. Start by cutting out the back and the front flap. Then score the lines needed with the blunt point of a wooden spoon. Now, cut out some small holes for the eyelets, and insert them. Then cut out the oval holes for the fastenings on the front flap. Next, punch some small holes all around the outside of the bag, 1.5cm apart.
Cutting Out The Parts To Make A Cardboard Satchel
3rd Step
Next, cut out the outside front, two side pieces for the pocket, two side pieces for the satchel pocket and the pocket front. Make sure that you cut everything out from the wallpaper backed cardboard. Then also cut out the inside pocket divider, adding wallpaper to both sides of this. Now, punch some small holes 1.5cm apart along three of the sides, and leave the top edge free of holes.
4th Step
For the next part, score the unprepared side of the side piece for the pocket along the fold lines, and fold. Then centre a pocket onto the satchel front and mark its position with a pencil. And then put the pocket to one side. Position the pocket side along the marked line, and punch some matching holes in the two layers of cardboard.
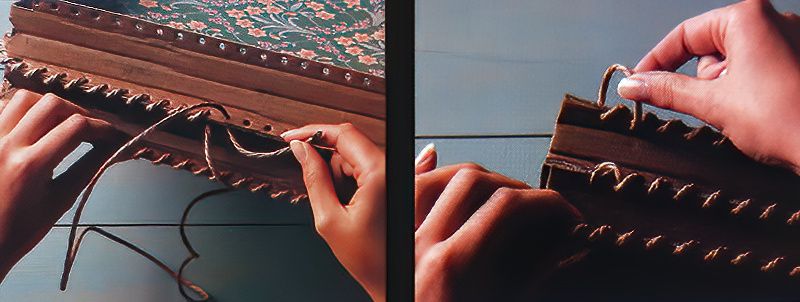
Stitch it onto the front of the satchel by threading some paper string through the holes, making the start knot and the end knot placed on the papered sides. Then fold over 2cm along the pockets straight edge and attach the pocket to the side of the cardboard satchel.
Stitching The Cardboard Satchel Together
5th Step
Next, score along all of the fold lines on two side pieces of the satchel, and bend along all of the lines. Then stitch one of them around the back satchel piece, and continue to thread the paper string through all of the holes that you made on the flap. Now, lay the wallpaper covered inside pocket divider on top of this, and lay the second side piece on top. And then stitch through all of the layers.
6th Step
Now, hold the front of the cardboard satchel in position and place it against the side strip. Then stitch this into place using the paper string. Finish it by threading the string back through the previous hole and tie a knot on the inside.
Adding Details To The Handmade Cardboard Satchel
7th Step
Now it is time to cut out a handle for the cardboard satchel. So cut the handle out and fold along the lines. Then punch some holes 1.5cm apart along the longest sides. Next, thread a double thickness of paper string through both of the eyelet holes, and tie in a knot. Then wrap the cardboard handle around the string and stitch together.
8th Step
Next, hold he front flap against the cardboard satchel. Then use a pencil to mark the positions for the backs of the fastenings on the front pocket. Then carefully push the back of the metal fasteners through the cardboard. And bolt the other parts of the fasteners in the positions that you marked. You can use some washers to prevent them from cutting through the cardboard.
















.jpg)


