A Very Smart Decorate Decoupage Tea Tray
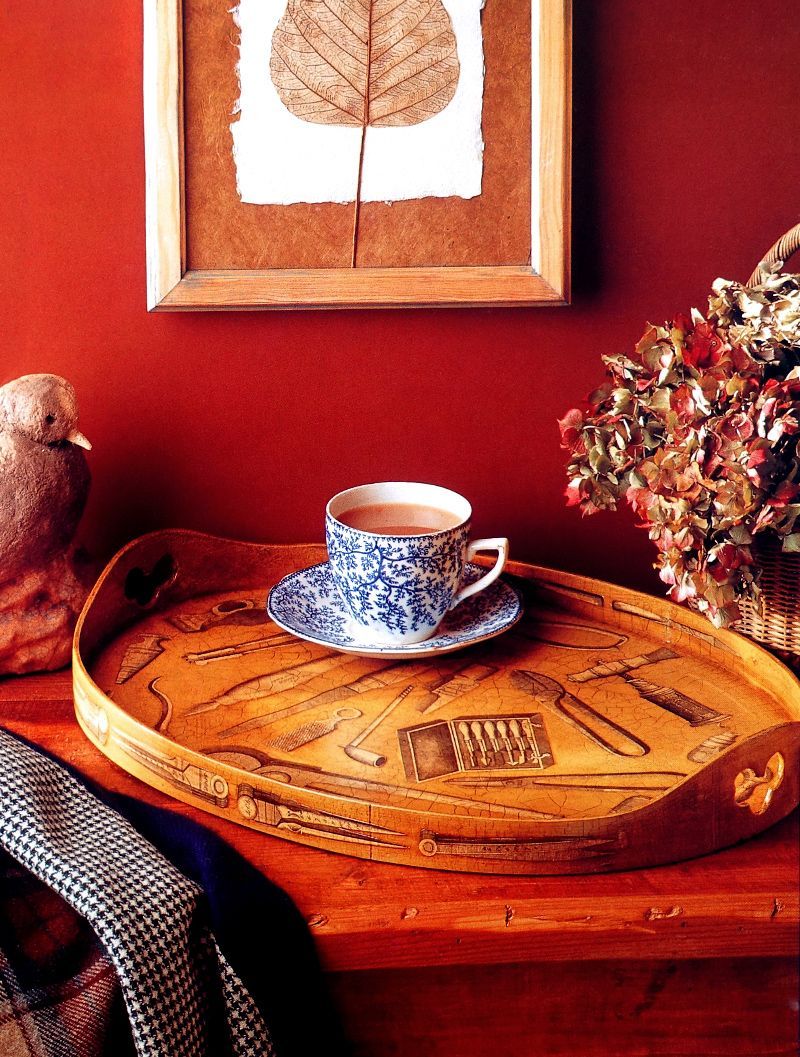
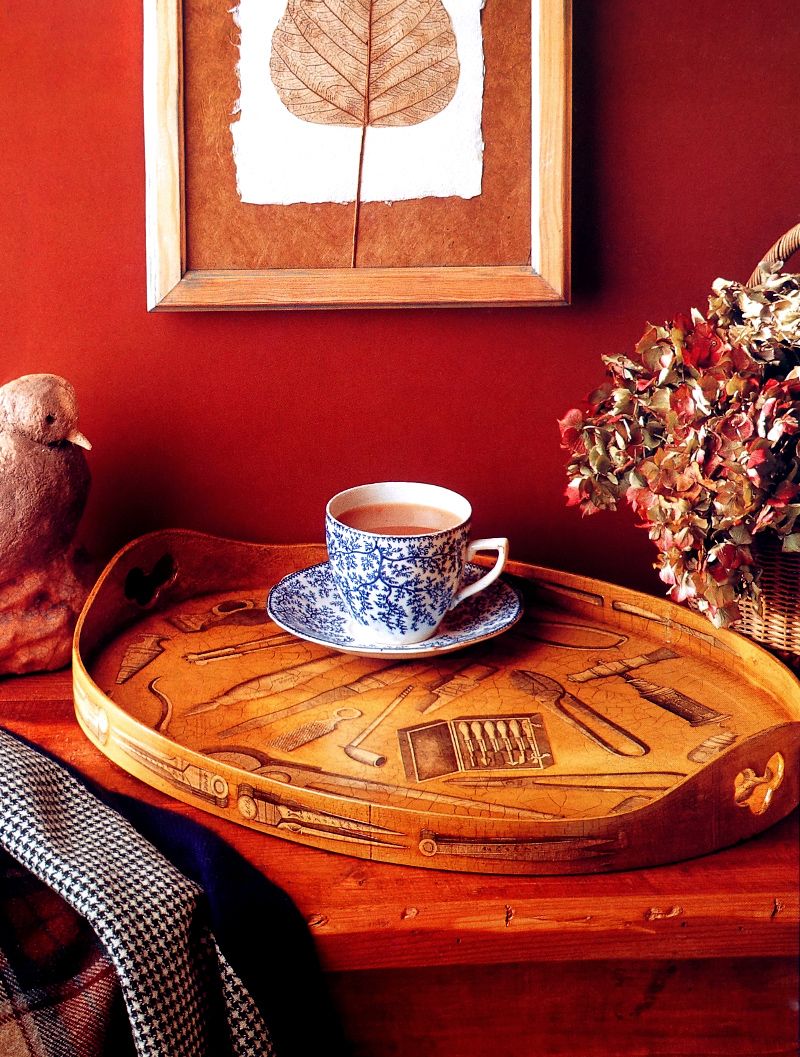
I love a good cup of tea, probably a little bit too much. I have about eight of them a day. I made this lovely little decorative tea tray and gave it a vintage look. It is the perfect size to fit a couple of cups of tea and some biscuits on.
It is really simple to do as all you need is an old tray. Or you can buy a tray to decorate from a craft store. Or you may even be able to find one in a charity shop. Then just some simple craft materials and equipment to decorate it.
You can decorate it with whatever pictures you like, I have chosen pictures that my husband would also enjoy as we love to have our tea and cake or biscuits together every morning.
To Make A Decoupage Tea Tray You Will Need
Materials
- Tray
- Woodwash in a Corn Yellow Colour
- Black and White Pictures or Photocopies
- Wallpaper Paste
- Clear Satin Varnish
- Crackle Glaze
- Oil Paint in Raw Umber Colour
Equipment
- Decorators Paint Brush
- Fine Grade Sandpaper
- Sharp Pointed Scissors or a Craft Knife
- Cutting Mat
- Large Artists Paint Brushes
- Soft Cotton Cloth
Preparing A Tray For Decoupage
Step 1
Get a tray in any shape or size of your choice and prepare it by adding a layer of woodwash. Then when dry sanding it down a little with the fine grade sandpaper.
Step 2
Next, choose your designs by either cutting out black and white pictures, printing them out or photocopying them. Carefully cut around the edges of each picture.
Adding Decoupage To A Tray
Step 3
Now, turn all of the cut out pictures the other way around and paste the back of each picture with wallpaper paste. Make sure that you get the wallpaper paste all of the way to the edges to cover the whole back side of the picture.
Step 4
Next, place all of your cut out pictures into position on the tray, make any arrangement that you wish for your design. I have spread mine out fairly evenly. Then, use a soft cloth to smooth out the pictures to avoid any wrinkles, and leave to dry thoroughly overnight.
Varnishing The Decoupage Tea Tray
Step 5
Once dry, use a clean paint brush to apply a good coating of varnish to the entire surface of the tray. Again, leave to dry. When dry, give it a light sanding with the fine grade sandpaper and repeat the varnishing and sanding stages several times.
Step 6
If you choose, to give the tray and even more vintage look, apply a coating of base varnish for crackle glaze to the tray. Make sure that you follow the instructions on the back of the crackle glaze packaging, as different products can vary slightly.
Adding Crackle Glaze To Decoupage
Step 7
When the base varnish is dry, which should take around 20-30 minutes, apply an even coating of crackle glaze and leave it to dry for a further 20-30 minutes.
Step 8
Next, use a soft cloth to rub a small amount of oil paint in burnt umber to the surface to bring out the crackled look. The burnt umber colour gives it a more vintage look, but you can use any colour of your choice.
A Beautifully Finished Decoupage Tea Tray
Step 9
Finally, when the cracks have taken on the colour, gently rub off any excess paint from the rest of the surface using another clean soft cloth. Then give the tray at least two more coatings of clear satin varnish to protect the surface.
Decoupage Tea Tray Conclusion
This decoupage tea tray is really quite a smart piece when finished. If you have some nice tea cups and a pretty teapot and nice saucer of homemade biscuits, it's wonderful. It definitely looks more complex to create that we actually know. So give this decoupage tea tray project a go.

