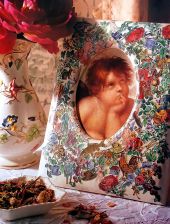
Hand Tinted Picture Frame
This is a really fun and simple way to decorate and personalise a picture frame. My children love making these with me. They made some last Christmas for their grandparents with birds on. As their grandparents love watching and feeding the wild birds in the garden.
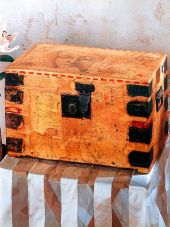
I made a random one with black and white pictures on this red painted picture frame. You can paint yours any colour that you like. And use whatever pictures you like to embellish your lovely picture frame. These make really lovely gifts or something to keep for yourself to hold memory pictures.
To Make This Hand Tinted Picture Frame You Will Need
Materials
- Painted Picture Frame
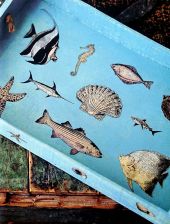
- Selection of Black and White Pictures
- Paint to Match the Frame
- PVA Glue
- Clear Gloss Varnish
Equipment
- Fine Grade Sandpaper
- Small Sharp Scissors
- Container for Paint Mixing
- Container for PVA Glue
- Medium Artists Paint Brushes
Preparing A Picture Frame Design
Step 1
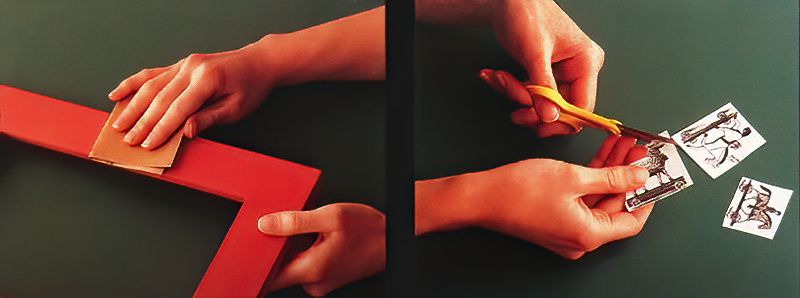
Pick a painted picture frame. I painted mine earlier in red. Any colour would work though. Then remove the glass from the picture frame and put it safely to one side. Then lightly rub down the frame with fine grade sandpaper to give it a slightly patchy and worn look.
Step 2
Then choose some black and white pictures. Photocopy or print them out to the correct sizes. Then carefully trim the pictures, and leave a slight border around all of the edges.
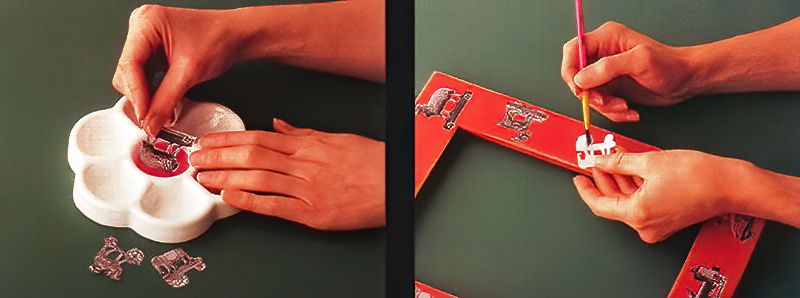
Tinting And Arranging The Design
Step 3
Next, make a thin mixture of paint and water, and dip each cut out picture in and quickly remove it. Allow it to stain the white paper. This will tint it to match the frame, but in a much lighter colour. Lay all of your pictures out flat and leave them to dry. This is the hand tinting part of the picture frame.
Step 4
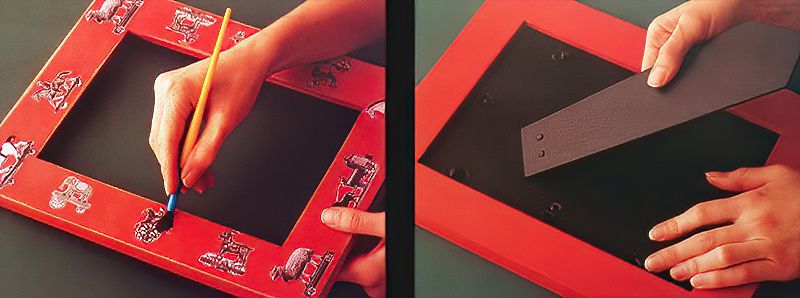
Once the cut out pieces are dry, arrange them around your frame. Once you are happy with the layout, glue them down in place using PVA glue.
Protecting The Hand Tinted Picture Frame Design
Step 5
Now, protect your design using four coats of clear gloss varnish, which will seal your design. Then leave it to dry thoroughly.
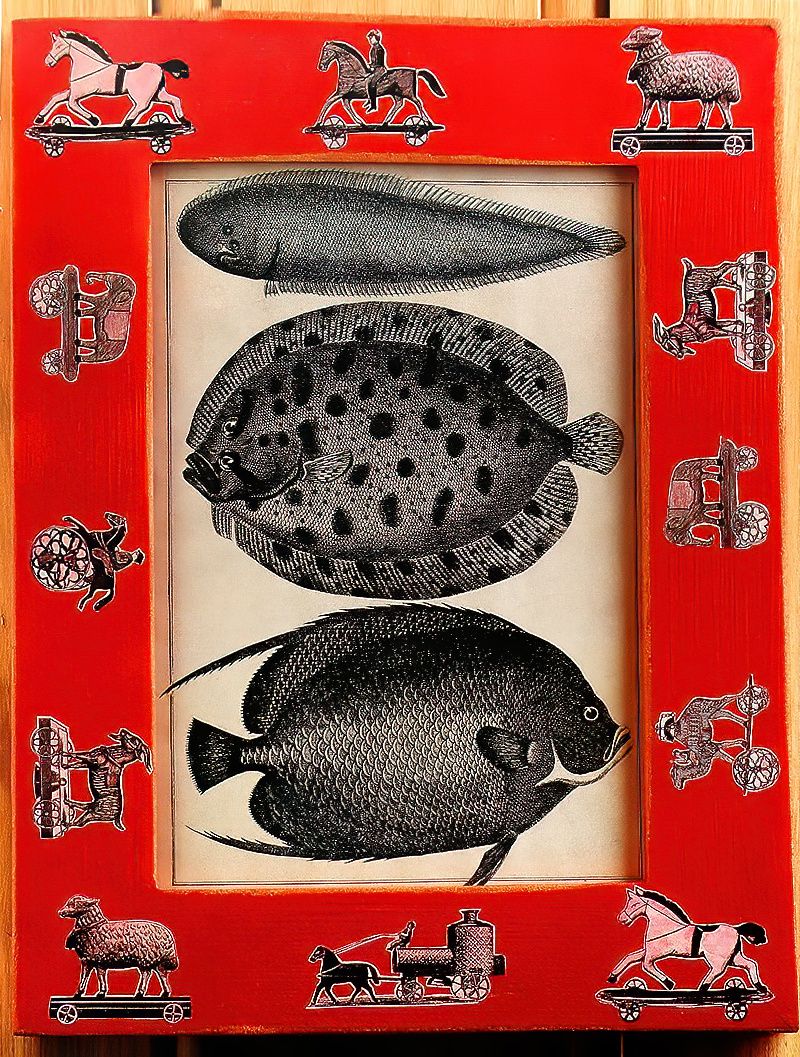
Step 6
Once it is completely dried, choose a picture to put inside the frame. Refit the glass, your chosen picture and the frame back. Now it is ready to display your memories, or to give as a gift.
Hand Tinted Picture Frame Conclusion
A clever technique. A simple idea that is slightly different from other tinted effects using teabags for example. This hand tinted picture frame look really quite vintage, just with addition of that extra step before the decoupage.
I have shown you the basics here. But think about how far you could take it and what other things could use this effect.


.jpg)
.jpg)


.jpg)