Try A Fantastic Decorative Technique An Amazing Decoupage Table Top
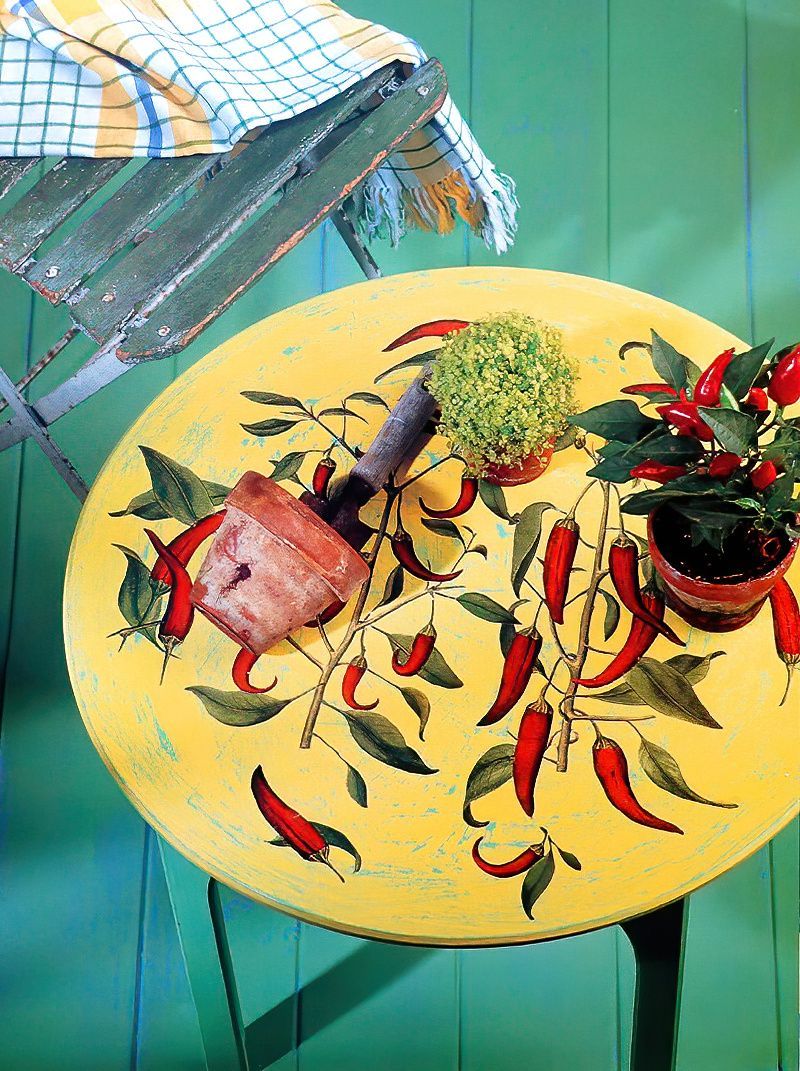
I really loved making this decoupage table top it's so decorative. It is easy to make and adds a colourful decorative accent to your home. I have chosen to do a chilli pepper design, but you can choose any picture that you like.
My Mum really wanted a little table for her conservatory as she likes sitting in there when she has a cup of tea in the morning. One of her favourite types of plants to grow in there are chilli plants, so the design reflects that.
Paint Using Your Favourite Colours On The Tap Top
Step 1
Start by painting the table using white emulsion paint and then leave it to dry thoroughly. Next paint the table in an emulsion colour of your choice. I have chosen green for mine.
Step 2
Next, using a soft cloth, rub wax across the surface unevenly. Then leave it to dry.
How To Create The Vintage Look
Step 3
Now that the table is dry, paint the table with a second colour of your choice, I have chosen yellow for mine. And leave to dry completely before lightly sanding the surface of the table.
Step 4
Using the fine grade sandpaper, gently sand the surface of the table until you can see the original paint (in my case green) showing through. Continue to sand the table until the paint has a distressed look to it.
Be As Creative As Possible With The Decoupage Design
Step 5
Now you need to measure the top surface of the table, so that you know how large to make your chosen design (in my case chilli peppers).
Step 6
Take your chosen pictures and photocopy them to your desired size. Then to start making your design, cut out the smaller inner areas between the design using a craft knife and cutting mat. Be careful when cutting around any delicate areas.
Decorating A Decoupage Table Top Is Simple
Step 7
Now you can start cutting out the larger pieces using a small pair of scissors. Again taking care to preserve your design. Then arrange all of the shapes to create your design. You can move everything around until you are happy with it.
Step 8
Next, pick up each piece, one piece at a time and apply the glue to the back side of the cut out. Then gently pick up each piece and place it onto the top surface of the table. Smooth the surface carefully to ensure that there are no creases.
How To Varnish A Decorative Decoupage Table Top
Step 9
Finally, varnish the table with four coatings of clear satin varnish. Ensure that you leave each coat to dry thoroughly between applying the next coat.


















.jpg)
