Spooky Halloween Picture Decoration
Spooky Halloween Decoration Picture That Looks Smart
Basically spiders and cobwebs are a must at Halloween. So I took these motifs and have made this fantastic spooky Halloween picture. But I think the end result is so good that you could almost keep this decoration up all year round.
Make a few of these to make a really spooky scene. Maybe take them even further and picture some photos of you friends or family in the background behind the webs.
You could also remove the frame and just have these as window decorations, so the light can come through them.
But beware the three-dimensional spiders are so spooky, they are bound to actually fool some people.
What We Need to Make a Spooky Halloween Picture Decoration
- Basic paper crafting tools
- Card, orange and black, 30.5cms square or 12 inches square
- Parchment paper or tracing paper, 28 x 33cms or 11 x 13 inches
- Quilling paper, black and green 3mm wide or one eighth inch
- Quilling tool
- Picture frame 30 x 35cms or 12 x 13 and one third inches, outer edges
Halloween Cobweb Template
Step One
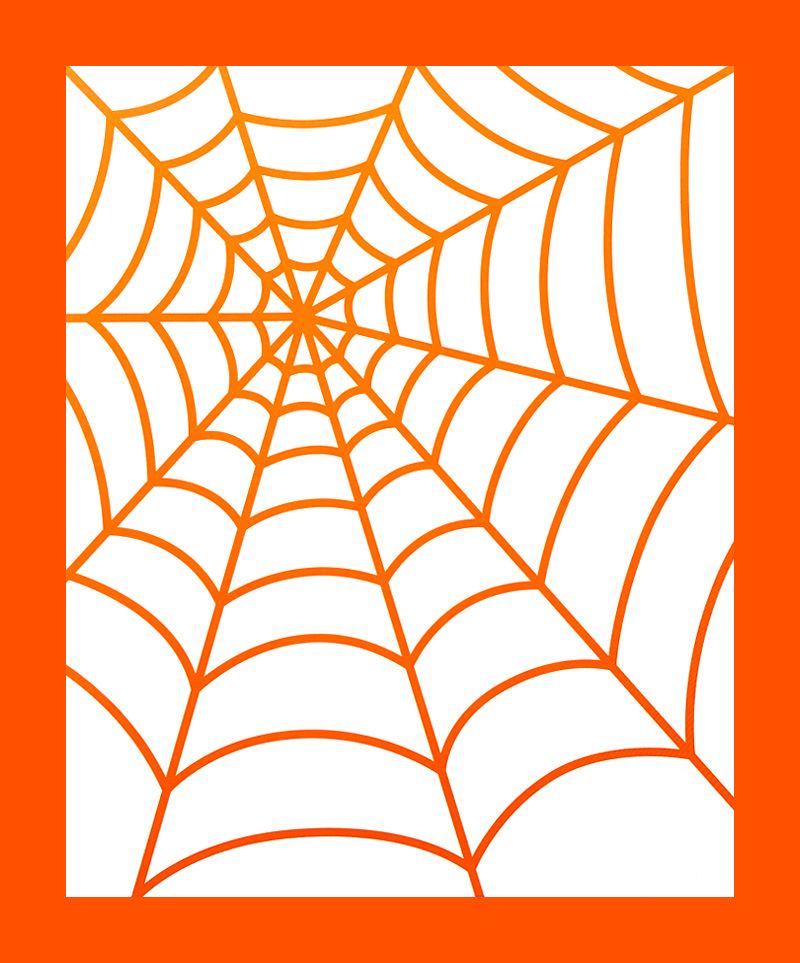
Take a look at the cobweb template above. This really is just a guide. There is no right or wrong cobweb obviously. Copy the template or make your own cobweb. And don't be too precise. Wobbly cobwebs are best, even on Halloween and even in spooky Halloween pictures.
Either draw out the cobweb on to the orange card or resize it and print it and lay it on top of the orange card and cut through both layers at the same time.
Frankly it probably easier just to quickly sketch it out. Again, we are not going for precise at all here.
Draw the design on the orange card measuring 26 x 30.5cms or 10 and one quarter x 12 inches.
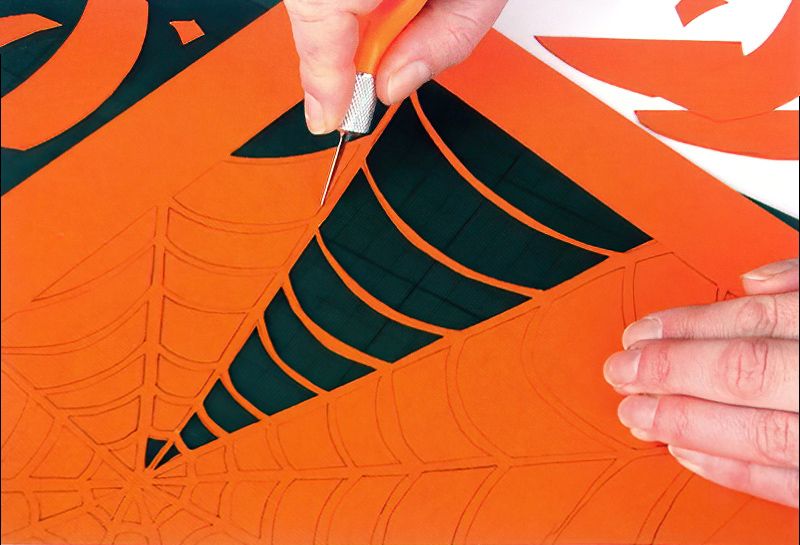
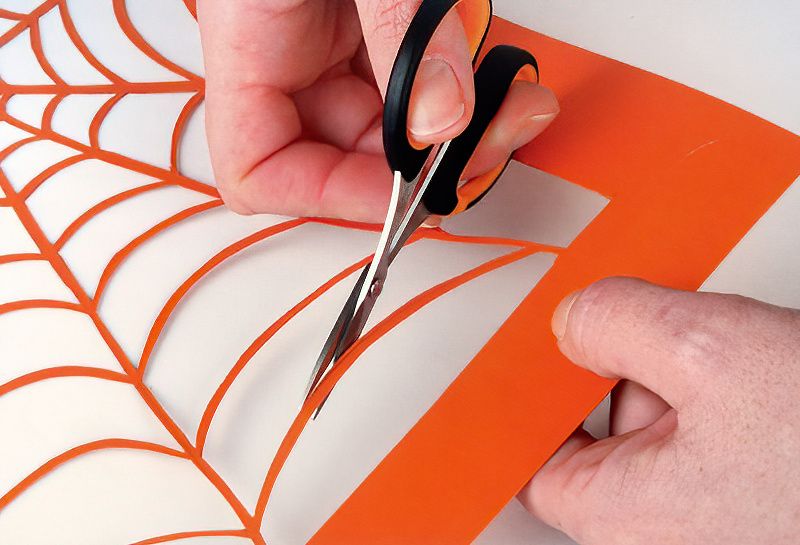
With a sharp craft knife and cutting mat, carefully cut out the inner part of the cobweb. This will leave us with just the webby parts of the cobweb, if you know what I mean!
Let's move on with our spooky Halloween picture.
How To Make A Halloween Decoration
Step Two
Don't worry if you break a cobweb, this could be an interesting part of the design. Use some smaller scissors to tidy up any uneven sections of your web. Make the threads look neat and even.
Start Assembling The Halloween Spooky Decoration
Step Three
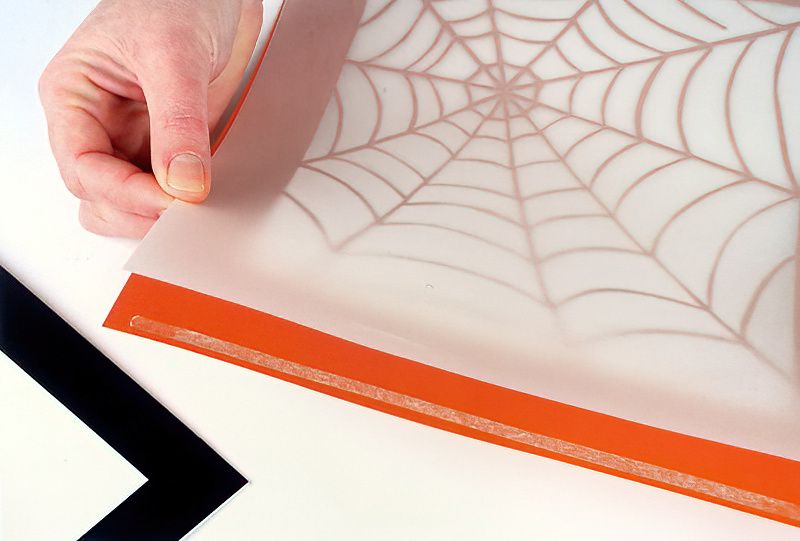
Now attach the sheet of parchment paper or tracing paper to the back of the web for a spooky effect. Best to just use some double-sided tape for this.
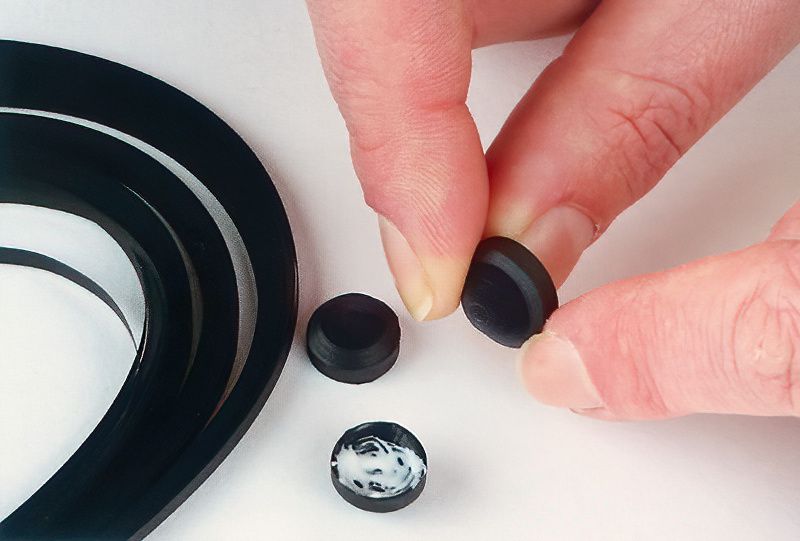
Now on the front we can add a black border to make our spooky Halloween picture look more fancy.
To make the black border:
- Cut two strips of black card, 2.5 x 27.5cms or 1 x 11 inches
- And two more strips of black card, 2.5 x 30.5cms or 1 x 12 inches
Glue all the strips together in a frame shape.
Make Some Spiders For Our Homemade Halloween Decoration
Step Four
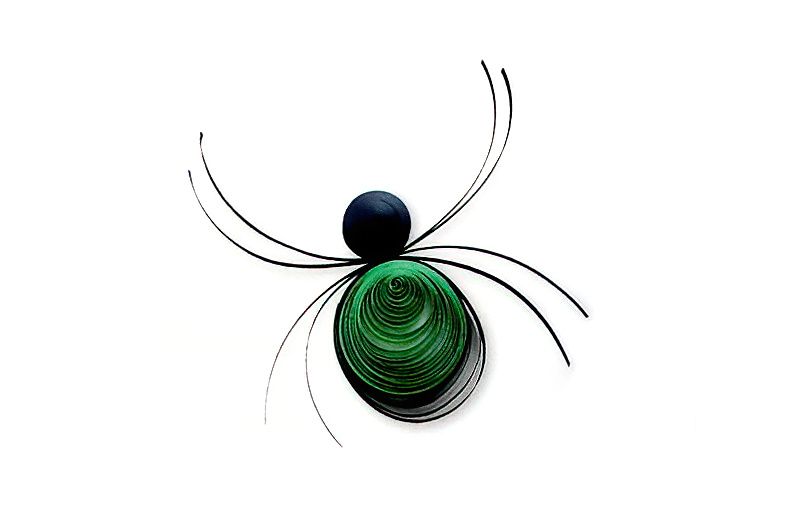
Now we can make the spooky spiders for our spooky Halloween picture.
Start with the spider's head:
- For spiders head
- 3 lengths of black quilling paper, each 40cms long or 15 and three quarters inch long
- Glue the three strips end on end to make one big strip 1.2m long or 4 feet long
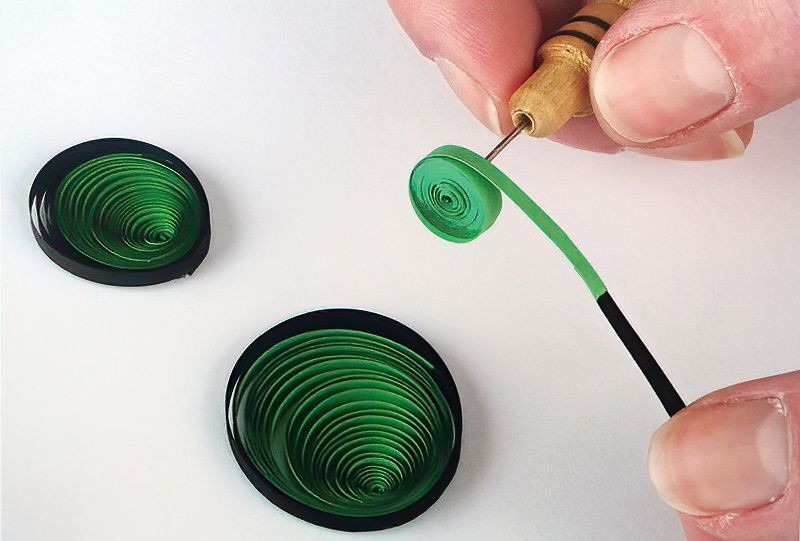
Now, with this crazy long piece of skinning quilling paper, get your quilling tool.
Start coiling the long strip of paper. Try and make sure it is tight and take your time. Finally glue the end in place to complete the circle. Hold it until the glue takes, you really don't want this one to ping out into a crazy spiral mess.
Now, once the glue it set. Gently push up the centre of the circle. This makes a sort of dome. Don't push too far, slow and steady is best.
Once we have a pleasing dome shape for the head, glue the underside, so this shape is fixed. Leave it to dry again.
Now make two smaller domes, by starting with only two lengths of the black quilling paper 40cms long or 15 and three quarter inches long.
Glue the two strips this time, end to end and wind, glue and dome. This will make two smaller spider head shapes for our spooky Halloween picture.
Continue Making Quilling Paper Spiders
Step Five
For the spiders body we will use three lengths of the green quilling paper, glued end to end. And then one extra length of the black quilling paper glue on the end of the green quilling paper.
Body:
- 3 lengths of green quilling paper, each 40cms long or 15 and three quarters inch long
- 1 length of black quilling paper, 40cms long or 15 and three quarters inch long
- Glue the three green strips, end on end, then glue the black strip on the end of that
- Makes one big strip 1.6m long or 5 feet 3 inches long
Wow, we now should have a 1.6m or 5 foot 3 inches length of skinny quilling paper, made up with three green and one black section.
Now with your quilling tool start winding again. Start with the green end, so you will finish with the black end. Be careful winding so it doesn't slip and become tangled.
Before you glue, make sure to carefully loosen the tightness of the coil to make a fatter body. When you have a pleasing spider body shape, glue the end closed to secure. Then store it flat and maybe put something on top of it until we can glue it into the picture. I'd hate for it to uncoil on you now.
Make another two spider bodies. This time using only two green strips with one black strip. We have all the pieces we need now to assemble our spooky Halloween picture.
Make Spider Legs For Our Paper Spiders
Step Six
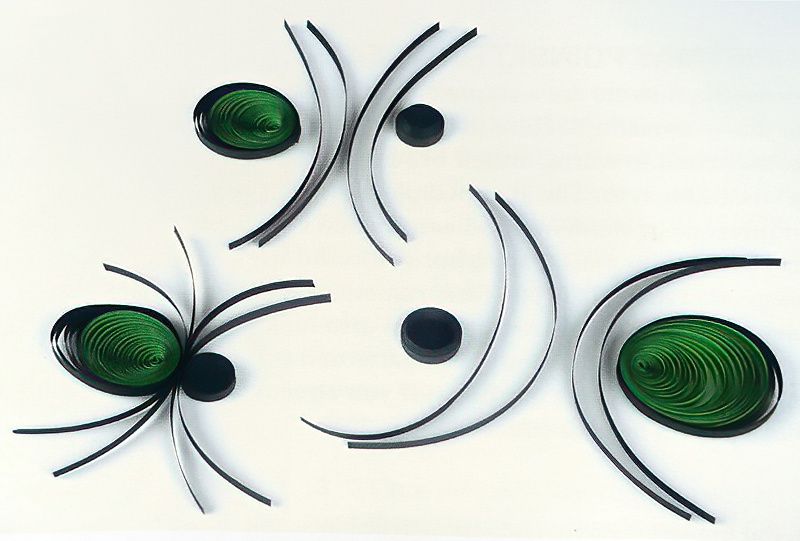
Now we are going to make the legs and assemble.
Legs:
- Large spider — cut four 10cm or 4 inch lengths of black quilling paper
- Small spiders — cut eight 7cm or 2 and three quarter inch lengths of black quilling paper
Make sure they are curling in the right direction. Now we can assemble our spooky spiders for our spooky Halloween picture.
Now carefully glue the body to one set of legs. Use a cocktail stick to apply the glue more accurately. Then glue the legs together and finally the spider head.
Complete the other spiders.
Finally, glue the spiders to their happy cobweb home in our spooky Halloween picture.
Googly eyes can be added if you want your picture to less spooky and more silly.
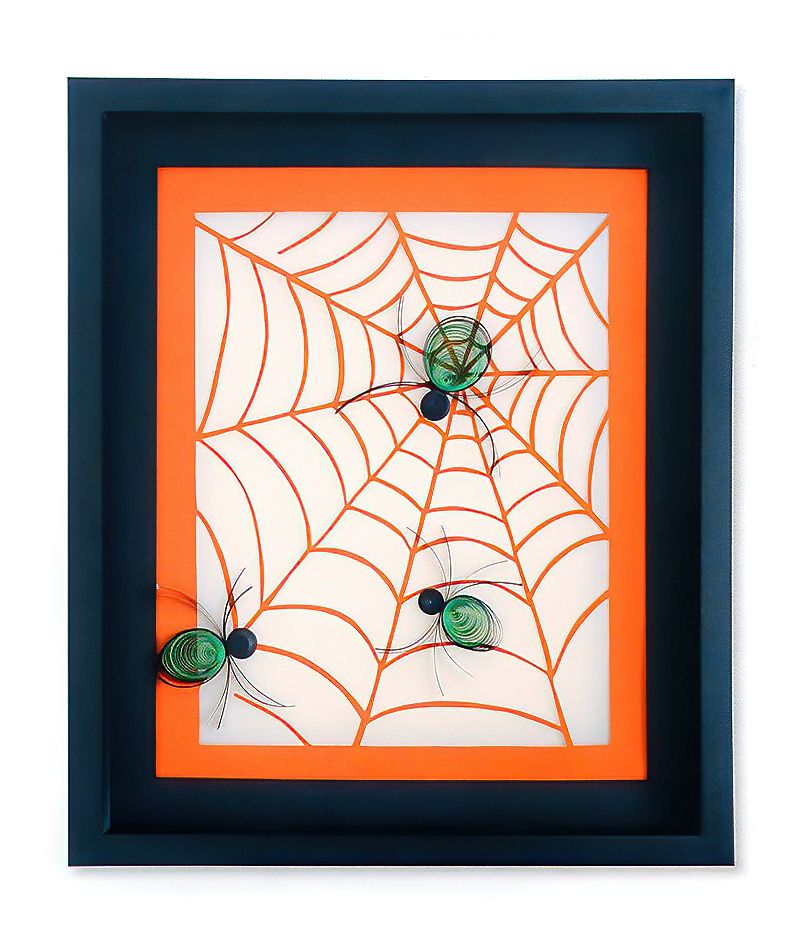
Spooky Halloween Picture with Spiders
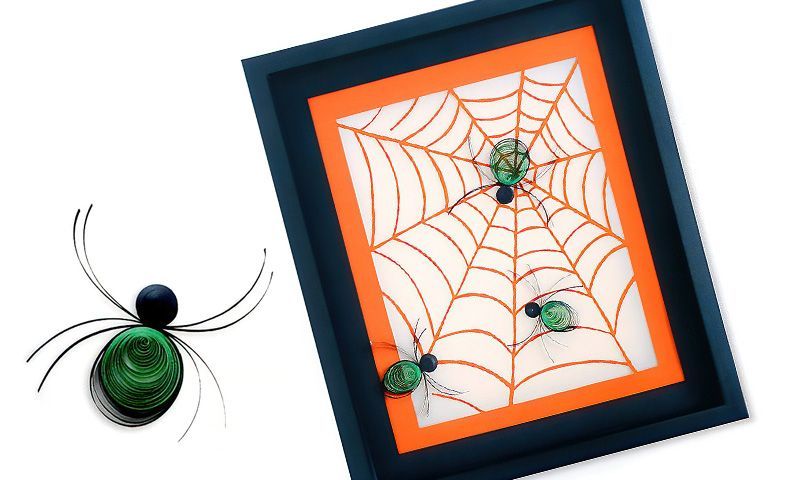
To really make your picture look fantastic, you can mount it in a black picture frame. This will protect it, so you can pull it out year after year.
But also think about hanging it in a window so the light can come through. Or maybe add some photos of loved one trapped in the spiders web. Now you have the basic idea, go crazy and have fun crafting.
Hope you had fun making this spooky Halloween picture.





.jpg)
