Make A Decoupage Tray And Have A Tea Party
I love doing decoupage because it really enhances something basic by making it look a lot more decorative. One of the things that I love about it is that you can choose any pictures that you like for your decoupage project.
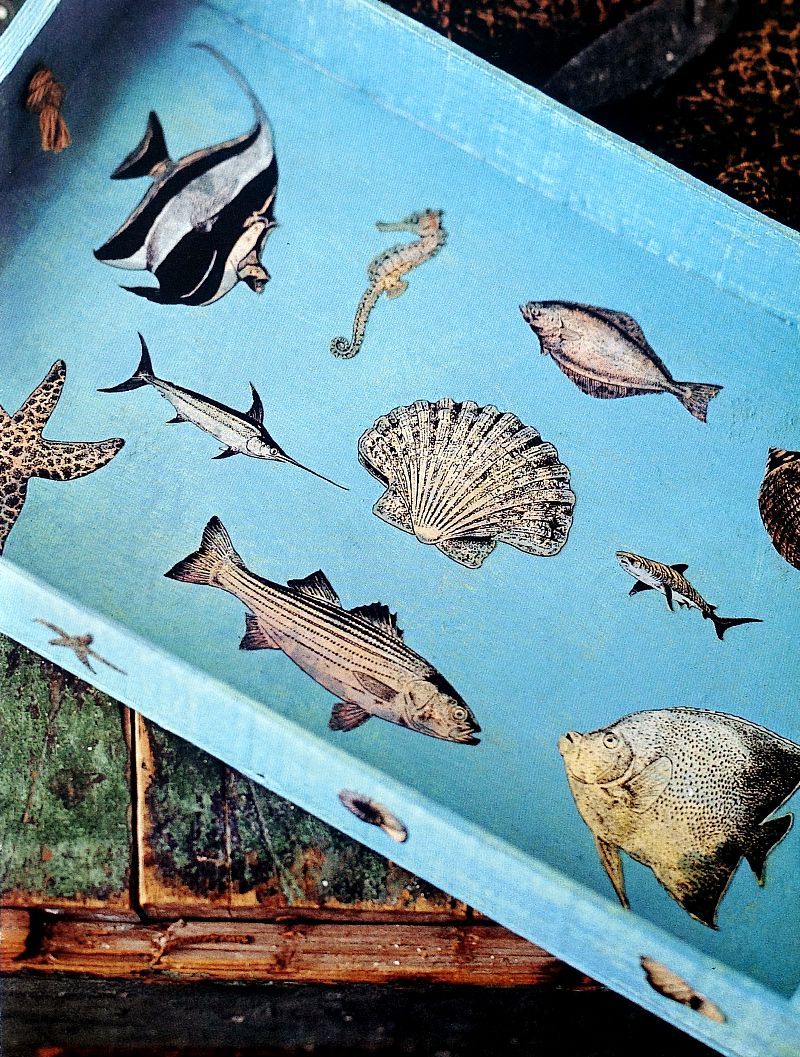
Today I am showing you how to decorate a tray. I have chosen pictures of fish for a marine theme, but you can choose anything that you like, animals, flowers, etc. I now have my decoupage tray sat in my conservatory as a tea tray as I like to sit in there in the mornings.
Things You Will Need To Make A Decoupage Tray
Materials
- Gardening Seed Tray
- Piece of Hardboard
- Tacks
- Emulsion Paints
- Printed Pictures on Paper
- Piece of Wood
- Matt Varnish
- Rope
Equipment
- Screwdriver
- Drill
- Pencil
- Saw
- Fine Grade Sandpaper
- Glue Gun and Glue Sticks
- Hammer
- Small Decorators Paint Brushes
- Fine Artists Paint Brush
- Scissors
- Masking Tape
A Tray That Is Easy To Make
Step 1
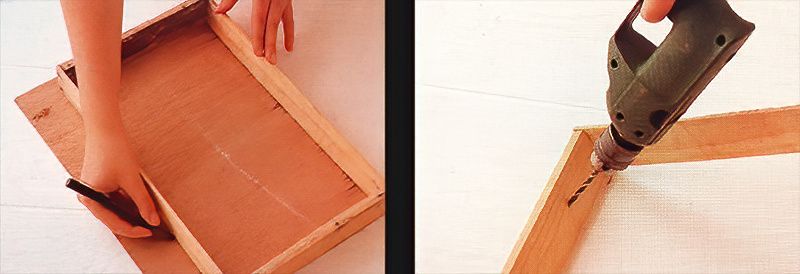
Start by removing the base of the gardening box, you can do this by inserting a screwdriver in between the base and the sides of the box.
Step 2
Next, you will need to drill two holes in each end of the tray. This will be where you will eventually put the handles for the decoupage tray.
Cutting Wood And Preparation
Step 3
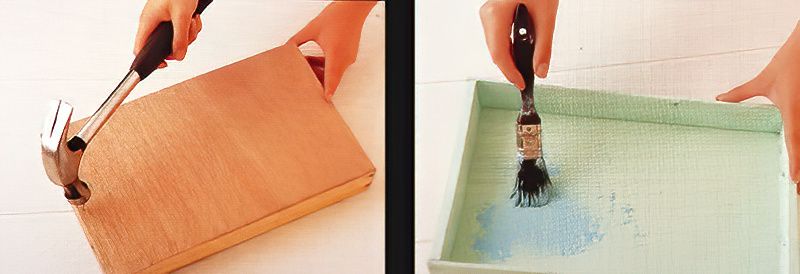
Now, you need to make a new base for the tray using the piece of hardboard cut to the correct size. Use the saw to cut out the new hardboard base, and sand down the edges of the hardboard to make it smooth. Then glue the base to the tray and hammer it into position.
Step 4
Next, apply an even coating of the coloured emulsion. I have used an aqua blue colour to fit with my marine theme. Paint the whole tray, both the inside and the outside. Leave the tray to completely dry.
Then roughly paint the whole tray again with a slightly different shade of emulsion. I have used another shade of blue for my decoupage tray. Make sure that you leave some of the first colour showing through in some places.
Choose Your Own Decorative Designs
Step 5
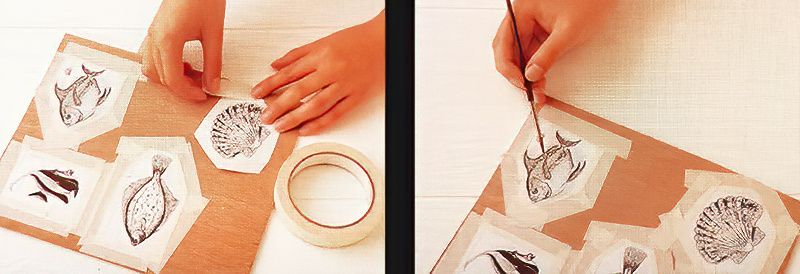
You will now need to roughly cut out a variety of pictures. I have chosen fish and shells. Enlarge the pictures using a photocopier if you need to. Then lay all of the pictures on a piece of wood and secure them into place using the masking tape.
Step 6
Make a watery wash of paint and paint it all over the pictures to give them a kind of vintage look. Leave them to dry thoroughly before the next steps.
Decoupaging A Tray
Step 7
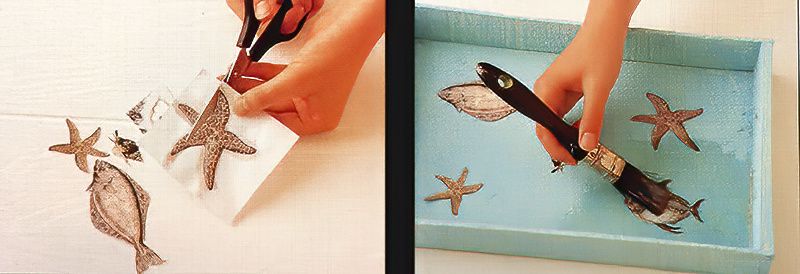
Once all of the pictures are dry, remove them from the wood and carefully cut them out.
Step 8
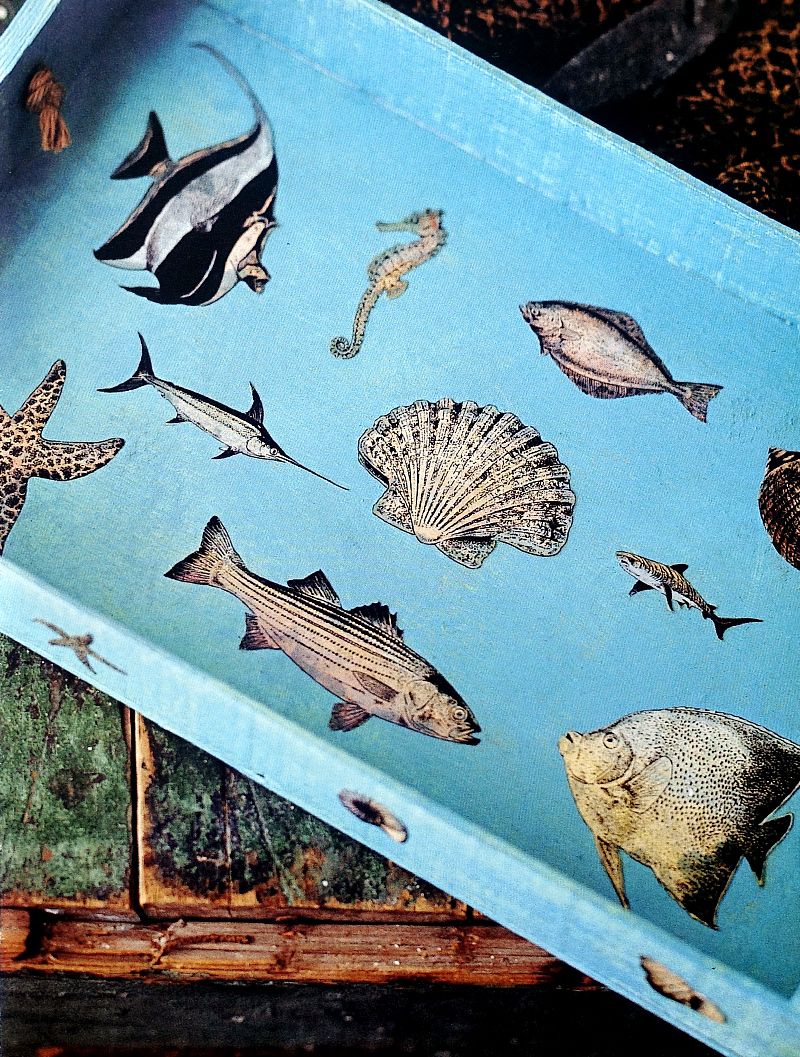
Next, position all of the pictures onto the tray and varnish over the top of them to keep them in place. You will need to give the tray at least three coats of varnish to protect it. And make sure that you let the tray dry between coats.
Your Finished Decoupage Tray
Step 9
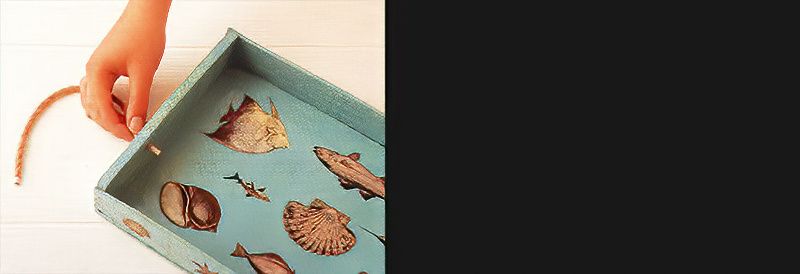
Finally, cut two lengths of rope to create the handles for the tray. Tape around the ends of the rope with masking tape to help you to push the rope through the holes. Then tie knots in the ends to hold the handles in place.
Our Completed Fishy Decoupage Tray
Once this little project is completed, I think you'll be amazed at how effective it is. It is very easy and actually quick, to make something that is really striking. Match your tray to the accent colours of your interior design.








.jpg)

.jpg)
