Paper Cut Bookmarks Will Promote Reading In Children
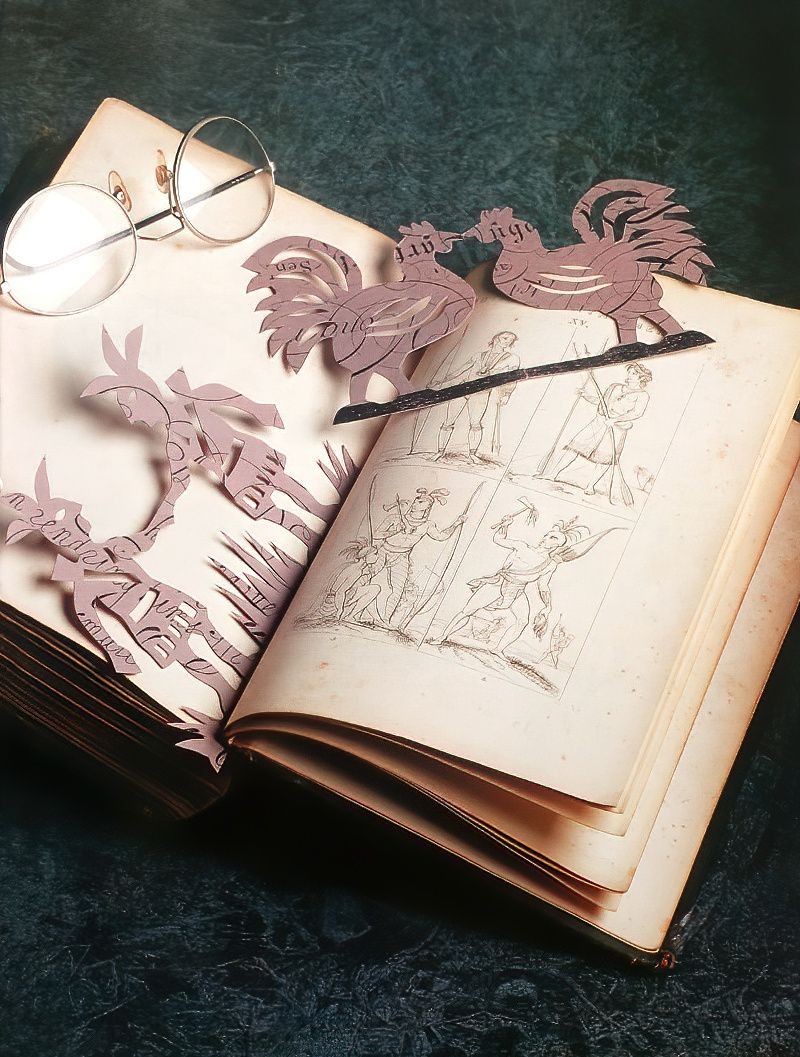
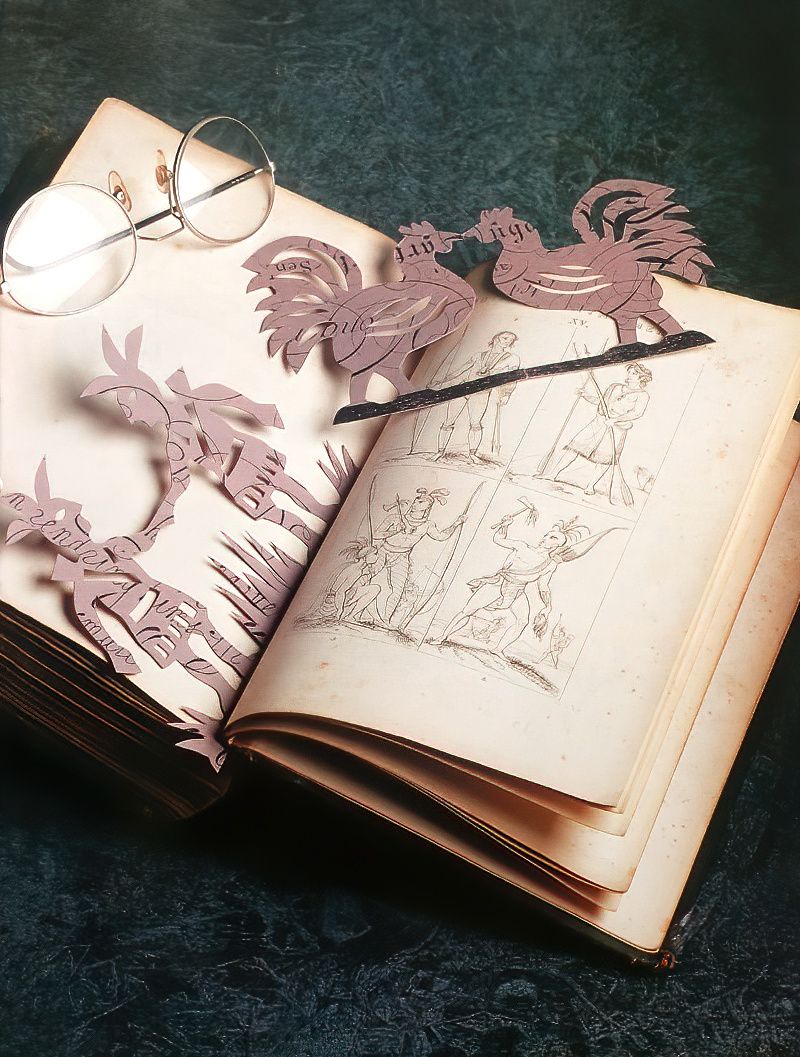
I think it is really nice to make unusual and personalised bookmarks. My husband and myself spent last weekend making some for our children for when they read their books. My husband also wanted to make one for himself.
This is a really simple and affordable paper cutting project as you only need some basic materials and equipment to make a really lovely bookmark. You can make any design that you wish, using any colourful paper of your choice. These paper cut bookmarks also make wonderful gifts for people who love to read books.
Things You Will Need To Make Paper Cut Bookmarks
Materials
- Coloured Paper
- Old Printed Documents or Ledgers
- Spray Adhesive
Equipment
- Ruler
- Craft Knife
- Cutting Mat
Printing On Coloured Paper
Step 1
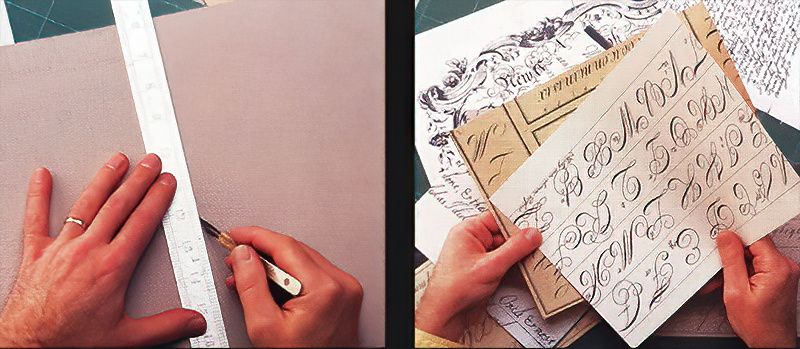
Start by trimming the coloured paper to A4 size (it may already be this size), so that it will fit easily into a photocopier.
Step 2
Then choose the best looking part of a calligraphy printout, and photocopy it or print it onto the coloured paper.
Cutting Out Your Paper Cut Bookmark Designs
Step 3
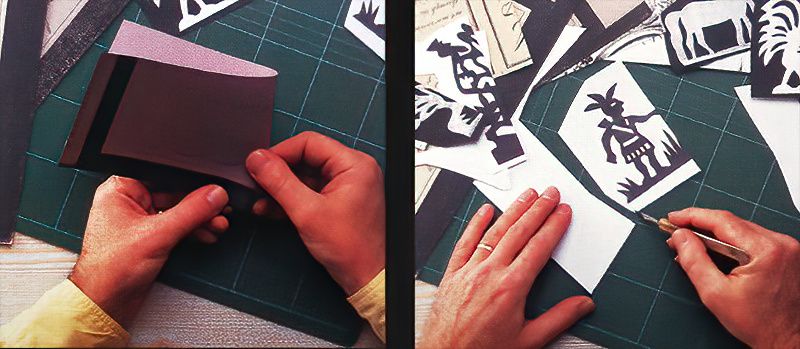
Next, choose your favourite parts of your photocopied paper and trim them to double pattern size, and then fold them in half.
Step 4
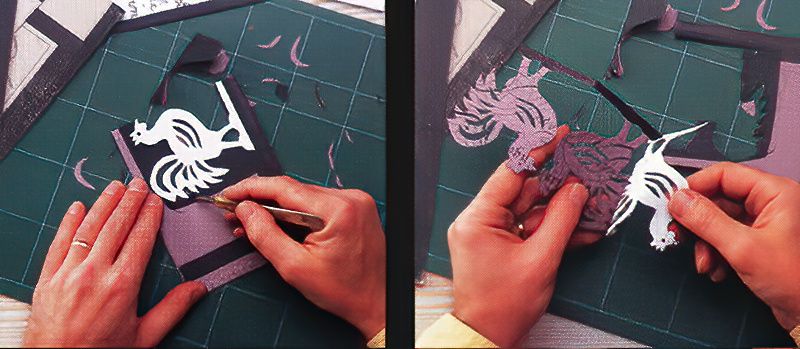
Then make more photocopies of your templates and carefully cut them out using a craft knife and cutting mat.
Putting Your Paper Cut Bookmarks Together
Step 5
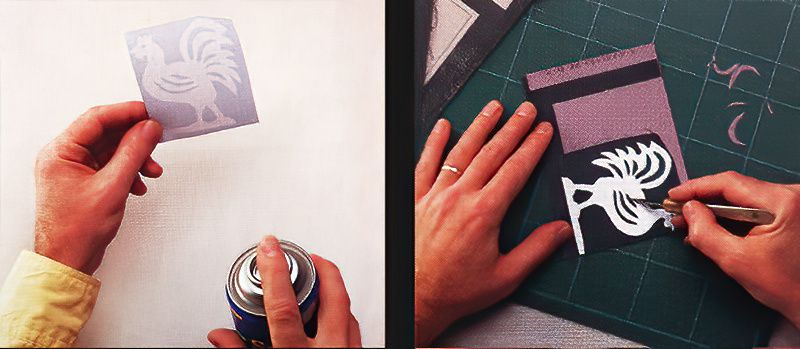
Now, cut each pattern into half and lightly spray the backs of your bookmark design with spray adhesive. Then carefully stick them along the fold lines of the coloured papers.
Step 6
Next, use the sharp craft knife to carefully work on the inside cuts first.
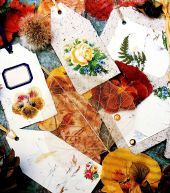
Beautiful Paper Cut Bookmarks
Step 7
Then use the craft knife to carefully make the cuts around the outside.
Step 8
Finally, carefully peel the template pattern off and open your design out to reveal your beautiful paper cut bookmarks. Now you can use them to save your place in the book that you are reading.

