Make a Homemade Duffel Bag
Let's Make A Fun Homemade Duffel Bag For Kids
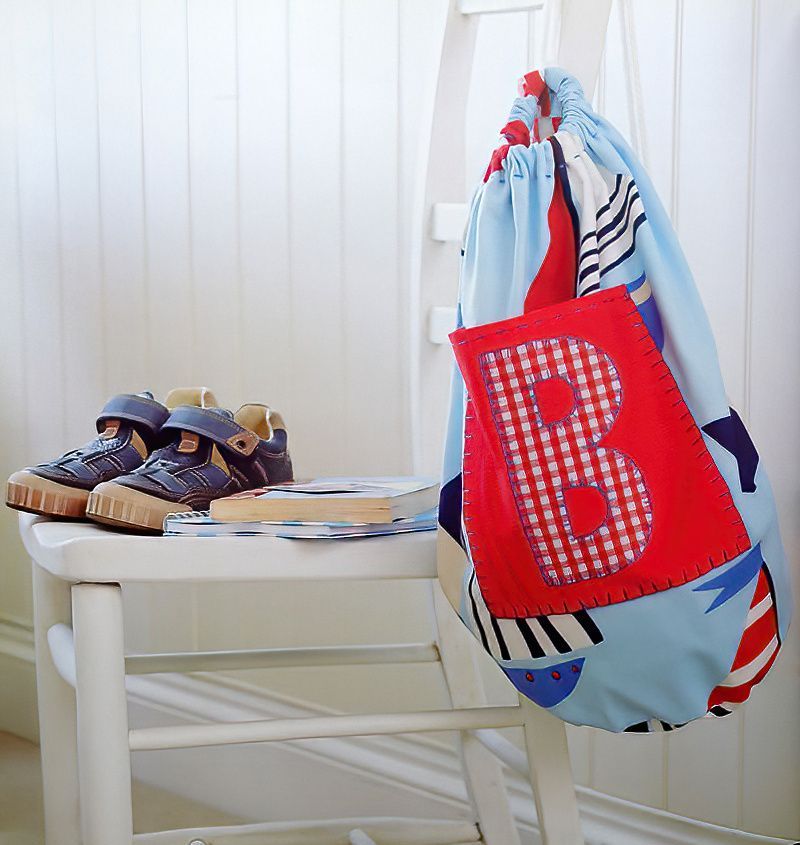
Well I say for kids, but you could make this duffel bag for anyone and they would love it. Personalise your homemade duffel bag the way you want. A duffel bag is perfect for quickly throwing everything in and getting on the go.
Perfect for sleepovers, sports and swimming or fun days at the beach. If you make a homemade duffel bag, I'm sure you will use it almost every day.
Our homemade duffel bag even has a handy dandy pocket.
Things We Need For A Homemade Duffel Bag
- 25cms square or 10 inches square of red fabric
- Needle and embroidery thread
- 20cms square or 8 inches square of checkered gingham fabric
- Fusible web
- Paper, pencil and scissors
- 1m or 3 feet of fabric for the main bag (137cm/54inches wide)
- Pins
- 1.4m or 4 and a half feet of cotton cord
- 6cm or 2 and half inches of gingham ribbon (2cm/three quarters inch wide)
- Safety pins
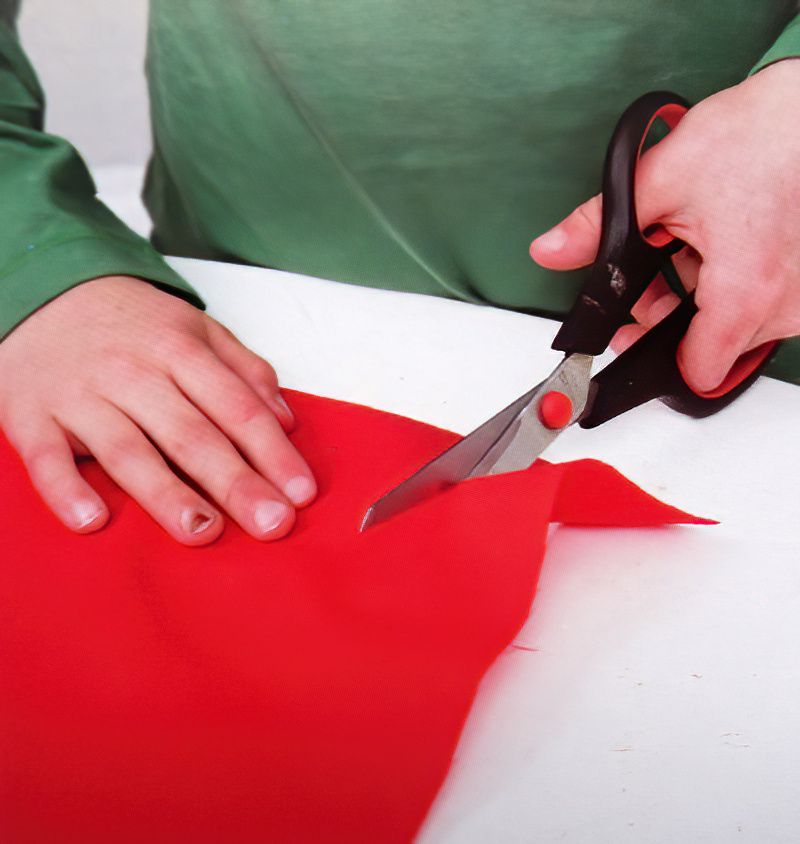
First Make The Pocket For Our Homemade Duffel Bag
Step One
Find your square of red fabric. This is going to be our pocket. Fold the four edges over about 1cm or half an inch. Then ask an adult to use a hot iron to press these folds flat.
Once cool, we can take the red fabric pocket and sew along one side of the square. This side we are sewing, will become the top part of the pocket.
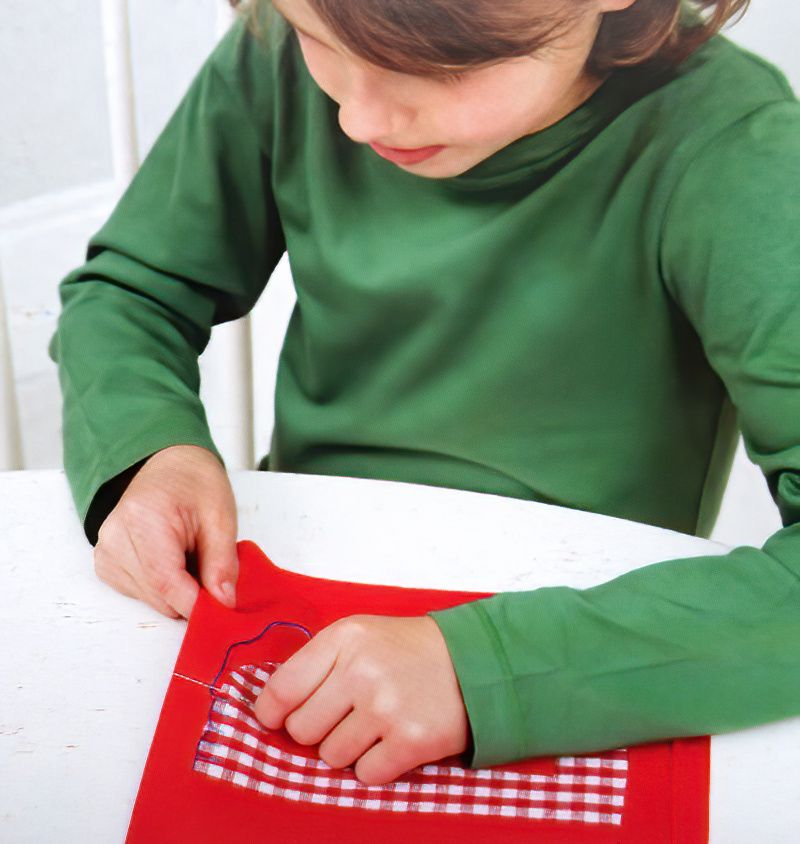
Now We Can Personalise Our Homemade Duffel Bag
Step Two
Now, find your piece of gingham fabric. Then again ask an adult to iron on the fusible web onto the back of the gingham fabric. Fusible web is like a glue sheet for fabric with a paper backing. Leave the paper on.
Next decide what letter you are going to make. Either search the internet for "letter B shape template" or whichever letter you are doing. Or draw it yourself or find one on your computer. Resize it to fit on the fabric and print it and cut it out.
Now we need to turn over the letter template, so it is mirrored, and then trace around it on the fusible web backing paper. We mirror it so when we cut the fusible web and stick it down, it will be back the right way round.
Cut out your fusible web fabric letter. Remove the backing paper and ask an adult to iron it in place on your red pocket.
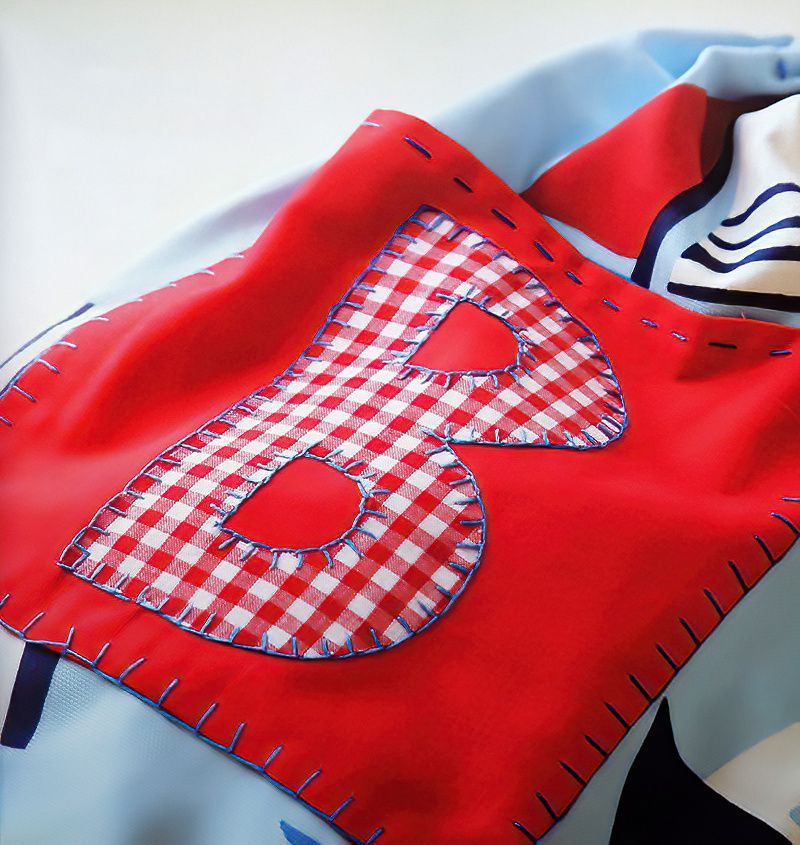
Finally, sew around the edges of the letter using blanket stitch.
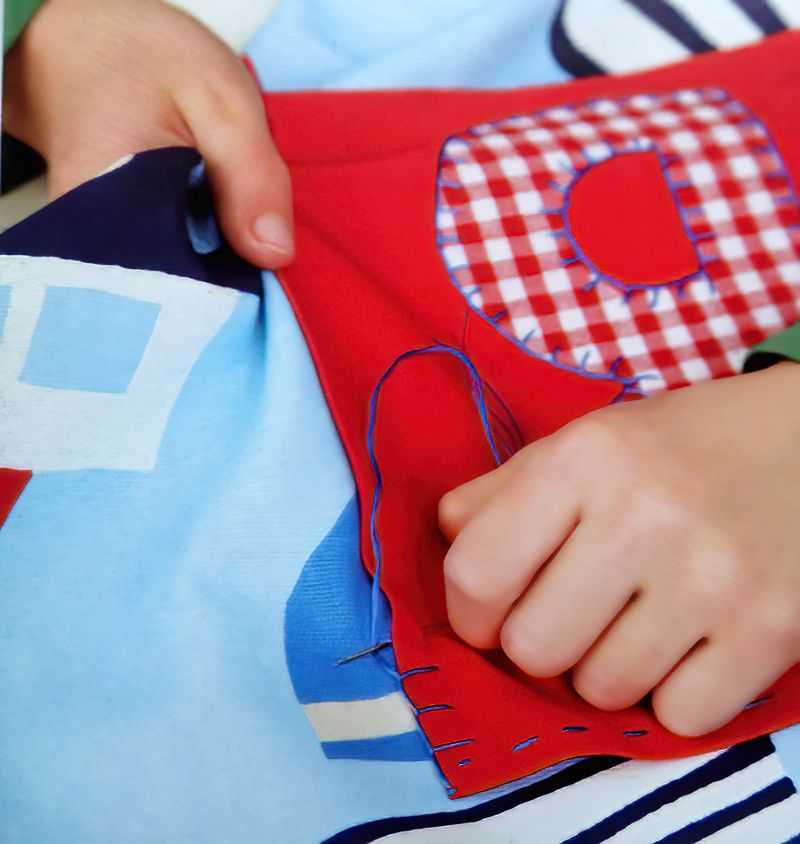
Time To Start Assembling Our Homemade Duffel Bag
Step Three
Blanket stitch means when you poke the needle in at the front, slightly in from the edge. Then you come back out to the front. Move along and go back in the front. But before you go back in the front you hook the dangly thread. This makes a square shaped stitch.
Have a practise on a scrap piece of fabric if unsure.
Next we need to cut a piece of fabric for the main part of the bag. Cut some fabric 60cm or 2 feet in length. Pin the pocket in position on the front. Then sew the pocket in place using blanket stitch.
Sew The Side Seams Of Our Homemade Duffel Bag
Step Four
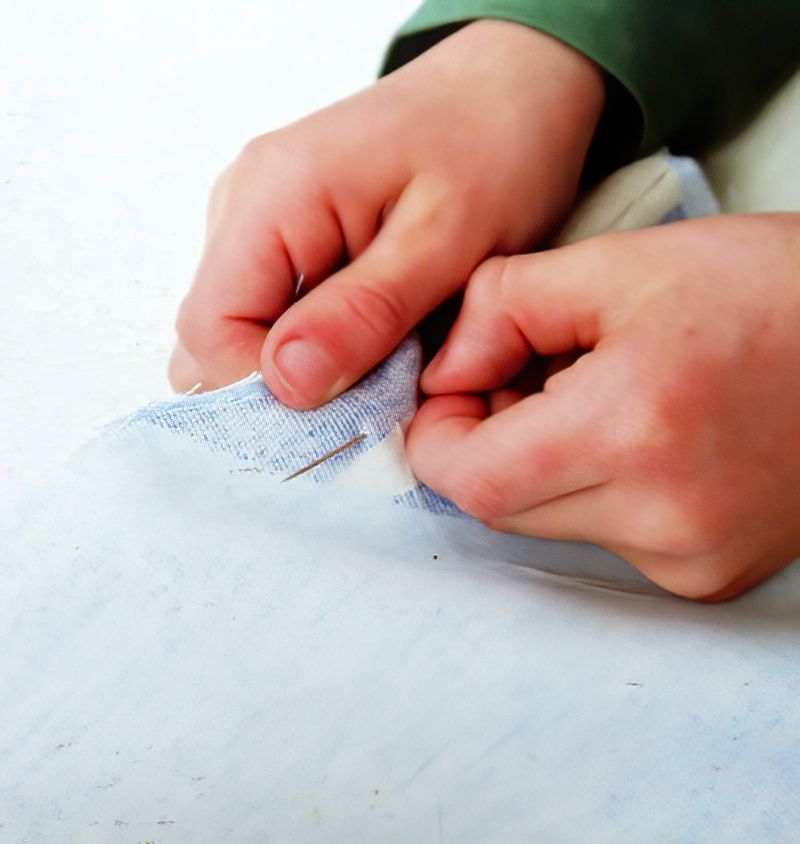
Now we can fold our main bag fabric in half with the nice sides facing each other. Stitch about 1cm or half an inch in from the edge, along the long edge using a back stitch.
When we get close the end, we want to leave a little gap. This is where the drawstring will go. So when you get to about 9cms / 3.5 inches from the end, stop and cast off. Then leave a gap of around 2.5cms or 1 inch. Then start sewing again and go to the end this time. The last bit of sewing should be around 6cms or 2 and a half inches.
Sew The Base Of Your Homemade Duffel Bag
Step Five
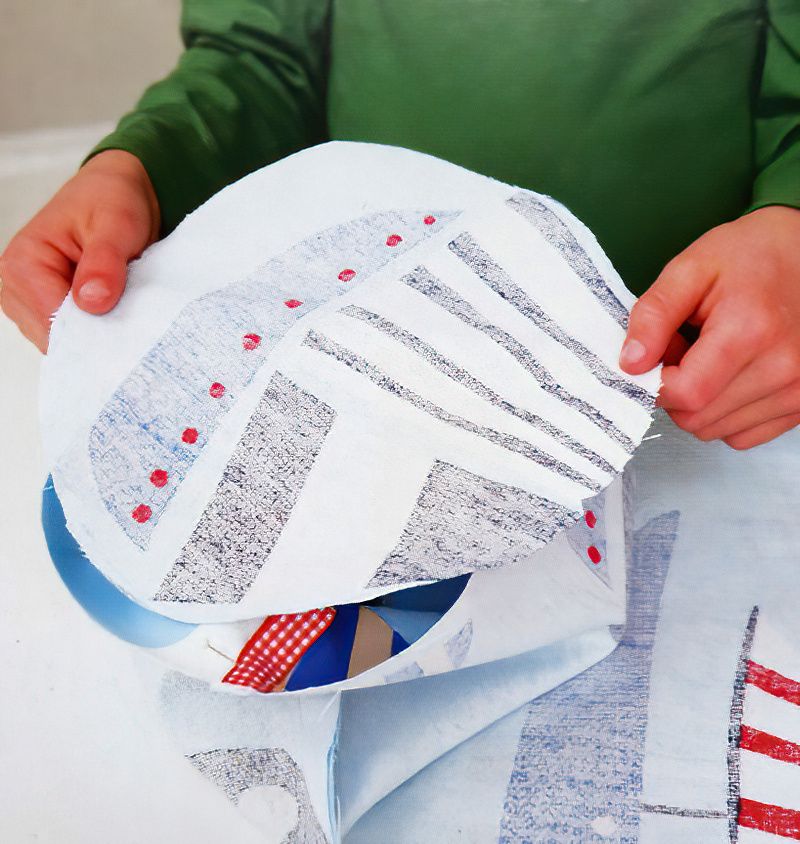
Now we need to make a round bag for our homemade duffel bag and sew it in place. Cut a circle of fabric 22cms or 9inches in diameter. Maybe you can find a plate that is a similar size and trace around it. This will be our bag base.
Position the circle of fabric at the bottom end of the bag. The opposite end from where we left the little gap in the seam. Make sure the nice side is facing inwards.
Now we want to include a little ribbon loop that sticks out on the finished bag. Our drawstring goes through this ribbon loop at the end.
So fold the gingham ribbon to make a loop. In the picture above you can see the red ribbon fabric loop. We need to pop this loop in the seam, facing the inside again. We will turn the bag the right way round after it has been sewn.
Make sure the ribbon loop is facing inwards and is on the same side as the gap in the seam.
Sew all around the base circle of fabric using a back stitch. The stitch needs to be strong, so sew it again if you feel it needs it.
Make A Casing For The Drawstring Cord
Step Six
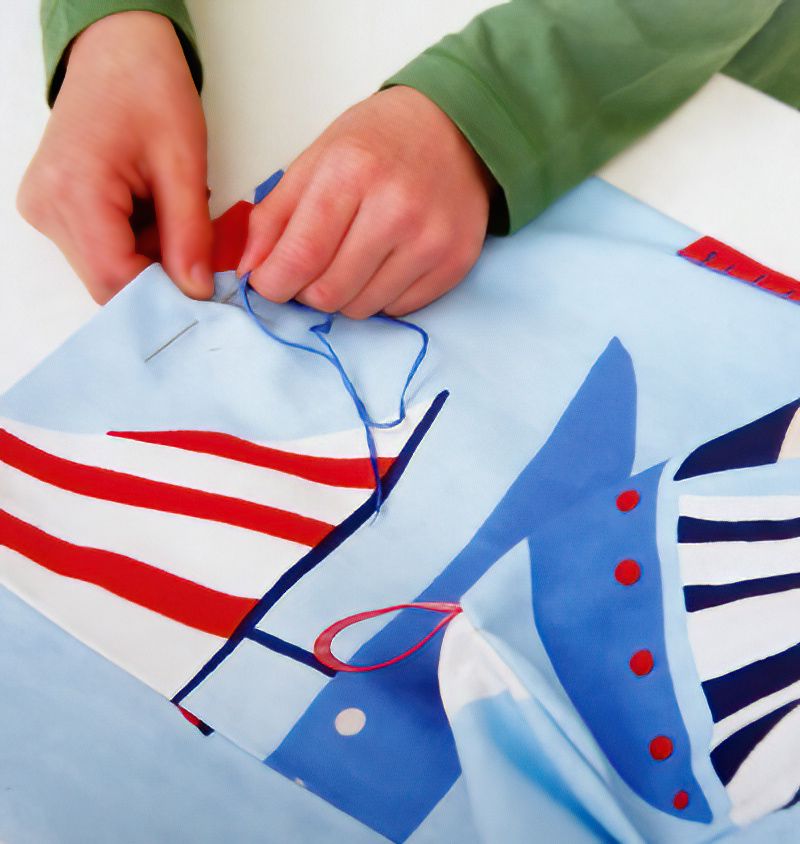
Next, before turning it inside out, fold over the top edge of the bag about 3cm or 1 and one quarter inches. We are going to make a sort of tube we can slot the cord into called a casing. This will go all around the top of the bag.
Once you have folded the top hem over. Ask an adult to press it flat with a hot iron.
Now we can turn the bag the right way around. Now sew the bottom of the top seam with a running stitch. Remember we are making a tube to pop the drawstring into so don't sew too high or sew down the ends.
Thread The Cord Into Our Homemade Duffel Bag
Step Seven
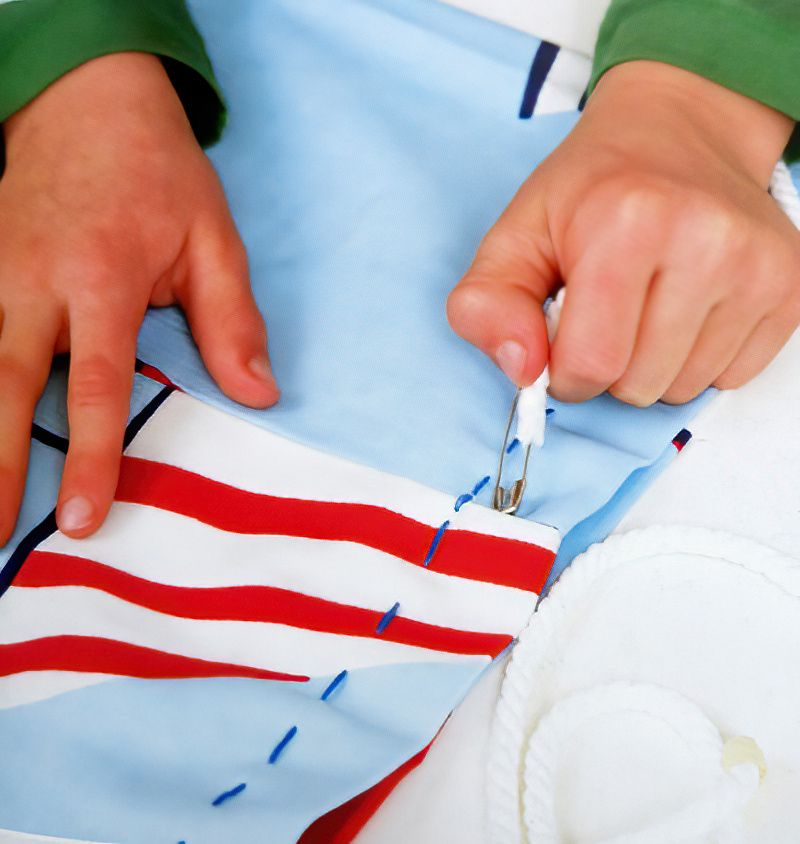
Now we need to thread our cord all the way through the casing or fabric tunnel we just made. You can wrap masking tape around the end of the cord and attach a safety pin to help with squeezing it around the casing.
Push the cord all the way around the casing and out the other end.
Finish Making Our Homemade Duffel Bag
Step Eight
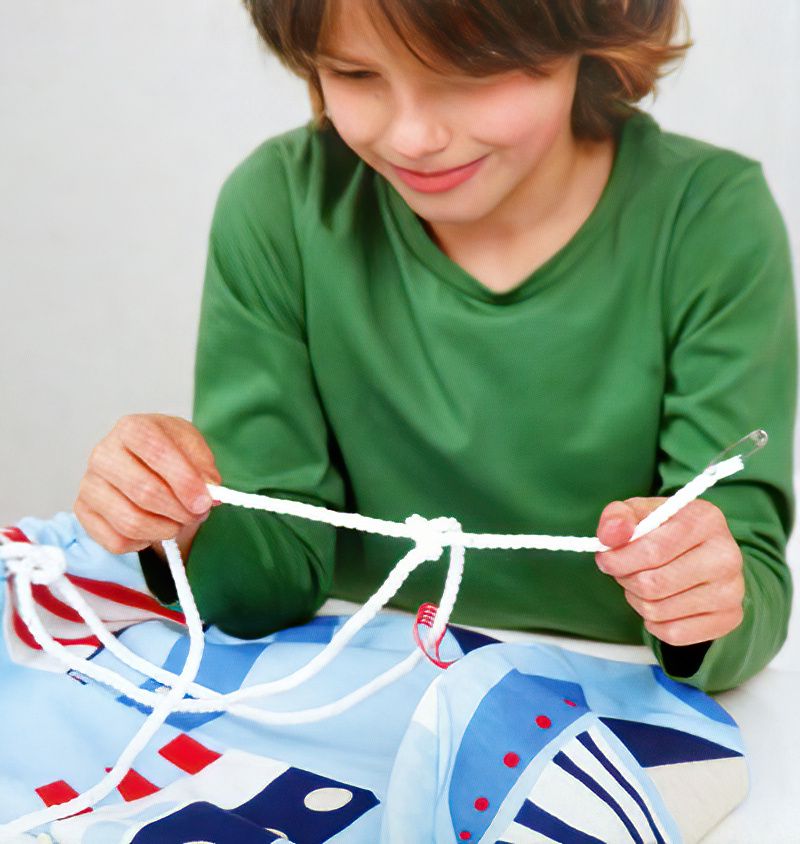
Once the cord has made it all the way around and popped out the other side, we can remove the safety pin and masking tape.
Pull through enough cord on both sides to make a nice shoulder strap. Now pop one side of the cord through the ribbon loop we sewed into the base hem.
Then tie the ends of the cord together securely. Trim the cord if needed and then make the ends a little frayed.
Congratulations! This was a big project.
If you made it this far you should be really proud of yourself. Now you can make a homemade duffel bag in any style you like. And even better that that, if you ever get a hole it it or a hem comes loose, you can be confident that you can fix it easily and quickly yourself.






.jpg)












.jpg)
