Make a Flower Patchwork Cushion
How To Make A Flower Patchwork Cushion
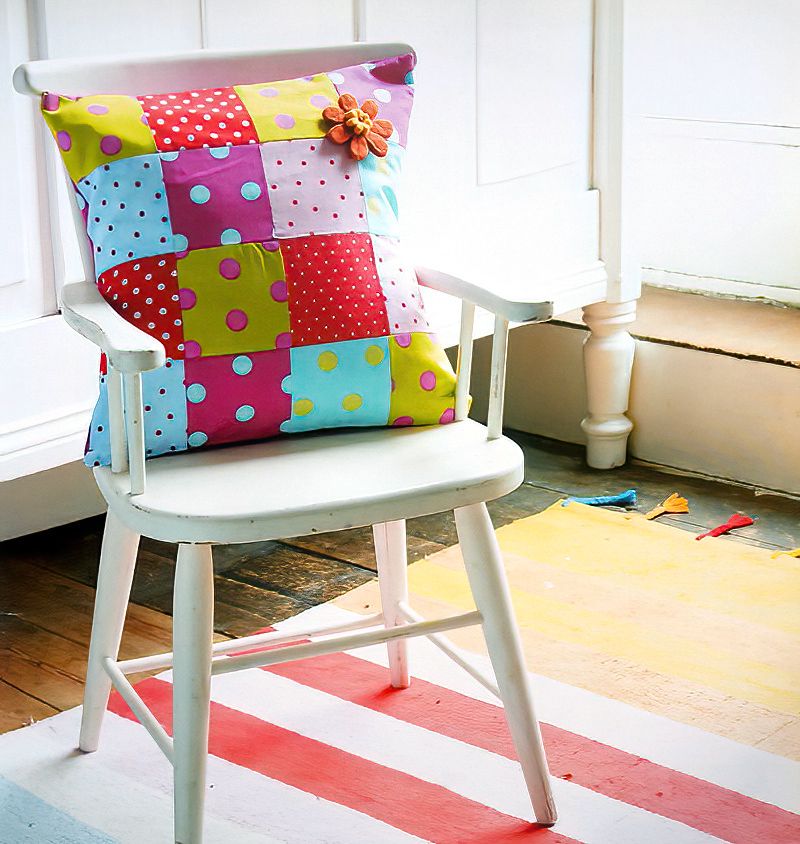
If you like sewing or want to get into sewing, a flower patchwork cushion is a great project. These are great projects because you can use up all your old fabric remnants.
Patchwork cushions look great if the fabrics match or even if they are all random. Practise your sewing techniques and try new ones on a patchwork cushion. Then at the end, you will have a great memory and a great cushion to cherish for years to come.
Things we need to make a flower patchwork cushion
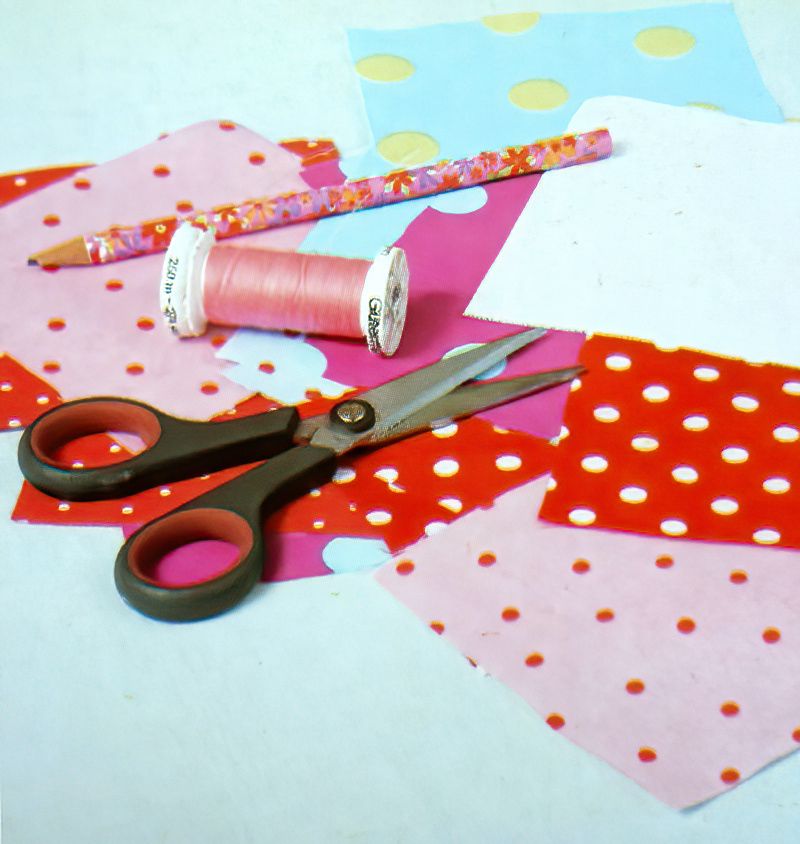
- Paper, scissors
- Pins
- Fabric squares at least 11cms square or 4 and half inches square
- Needle and thread
- 2 larger rectangles of fabric, 40 x 25cms or 16 x 10 inches
- Flower motif
- Small bead
- 40 x 40cm / 16 x 16 inches square cushion pad
Let's Make A Flower Patchwork Cushion
Step One
Draw a square on a piece of paper, 11cms square or 4 and a half inches square.
Cut out the paper square. This will be our patchwork template. Pin this square onto your pieces of fabric and cut out 16 fabric squares of different styles and designs.
How To Start Making A Floral Patchwork Cushion
Step Two
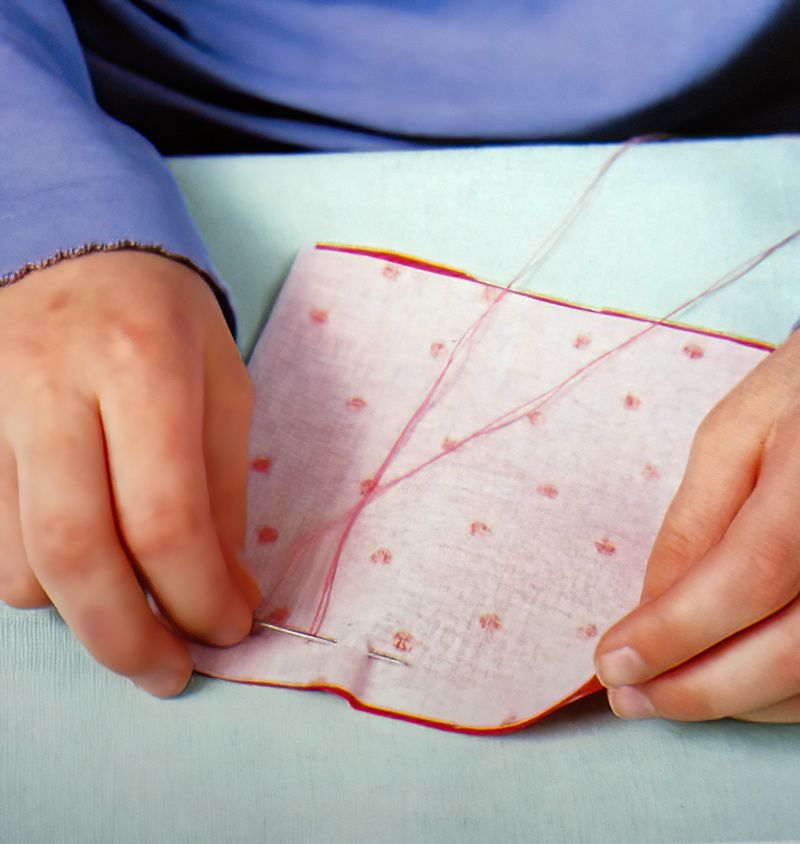
To start, let's layer two pieces of the fabric squares, one on top of the other. Make sure the nice sides are facing each other. If you want to pin them together you can. Now we want to stitch through the two layers along one side of the squares.
Stitch in 5mms from the edge of one side and stitch through both levels of fabric. Sew along the edge using a small running stitch. Sew it twice if you are unsure how secure your stitches are.
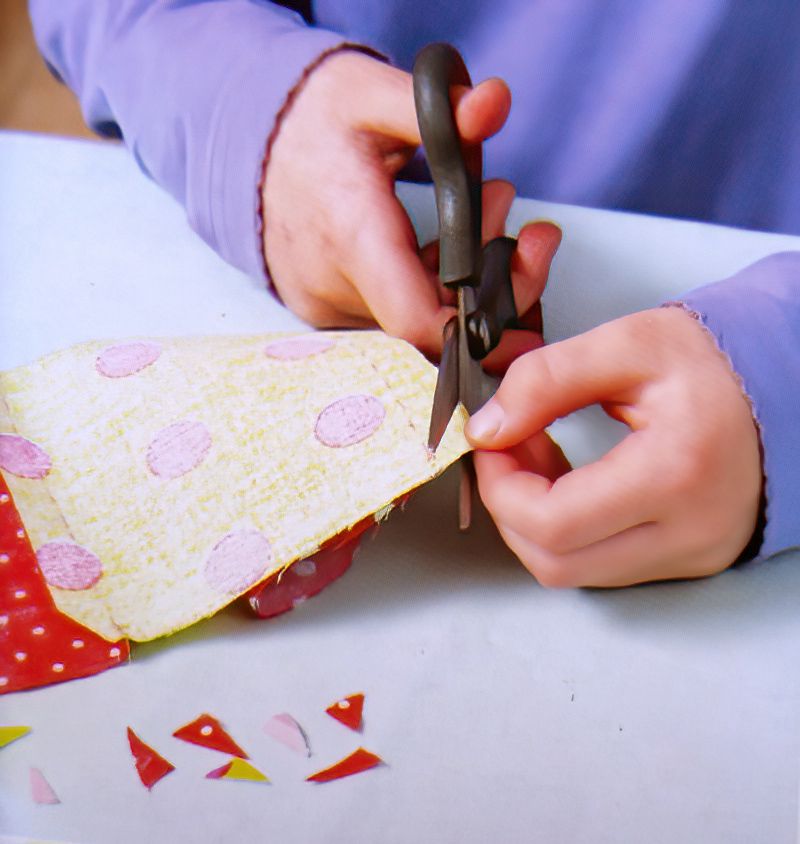
Cut The Inside Corners Of Our Flower Patchwork Cushion
Step Three
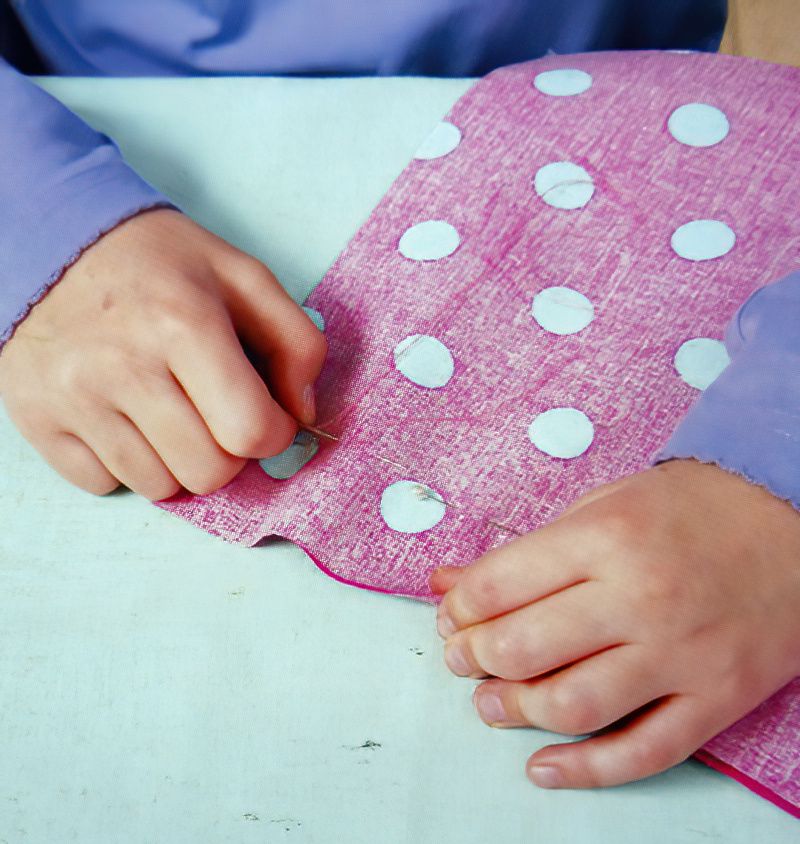
No we need to keep sewing patches together, make sure the nice side of the fabric is facing each other and we are sewing on the other side.
Sew four squares together in a row. Once you have four squares sewn, cut off the corners of each fabric joint. This will avoid bunching later on.
Repeat three more rows of four squares of fabric, so we have four rows of four in total.
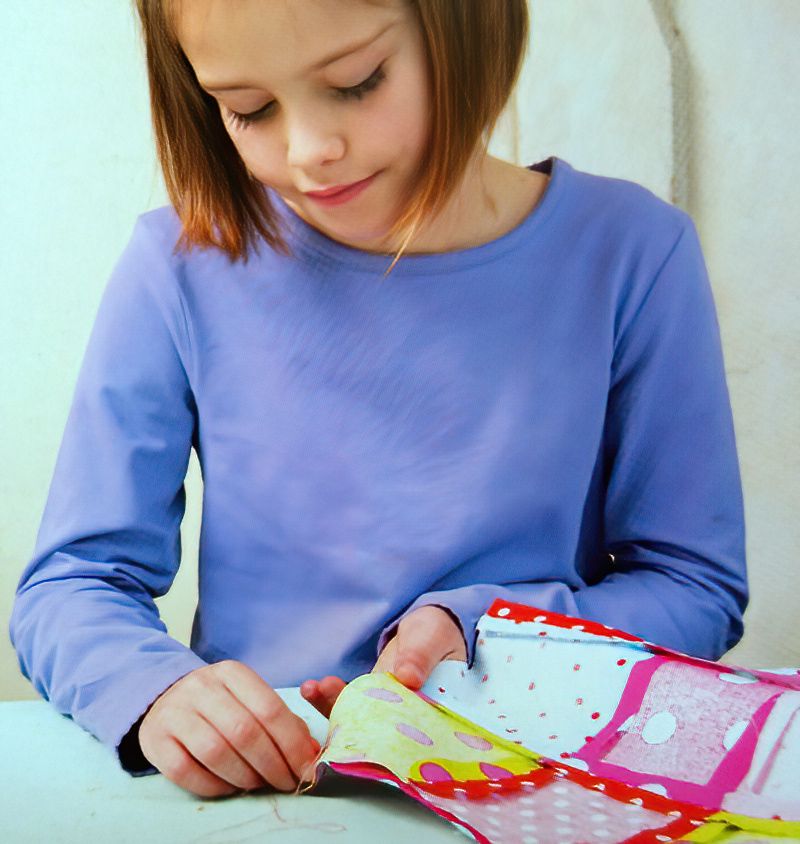
Sewing is very relaxing, you don't need to rush. Sit in front of the tv or somewhere relaxing and just let your mind wander as your fingers work.
Finally ask an adult to help you press the good side of the fabric flat using an iron. So you have four flat strips of patchwork.
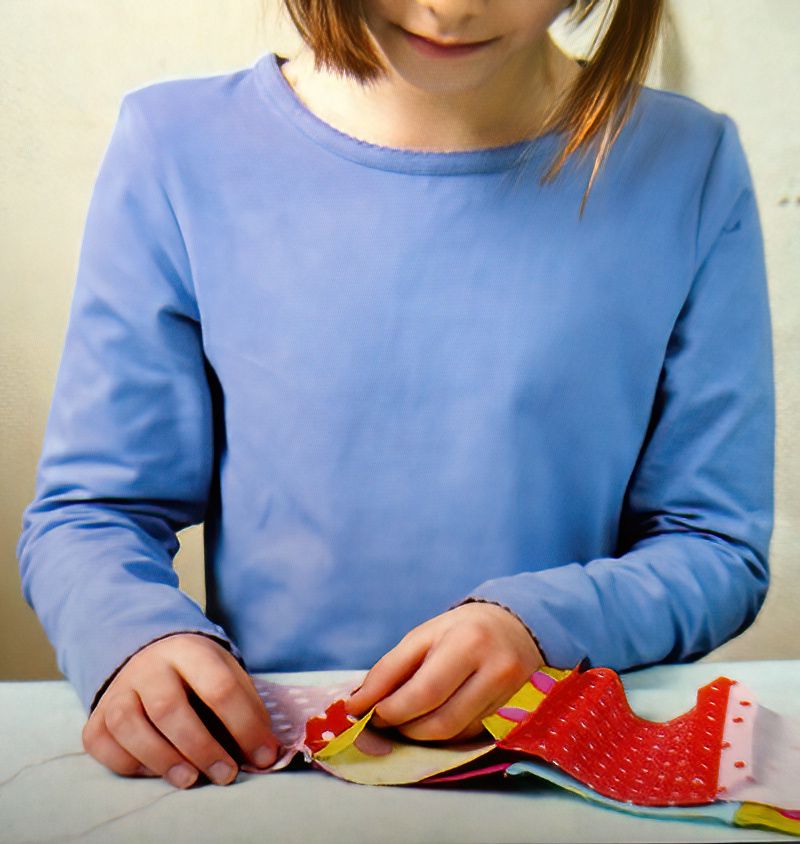
Let's Finish The Front Of Our Flower Patchwork Cushion
Step Four
Can you guess what is next. Now we need to lay our strips of squares with the nice sides facing each other and sew them together. Again pin if you want to.
Repeat until we have sewn together the four strips. Again ask an adult to carefully press the patchwork piece flat. Lay the patchwork piece face down and use the iron to carefully fold over and flatten each seam. Then press again on the front side, so it looks neat.
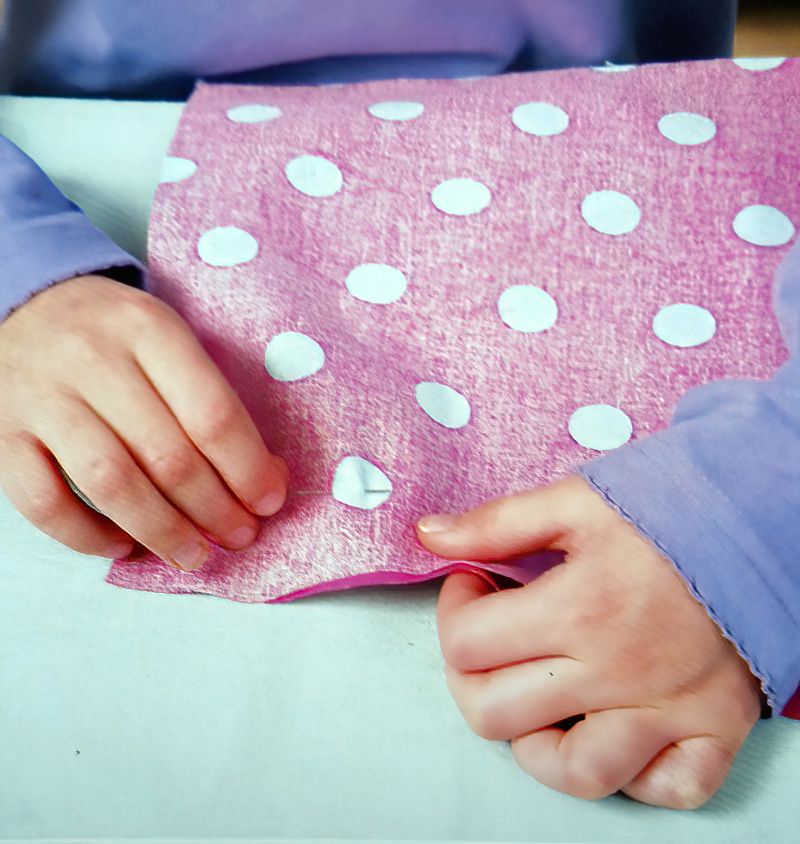
Now Make The Back Of Our Patchwork Cushion
Step Five
Now we need two pieces of fabric for the back of the cushion. Cut two pieces of fabric measuring 40 x 25 cms or 16 x 10 inches.
We want to sew the two halves together, but leave a gap in the centre. We will use this gap to pop in the cushion padding at the end. So we really want to just sew in a little bit from each end and leave the middle part not sewn
So lay the two pieces of fabric on top of each other with the nice sides facing each other. Start stitching along one of the long edges. We are going to sew in from the edge about 5cms or 2 inches. And then, do the same on the other side. So we are left with an opening in the middle.
Make sure you cast off securely.
Continue Sewing The Back Of The Patchwork Cushion
Step Six
Again, sew in from the other end. Remember we are leaving a gap so we can pop in the padding at the end.
Once you have sewn the little part on each end, open the fabric out and press it flat again with the iron.
Add A Flower Detail To Our Flower Patchwork Cushion
Step Seven
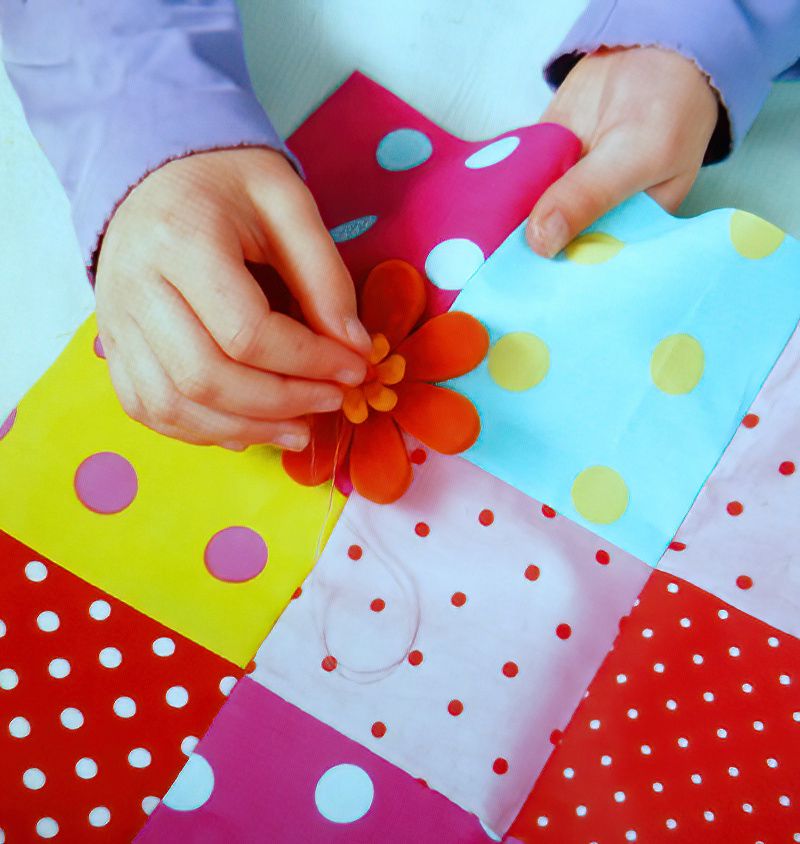
Now we can add our flower detail to our flower patchwork cushion. Use the needle and thread to carefully sew on the flower details. If you have a flower bead you can sew that to the centre of the flower for an extra detail.
How To Finish Making Our Flower Patchwork Cushion
Step Eight
Finally, we simply need to sew our lovely patchwork front to the back pieces with the gap. Place the two pieces on top of each with the nice sides facing each other.
Again use a back stitch and carefully sew all around all four sides. Now we can use the gap in the back to turn the pillow inside out, so the nice side is finally on the outside.
Last of all, we just need to pop in the cushion padding and fluff up our new floral patchwork cushion.
Well done, what a great project. Be proud of yourself if you manage to complete this project. It is fine to have a load of projects on the go at the same time. So take your time.
Flower Patchwork Cushion Conclusion
We would love to see your completed patchwork cushions. Please take some pictures and add them to your own studio. Then just comment down below and tell us what your studio name is. Then we can search your name and see your pictures.

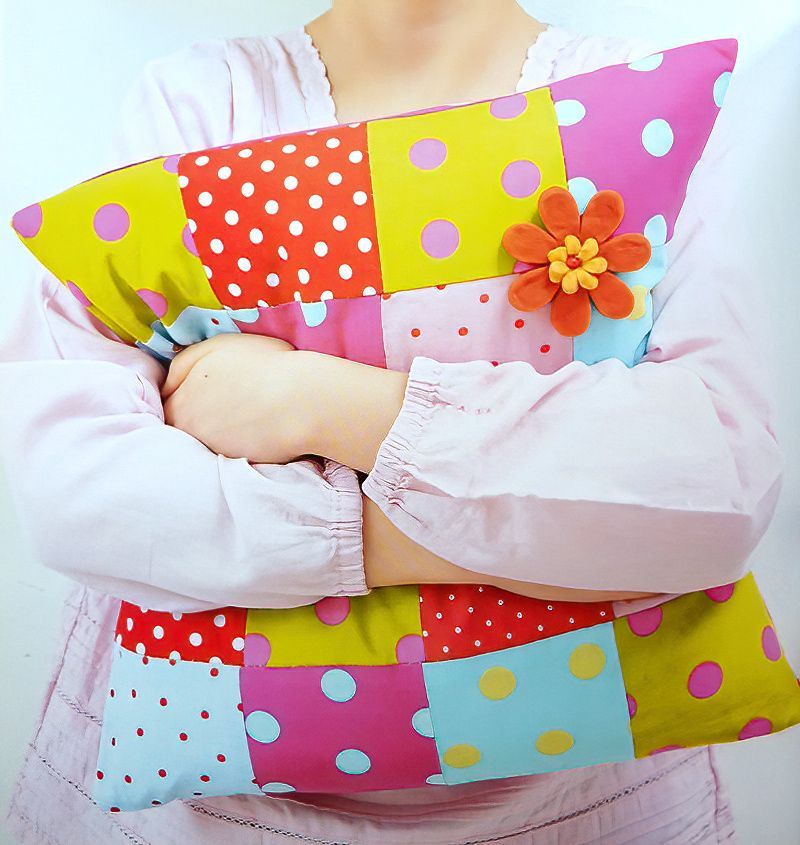






.jpg)















.jpg)
