Make a Tool Wrap for a Fathers Day Gift
Make A Tool Wrap From Felt For A Father's Day Gift
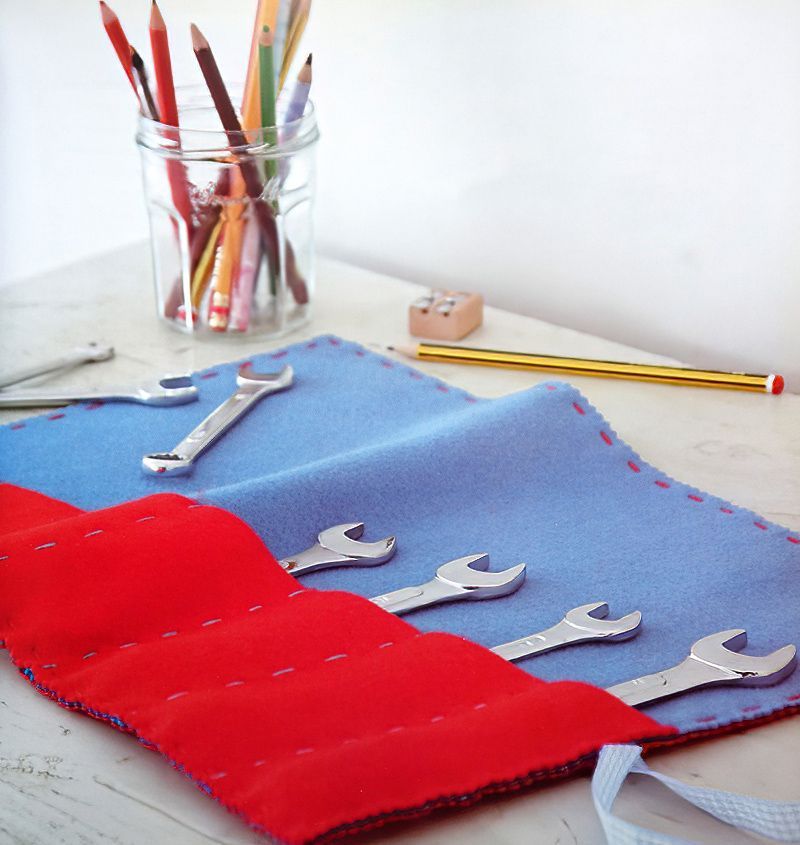
You can make a tool wrap from felt, because it is an easy fabric to work with for smaller children. But you could also make it from denim or other stronger fabrics, without too much trouble.
This makes a great father's day gift. But actually it makes a great gift for anyone who likes painting or crafting or anything where you need to keep your tools tidy.
You can make a tool wrap more personalised by adding a motif. Maybe add a letter to help know who the tool wrap belongs to.
Things We Need To Make A Tool Wrap
- Paper, pencil and scissors
- 1 piece of red felt 43 x 30cms or 17 x 12 inches
- 1 piece of blue felt 43 x 30cms or 17 x 12 inches
- 1 smaller piece of red felt 43 x 15cms or 17 x 6 inches
- 20 x 20cms or 8 x 8 inches gingham fabric
- Fusible web
- Contrasting embroidery thread
- Pinking shears
- 60cm or 24 inches gingham ribbon (2cm or three quarters inch wide)

Let's Start The Make A Tool Wrap Project
Step One
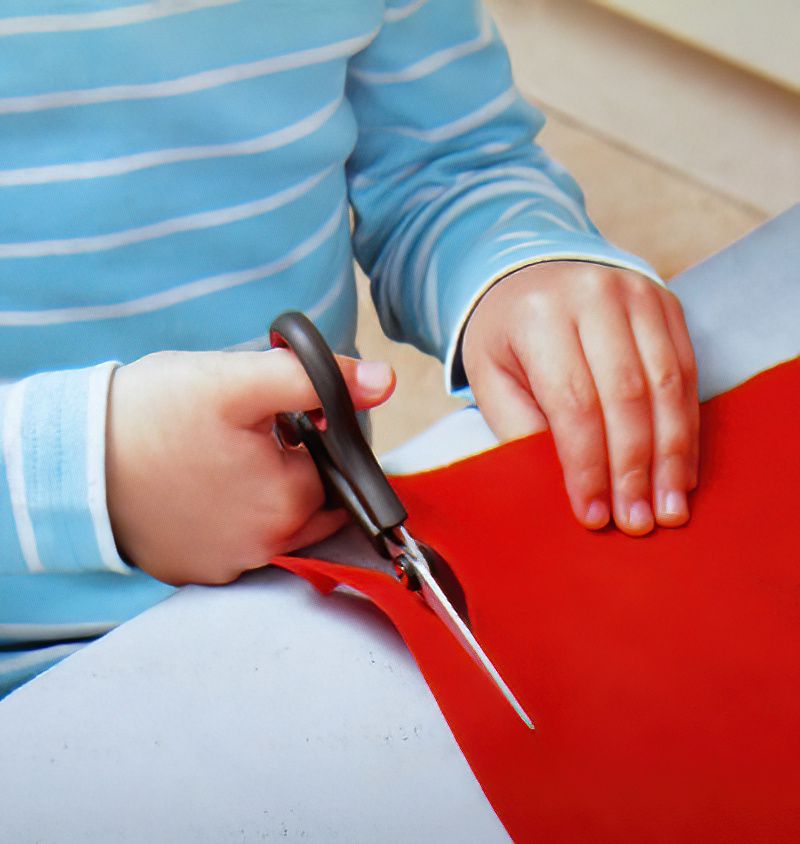
First we need to cut two pieces of the felt fabric, one blue and one red. Each piece measuring 43 x 30cms or 17 x 12 inches.
Next, we need to cut a third piece of felt in red. Grab your smaller piece of red felt measuring 43 x 15cms or 17 x 6 inches. See the template shape above. We want to cut this piece of felt into that sort of shape.
You can copy the above template, resize it and print it out. Or simply just copy it roughly. It does not have to be precise.
Copy the shape and cut out the felt into the wedge shape. This will become the pocket for the tools.
Now If You Make A Tool Wrap It's Nice To Personalise It
Step Two
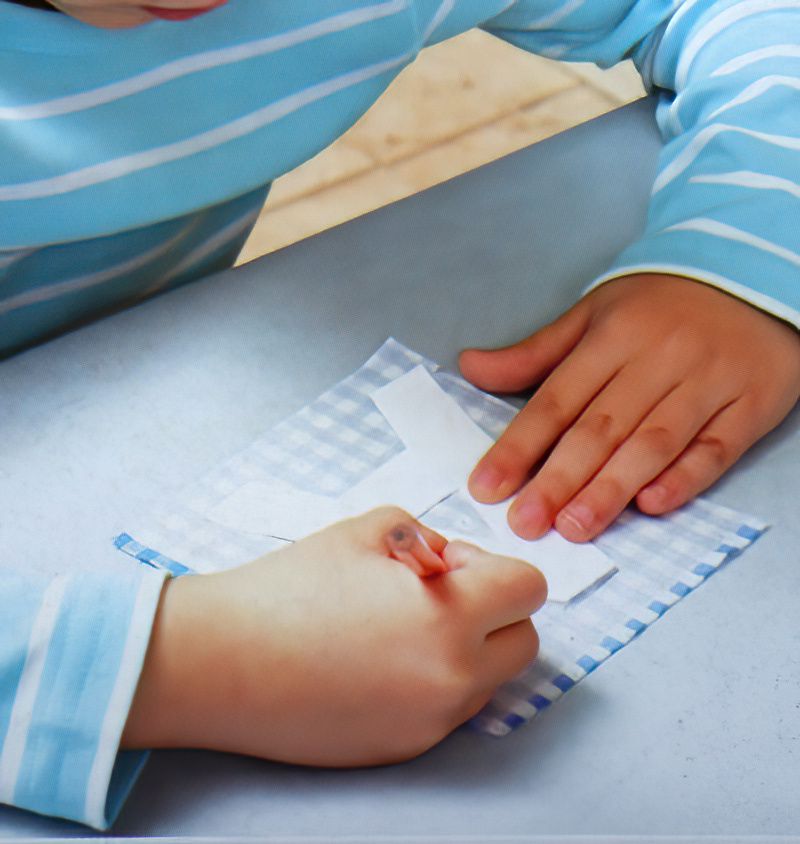
Now we can pick a letter for our motif. If you want to pick a different shape that is ok too. So either search the internet for "letter A shape template" or whatever letter you want. Then copy it, resize it and print it out.
Or simply find a letter shape on your computer and print it out at the correct size for your gingham motif.
Once you have your letter shape cut out, we can take some fusible web and ask an adult to iron it on to the back of our gingham fabric. Fusible web is like a sheet of fabric glue with a paper backing.
Once the fusible web is cooled. We can use our template to trace around onto the fusible web paper backing. But remember we need to reverse it, like a mirror. Because when we cut it out, we will flip it again to iron it onto the tool wrap.
Once you have drawn your mirrored letter on the fusible web paper backing, cut out the fabric letter with the fusible web.
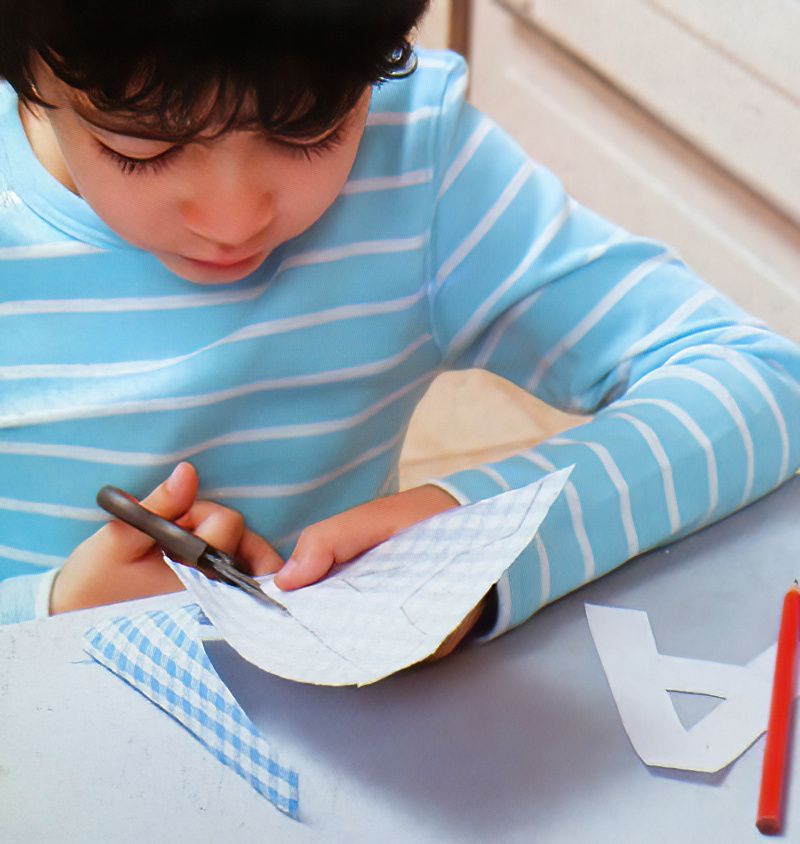
Cut Out Our Letter Initial For Our Tool Wrap
Step Three
Once we have cut out our letter or motif, peel off the paper backing. Now position the letter onto the large red felt piece. Position it at the bottom left corner, this will be the front.
Now ask an adult to use a hot iron to glue it down in position.
Stitch The Motif To Our Homemade Tool Wrap
Step Four
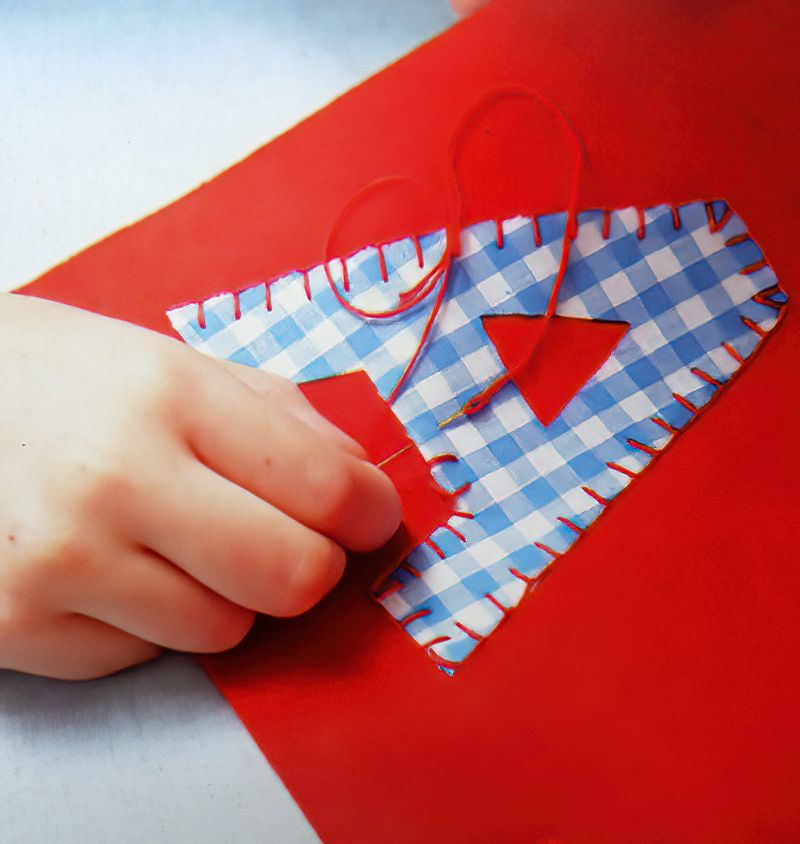
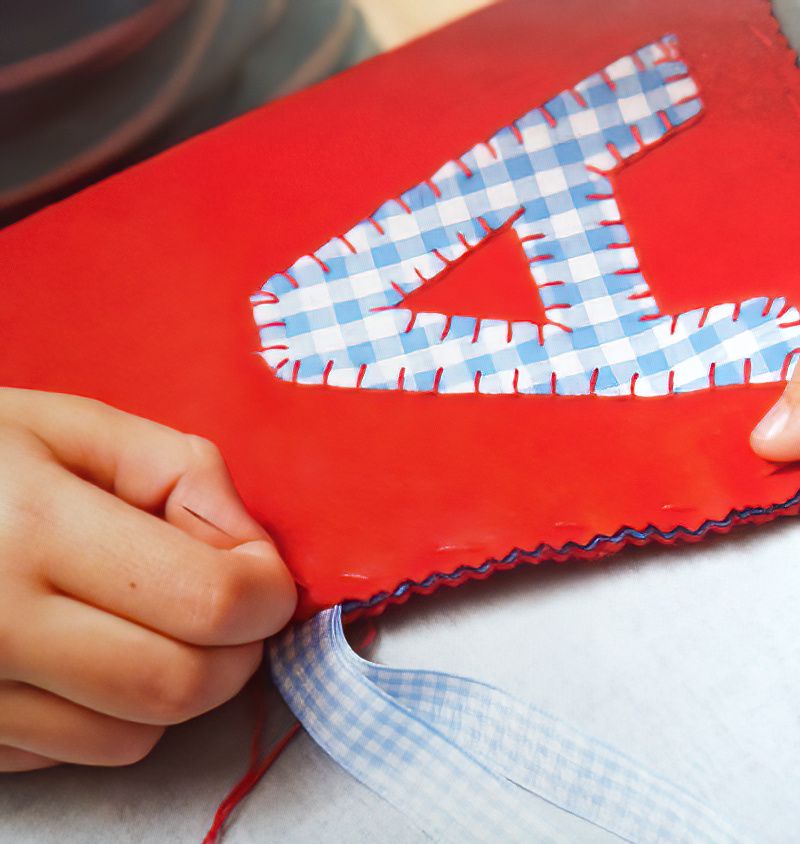
Now we can thread the needle with embroidery thread. Stitch around your motif with a blanket stitch.
Blanket stitch basically means when you go in with your needle, slightly in from the edge. Then come back out at the edge. But before you go back in, one step along, you hook the dangly thread. As you pull it a little tighter, you get a sort of square stitch.
Continue To Make A Tool Wrap With Assembly
Step Five
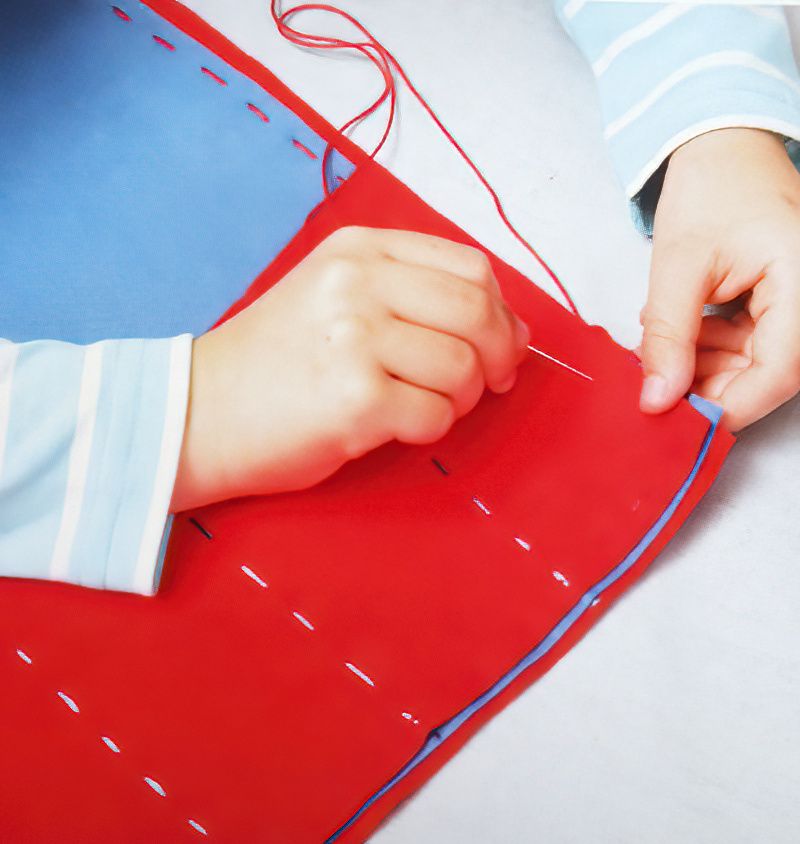
Once you have finished sewing the motif, we can move on. Pop the blue piece of fabric on the table in front of you. Now pop the red angled pocket section on top. Make sure the bottom edges are aligned.
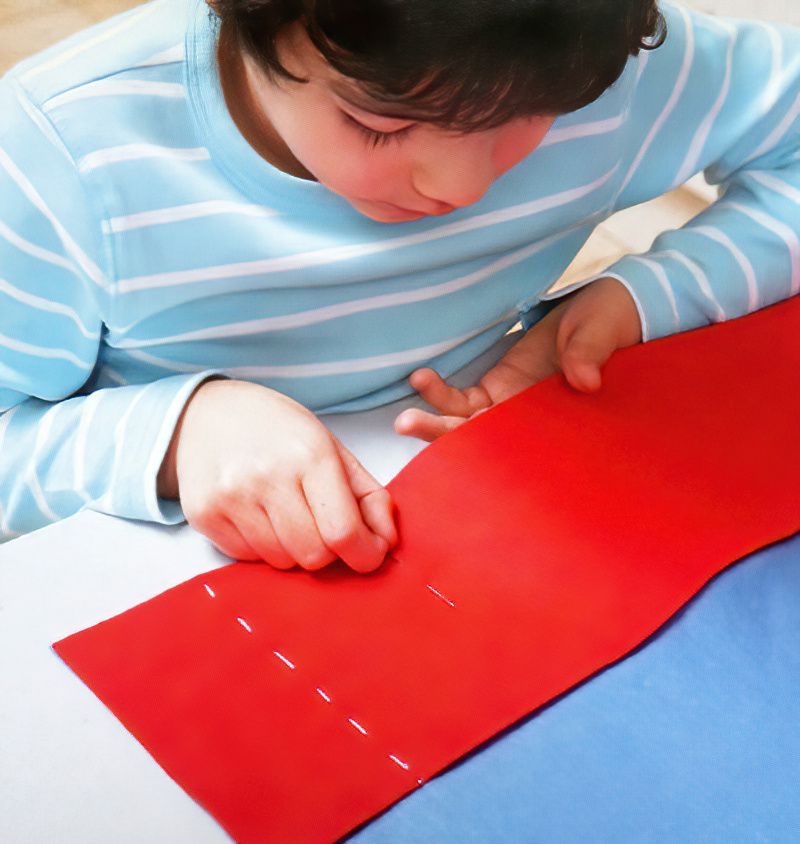
Pin the two pieces together to hold them.
Now we want to stitch some lines going up to make little pockets. So stitch six lines going up the red fabric at equal spaces across. Six lines actually will make seven little pockets for our tools.
Now We Can Start Finishing Our Cool Tool Wrap
Step Six
Once we have finished sewing the red pockets on the blue fabric we can move on. Lay down the red piece of felt with the motif on your table. Now we want the motif facing down. Then add on the blue piece with the pocket on top. Make sure the pockets are facing up.
Before we sew, hold all the lined up layers in your fingers and lift it up. Look underneath to check you have everything the right way around.
Once you are happy, sew all around the edges using a running stitch. Your stitches can be about 1cm or half an inch in from the edge.
Trim The Edges Of Our Homemade Tool Wrap
Step Seven
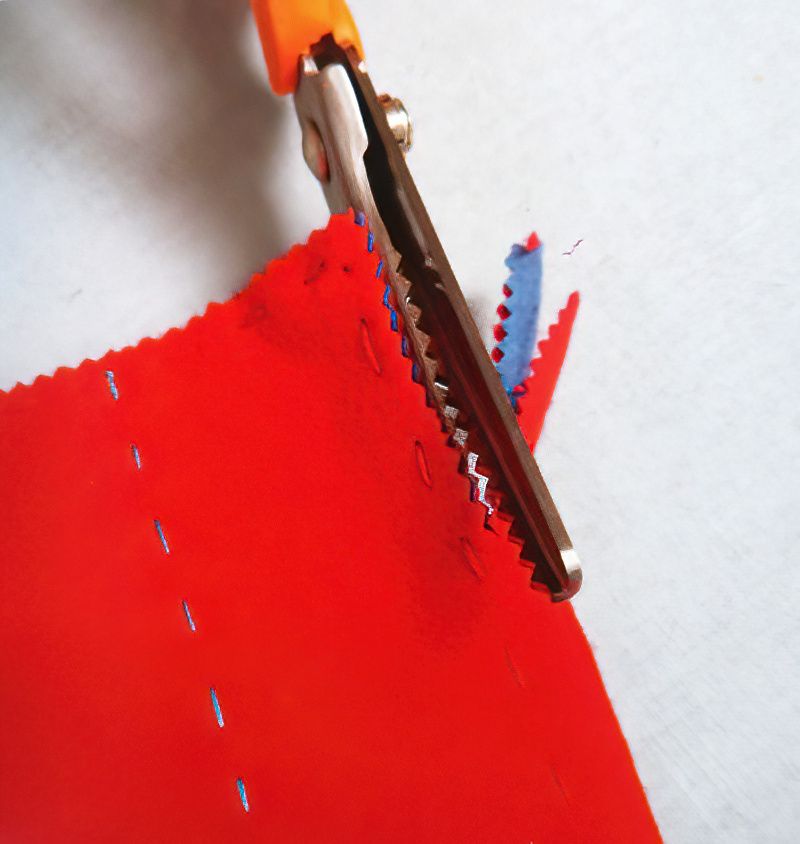
Again, once we have finished sewing all around all four edges, we can make it look a little neater. Take your pinking shears and carefully trim around all the edges.
This adds a nice detail, but also makes the edges neater where our sewing might have gone out of alignment. Make sure you don't cut through your stitches.
How To Finish When You Make A Tool Wrap
Step Eight
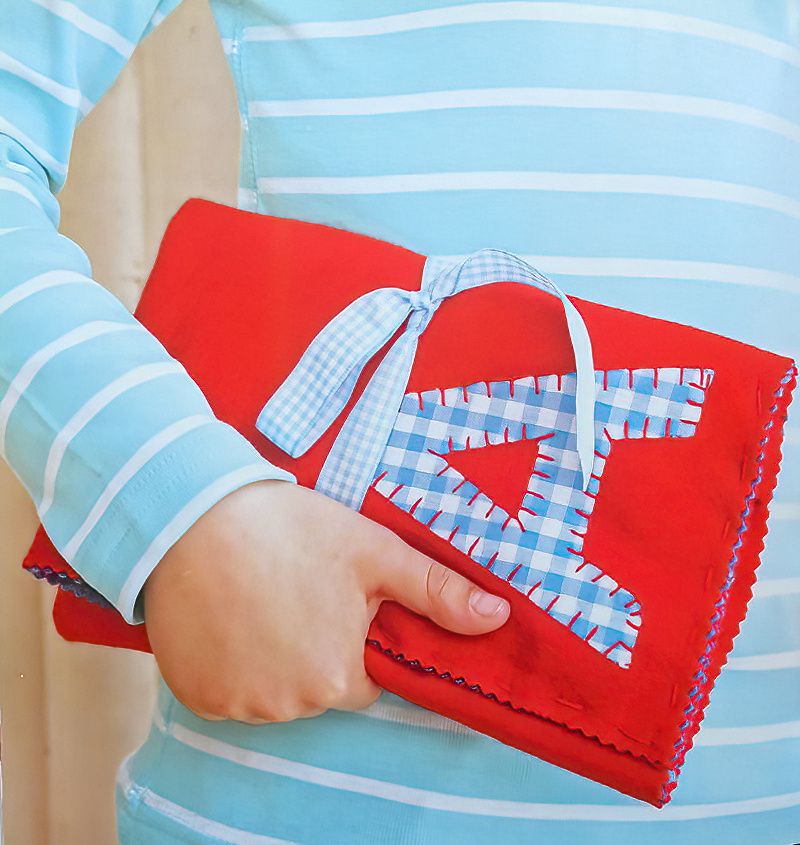
Now we can attach a nice ribbon to our tool wrap to help tie it closed. So take our length of ribbon and at about 20cms or 8 inches in from one end, fold it over.
We want to sew the actual fold to our tool wrap. This will make a long bit and a short bit of ribbon that we can use to tie our tool wrap. But you can actually sew it how you like.
So take the actual fold and carefully sew it to the front of the tool wrap, near the motif. We want the ribbon to be attached in the middle of the end.
How To Make A Tool Wrap
Congratulations!
You have completed the make a tool wrap project. A really great tool wrap that dad will love or even for anyone who likes making things. A wonderful way to store paintbrushes or other crafting tools.
So have fun and don't forget to make a tool wrap for yourself.






.jpg)
















.jpg)

