Making a Patchwork Cushion Will Brighten Up Your Home
Start decorating your home or bedroom with fun little interior design accessories. Where better to start than some really fun patchwork cushions. Here we learn to use up all our scrap pieces of fabric and turn them into something fun, comfy and cool.
Make a patchwork cushion for yourself or as a gift for someone else. Just make them. It's fun.
What do we need to make a patchwork cushion?
- Pieces of cotton fabric
- Thread and needle
- Cushion padding, 24cms square or 9 and a half inches square
- Ruler
- Scissors
- Pencil
- Sewing needle
- Iron
How To Make A Patchwork Cushion
Step One
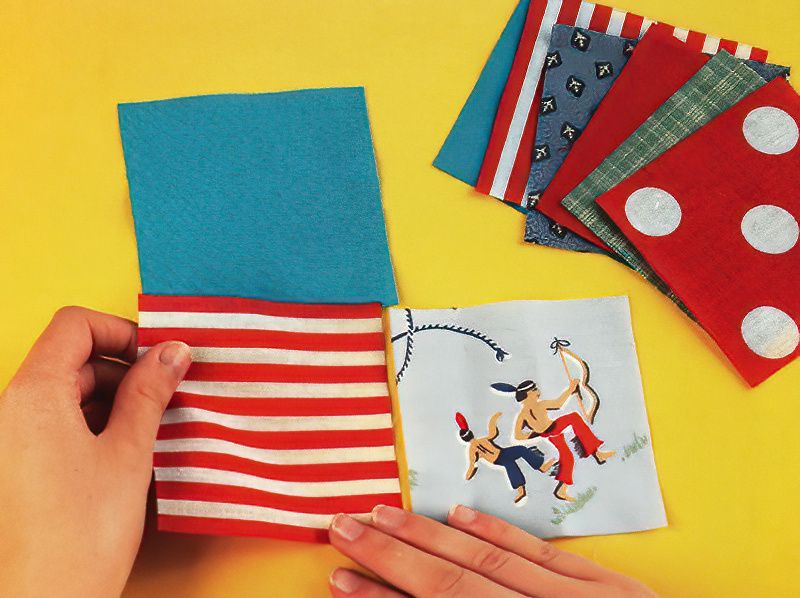
We need to start with some fabric squares. We can cut more squares than we need and just keep them for the next cushion we make.
Cut out nine squares of fabric. Each square should be 10cms or 4 inches square. Ask an adult to help with the cutting if you need it.
Cotton fabric is easy to cut and sew, and can be washed easily also.
Once you have at least nine squares of fabric, lay them out on the table. Three across and three down. Move your squares around until you get a design you like.
Making patchwork cushions is fun.
Start Sewing The Patches For Our Cushion
Step Two
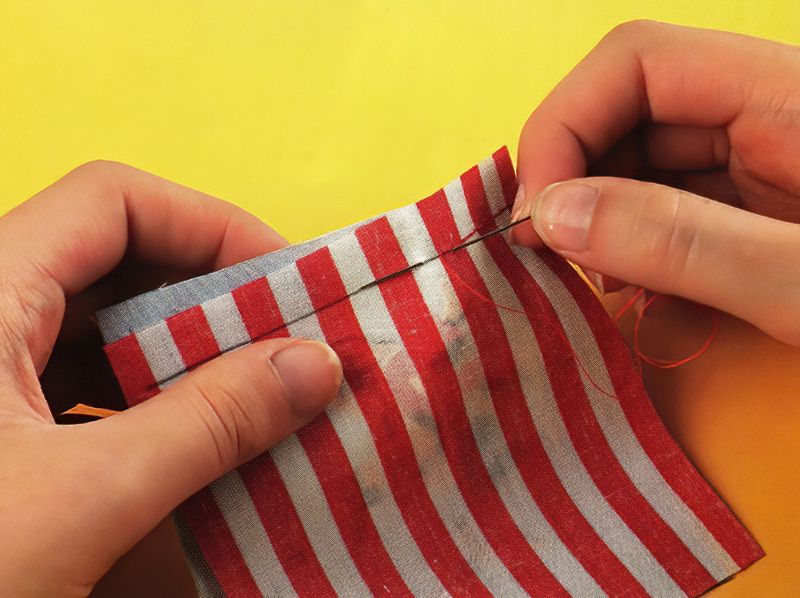
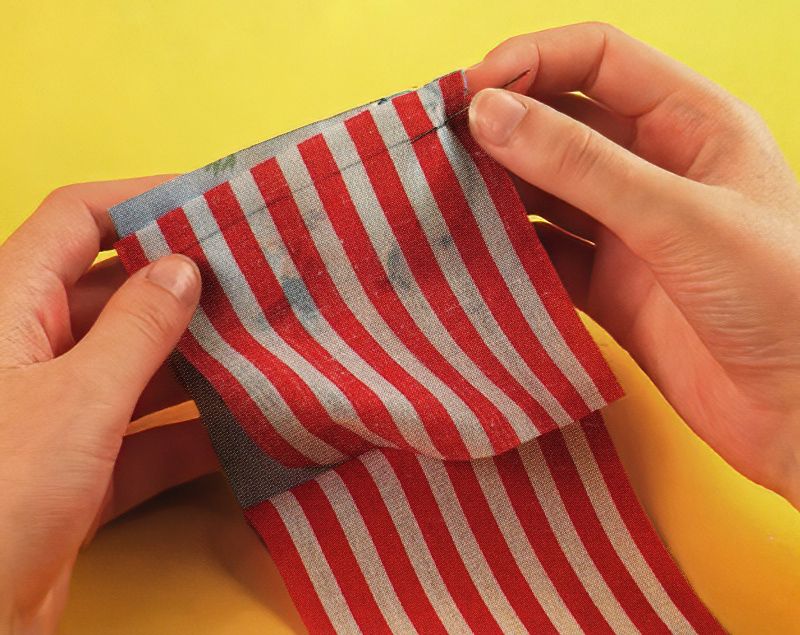
Now we need to start sewing the squares together. Hold the first two squares together where they join. Make sure the nice sides of the fabric are on the inside.
Then carefully stitch a seam across, approximately 1cm in from the edge.
Continue To Sew Our Patchwork Cushion Together
Step Three
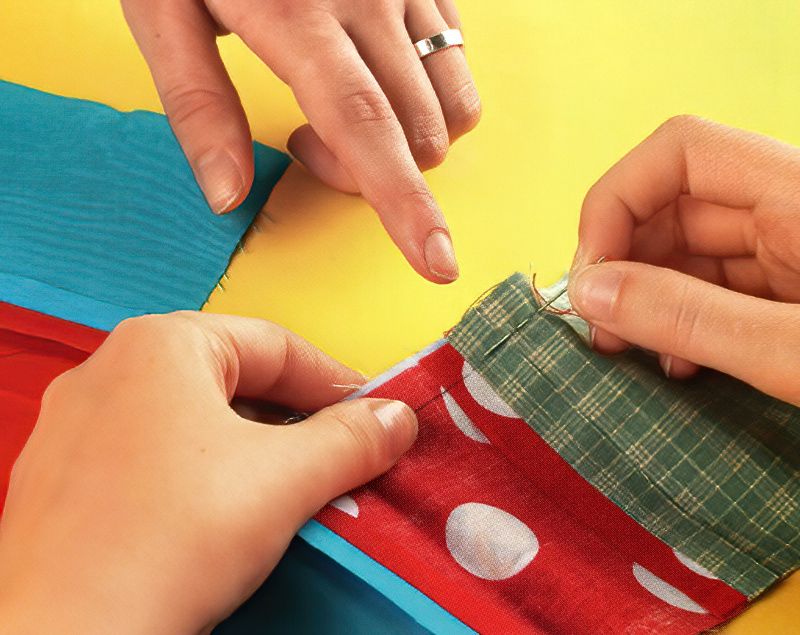
Now take the third square from the row and stitch it to the second square.
Remember, make sure the nice sides of the fabric are facing each other and we are sewing on the other side. Stitch a seam across again.
Making A Patchwork Cushion Is Fun
Step Four
Now we have finished one row of squares, we can continue making a patchwork cushion.
Sew the next row of squares together like before. Then the last row. This will take some time, don't worry, this is the fun of creating something. Hand sewing can be very relaxing. Maybe pop a cushion on your lap in front of the tv and take your time sewing and chatting.
Now we have three rows of three squares.
Ask an adult for help and take a hot iron and press the back of the fabric rows. So all of the seams are flat. Remember the side where we stitched will be the back.
Once the three rows are all pressed flat. Sew each row together one at a time. And press flat again afterwards.
Make The Backing Of The Cushion
Step Five
Now we have sewn all the squares together for the front. We will cut a piece of fabric for the back.
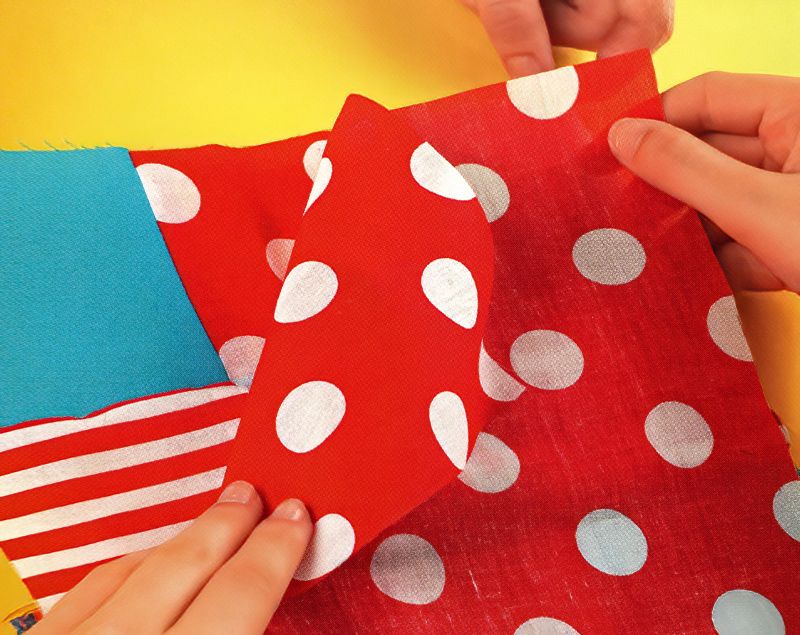
Cut a piece of fabric 26cms square or 10 and one quarter inches square. Now lay the piece you just cut on top of the patchwork side.
Remember, we want the nice sides to be on the inside or facing each other. This is because we are going to turn it inside out at the end.
Once the nice sides are facing each other, again sew around the edge of the patchwork cushion. Sew around three sides, approximately in 1cm or three eights of an inch in from the edge.
Finish Making The Cushion Made Of Patches Of Fabric
Step Six
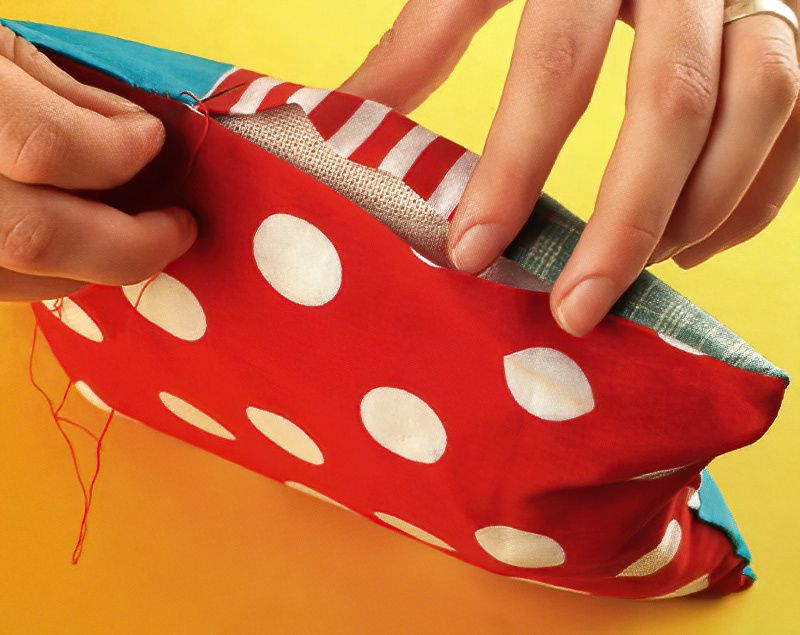
Once we have sewn around three sides, we are ready to finish making a patchwork cushion.
Turn the patchwork cushion inside out now. So all the sewing is now on the inside. Pop the cushion pad into the patchwork cushion cover and carefully sew the last edge closed.
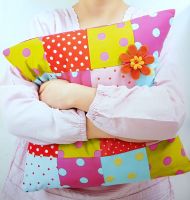
And there we have it. We have finished making a patchwork cushion.
These projects can take a lot of time, but I personally like that. Find a nice comfy chair or sit on your bed and take your time sewing, listening to your favourite songs. Often crafting is as much about the fun of making something, as it is about enjoying the end result.
I think it's nice to quietly concentrate on sewing and forget about all your worries.
So enjoy making a patchwork cushion and start designing more and more fun patchwork layouts.



.jpg)
