Make An Elasticated Skirt
Let's Make An Elasticated Skirt For Fun
An elasticated skirt is one of the more simple garments we can make. But really this simple elasticated skirt is one of the most useful and fun projects too. So making your own homemade elasticated skirt is a must make for anyone just getting into sewing.
With millions of variations and easy to make, even for children, this simple skirt will fit any child. An elasticated skirt can be adapted for smart, causal and even dressing up.
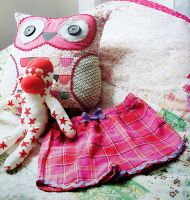
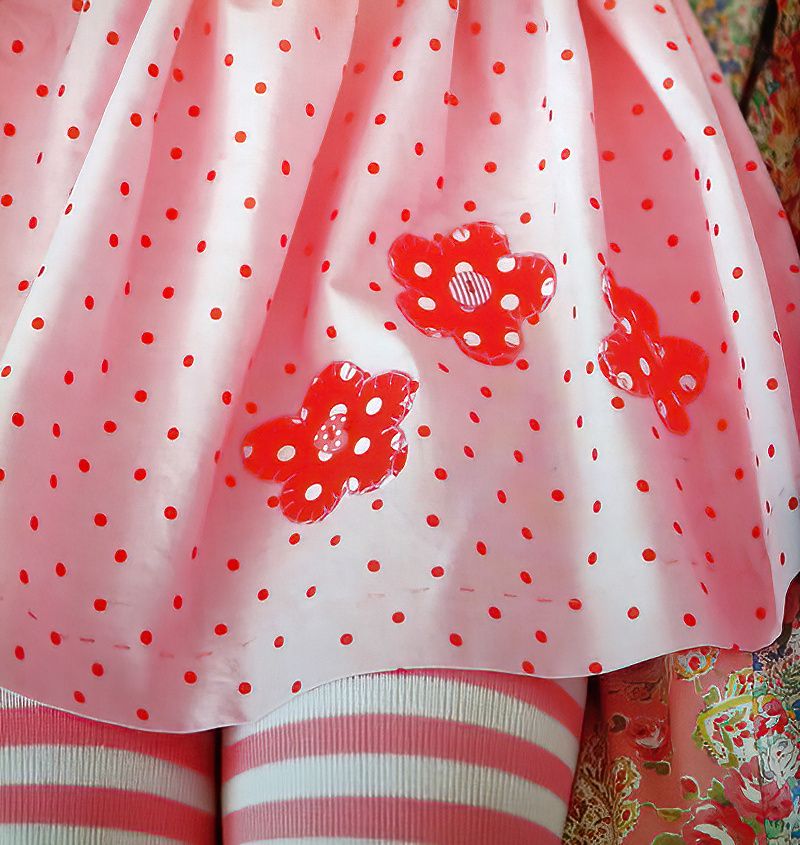
Made from cotton fabric gathered all together with elastic. Then decorated with fun fabric flowers and buttons. You can easily personalise this elastic skirt for a friend, family member or give it as a lovely gift.
Things We Need To Make An Elasticated Skirt
- 35cms x 1m or 14 inches x 3 feet of suitable cotton fabric
- Pinking shears
- Fabric scraps for decorating
- Fusible web
- Paper, scissors and a pencil
- Embroidery thread, sewing thread and needle
- 3 buttons
- 60cm or 24 inches of elastic (2.5cm or 1 inch wide)
- 20cm or 8 inches ribbon (3cm or three quarters wide)
- Safety pin
Start To Make An Elasticated Skirt By Cutting Fabric
Step One
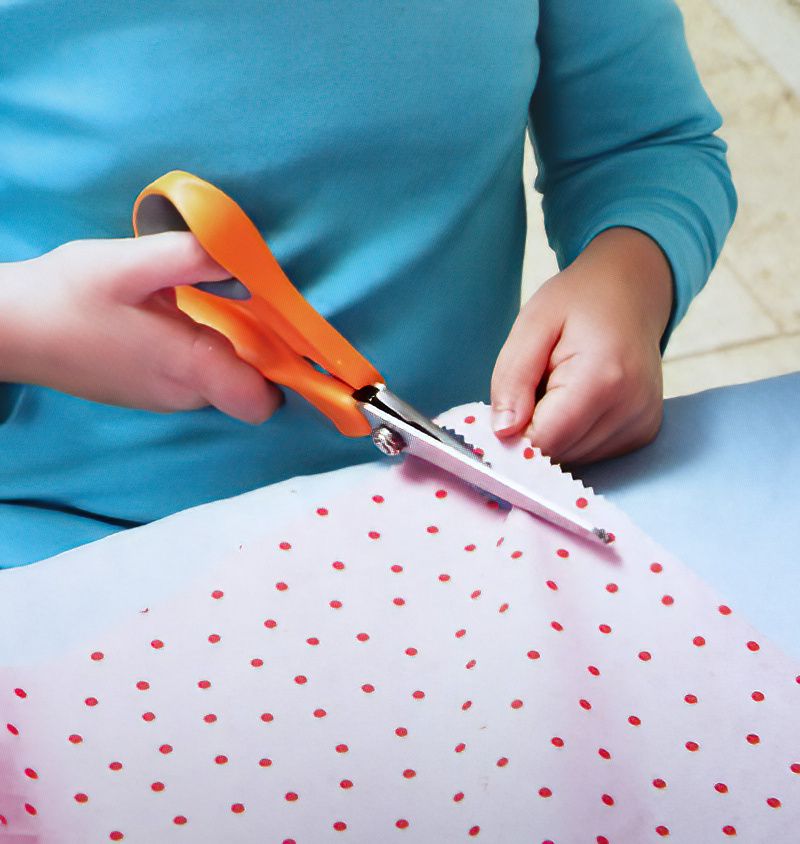
How do we start to make an elasticated skirt? First we cut two pieces of the cotton fabric. When you cut the fabric you can use pinking shears. Pinking shears have a zigzag edge. This zigzag edges helps to prevent the fabric from fraying.
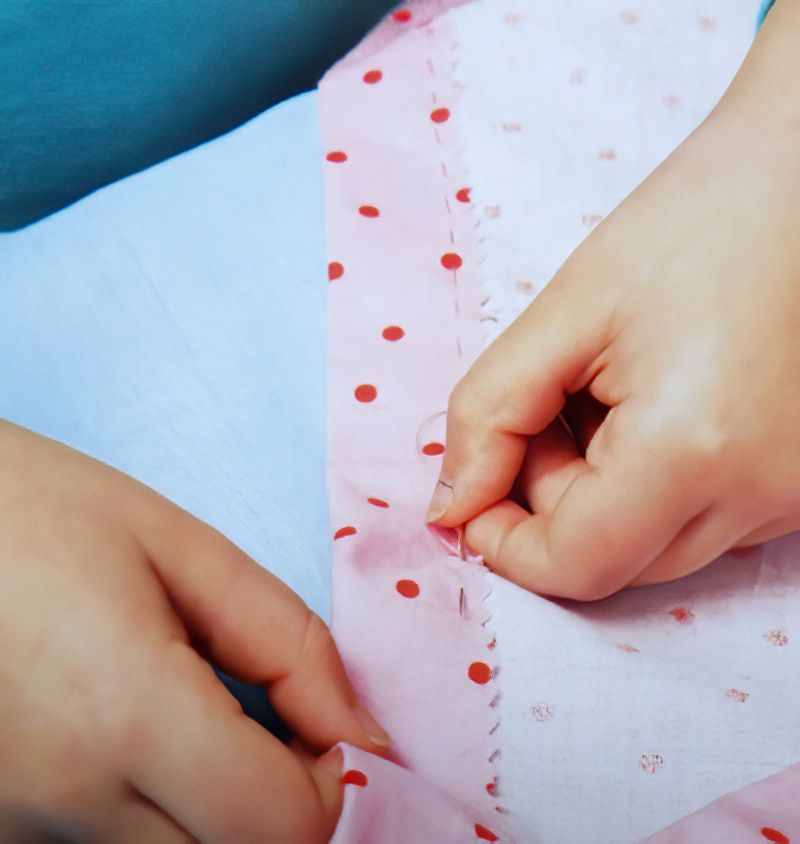
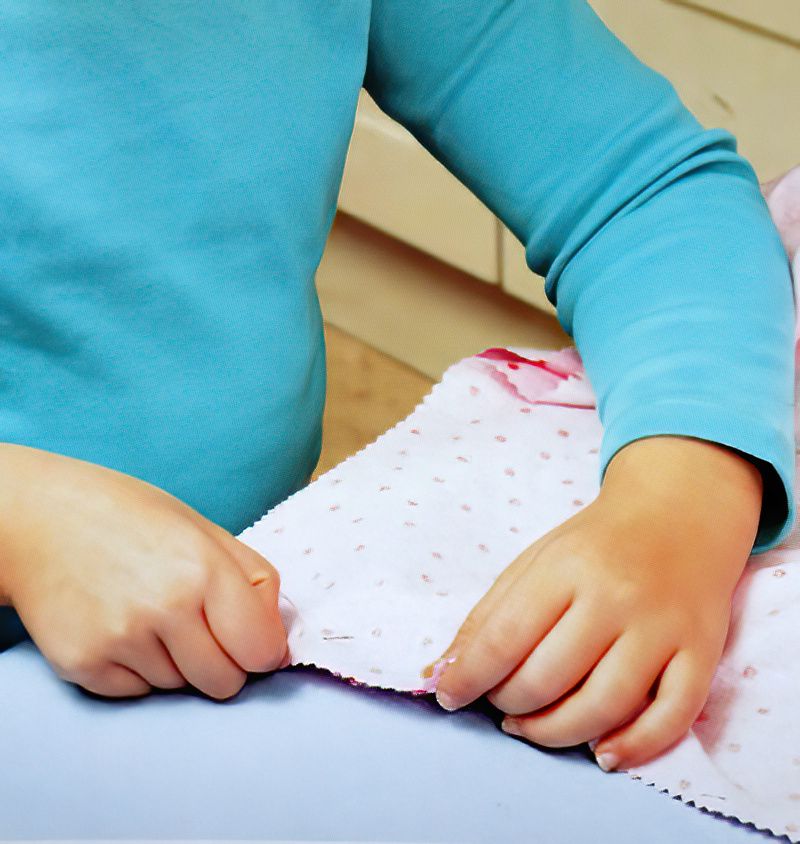
Lay the two pieces of fabric on top of each other, with the nice sides facing each other. Then sew along one of the shorter sides using a back stitch.
Back stitch basically mean when you sew in from the front to the back, then go along, then come back out to the front. Then go backwards slighting and go back in the front, but between the threads. Then go along forward again and back out the front.
So think of backstitch like two steps forward, one step back.
Now We Need A Template To Make An Elasticated Skirt
Step Two
Find the fabric you want to use to make your flower embellishments. Ask an adult to iron on some fusible web. This is basically like a sheet of fabric glue with a backing paper on it.
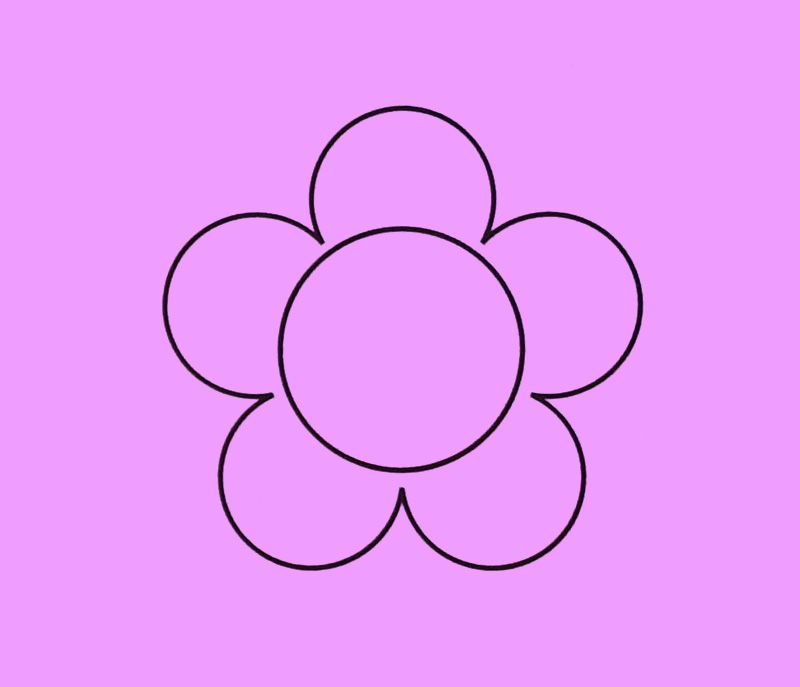
You can copy the template above, resize and print out the size you want. Or search the internet for "flower shape templates". Or actually you can just draw a flower shape freehand, it is not too tricky. Cut out your template.
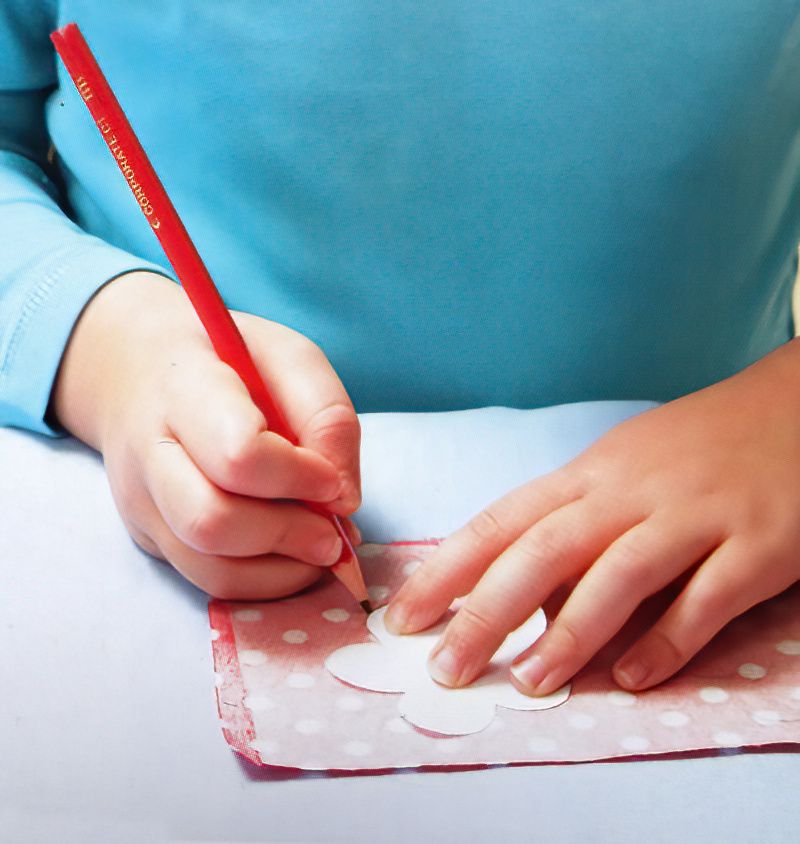
Trace around your template onto the paper side of the fusible web. We want three flower shapes. So draw the flower three times. Cut out the shapes. Remove the paper from the fusible web. Then ask an adult to use an iron to attach the flower motifs to the skirt where you want the flowers positioned.
Blanket Stitch Our Flower Motifs On Our Elasticated Skirt
Step Three
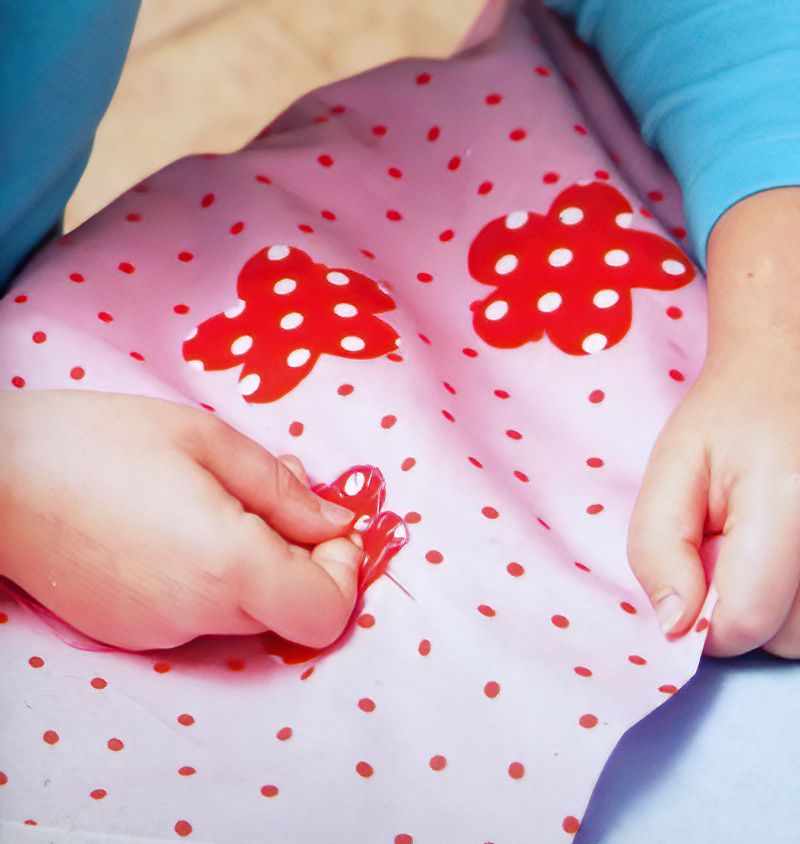
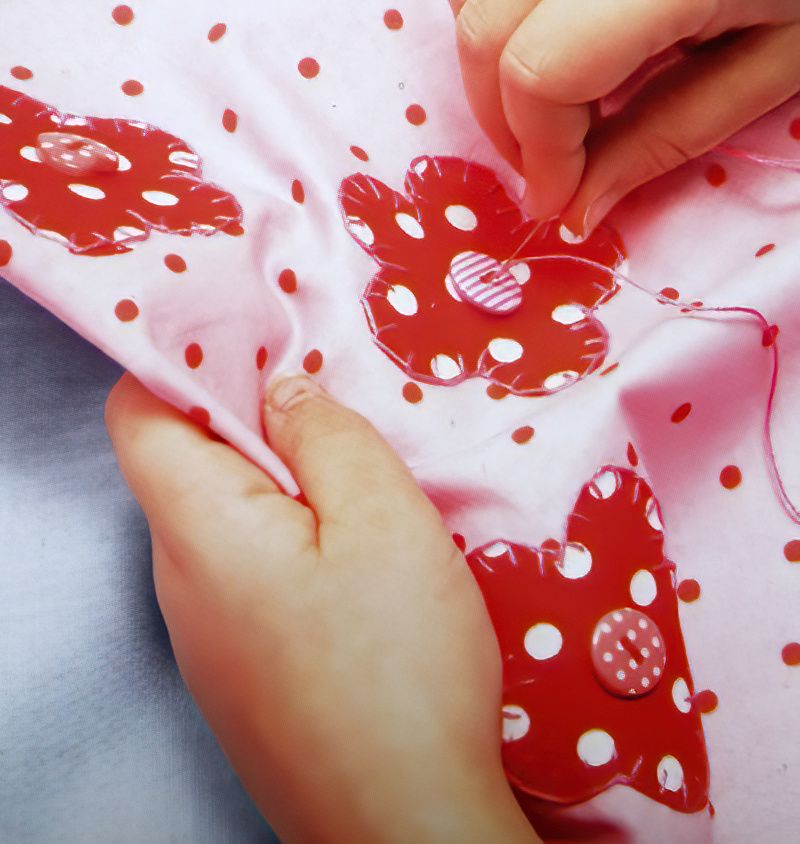
Let's continue to make an elasticated skirt. Next we need the needle with the embroidery thread. Now sew around each flower motif using a blanket stitch.
Blanket stitch is basically when you you go in a little way in from the edge of the flower. Then you go diagonally sideways one space and come back through at the edge of the flower. But before you go back in the front, you hook the thread. This makes a sort of square shaped stitch. Have a practise if unsure.
Continue Decorating Our Elasticated Skirt
Step Four
Finally, we can add some cute buttons to the centre of each of the flower motifs. Carefully sew on the buttons.
Finish Sew The Skirt Together
Step Five
Now lay the skirt flat again, both pieces on top of each other. With the nice sides facing each other on the inside. Now use backstitch again to sew the other short side of the skirt fabric. Now we should have a fabric tube with our flower motifs on the inside.
Now where the seams where sewn together, we can open the seam and ask an adult to press the seams flat whilst open. This way the skirt will lay better again the body.
Sew The Seams Of Our Elasticated Skirt
Step Six
Now we should have a fabric tube. So next, we want to sew a seam around the top and bottom edges of the tube. So fold over the fabric at the top 3cms or 1 and one quarter inches. Ask an adult to press this with a hot iron. Repeat at the bottom for the bottom seam.
The top seam will form a casing or tube. We are going to thread our elastic through this casing. Carefully sew the top and the bottoms seams all around. For the top seam, leave a a little opening so we can thread our elastic through.
Add Elastic To Our Elasticated Skirt
Step Seven
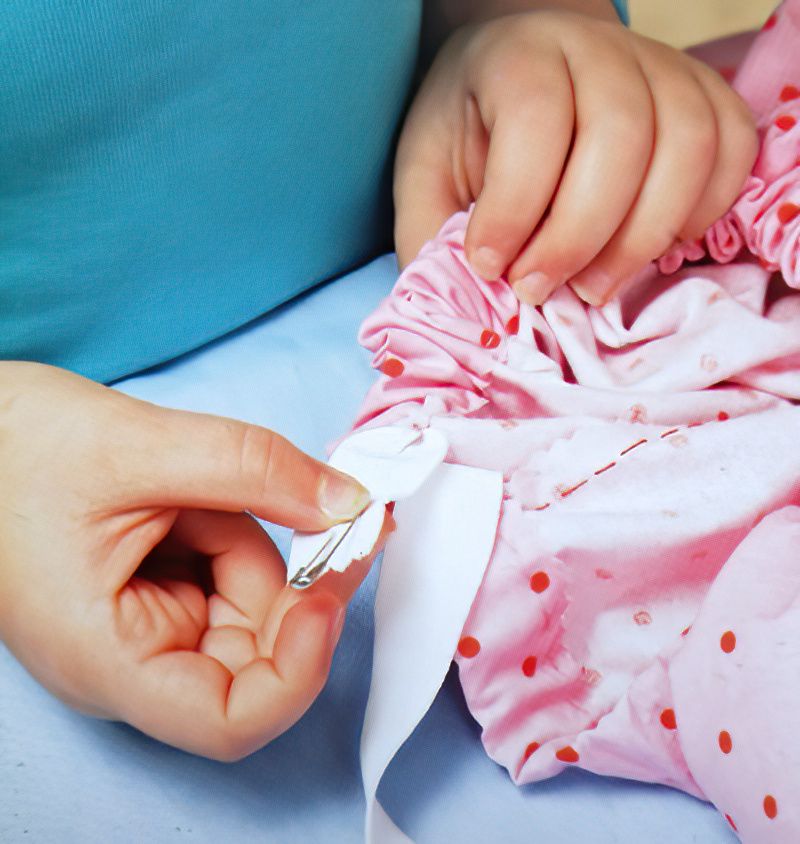
Now we are going to thread our elastic through the top seam of the skirt. Test how much elastic you need by wrapping it around your waste and pinch it and hold it when you have the right length. Use the scissors to cut this length plus a little for tying a knot.
Now attach a safety pin to the end of the elastic and carefully thread it through and round the top seam. Use your fingers through the fabric to nudge the safety pin all the way through the casing seam. Then remove the safety pin and if you can do a test fitting. Tie the elastic when it fits comfortably.
Let's Finish Our Make An Elasticated Skirt Project
Step Eight
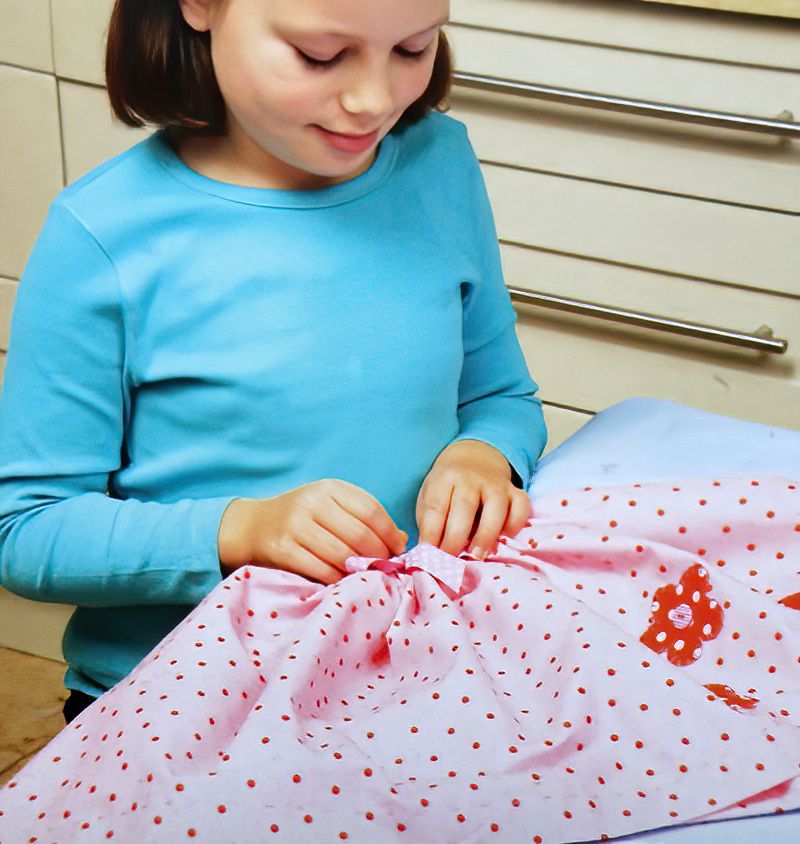
Finally, we can take the ribbon and tie it in a pretty bow. Then cut off the excess ribbon at a diagonal, to stop the ribbon fraying.
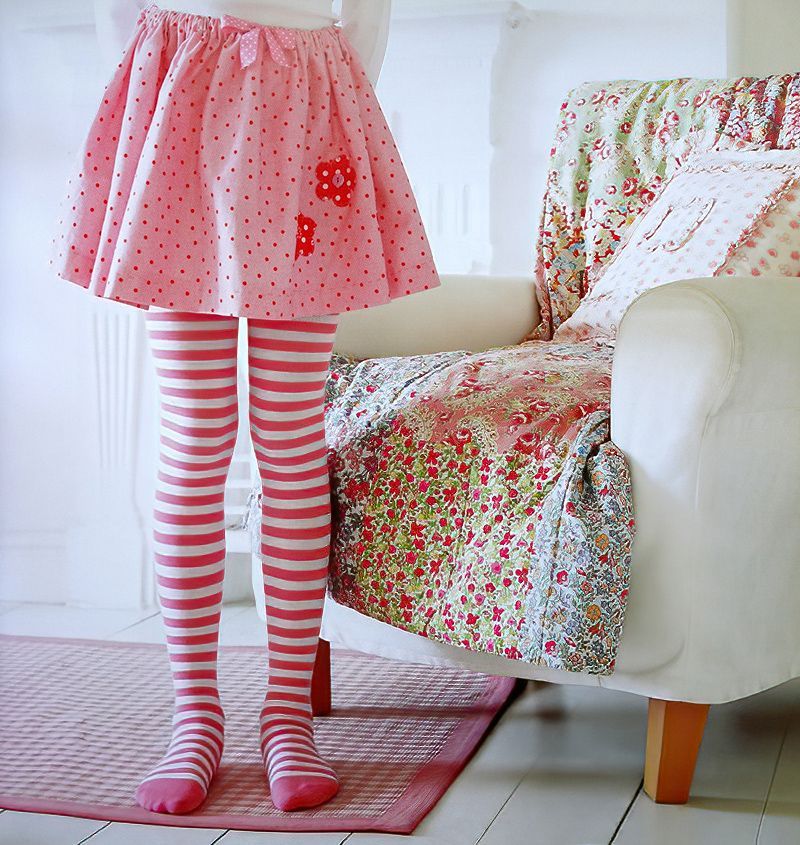
Turn your skirt the right way around. Then finally sew the ribbon detail to the front of the waistband. And there we have it. Congratulations, you have completed our pretty, fun simple elasticated skirt.
Think of other fabrics you could use. Maybe different lengths and decorations. Or maybe even for different occasions, like birthdays, parties or fancy dress.
If you make an elasticated skirt, make sure to upload images to your own studio on Society of Makers, then comment down below so we can follow your name and see you pictures.









.jpg)
