Wonderful Tissue Paper Fiesta Flags
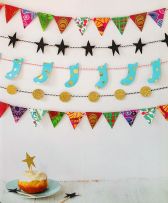
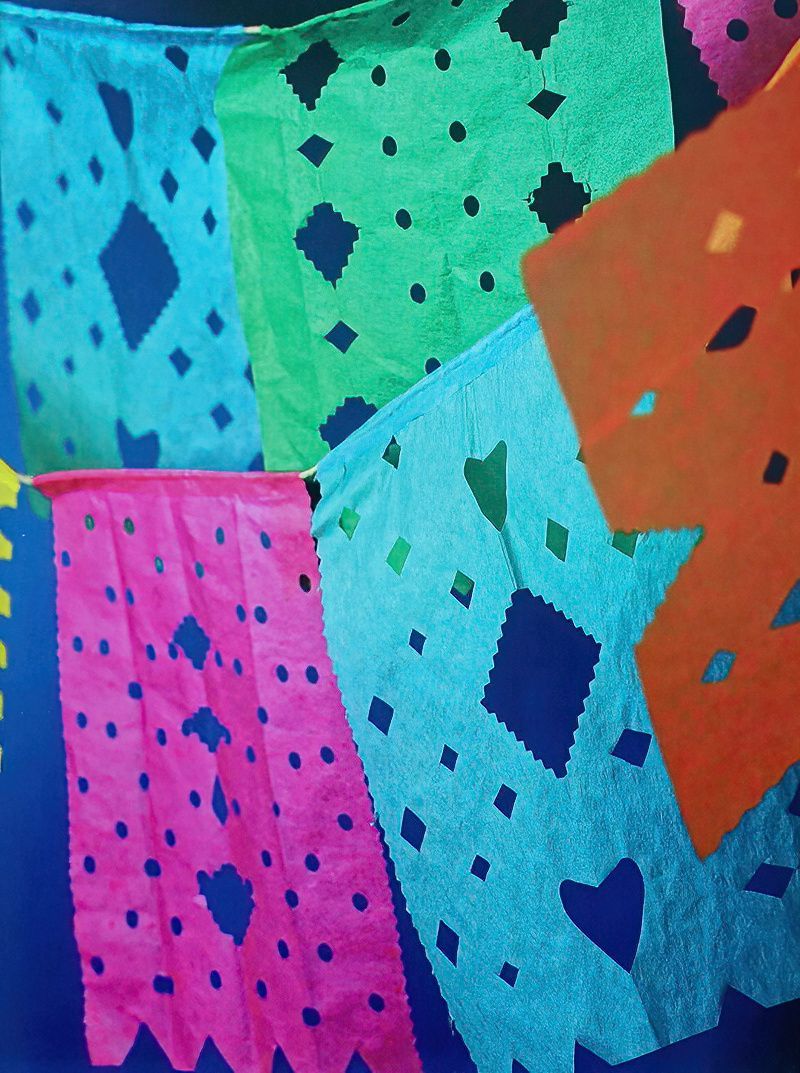
These fantastic decorations are so simple to make and really add a huge amount of colour to any occasion.
Have fun with your whole family, making some very personal decorations. Brightly coloured tissue paper will make any room feel magical. But be careful hanging them outside, because if it rains, the tissue paper will fall apart.
Right, let's get ready for the party.
What we need to make tissue paper fiesta flags
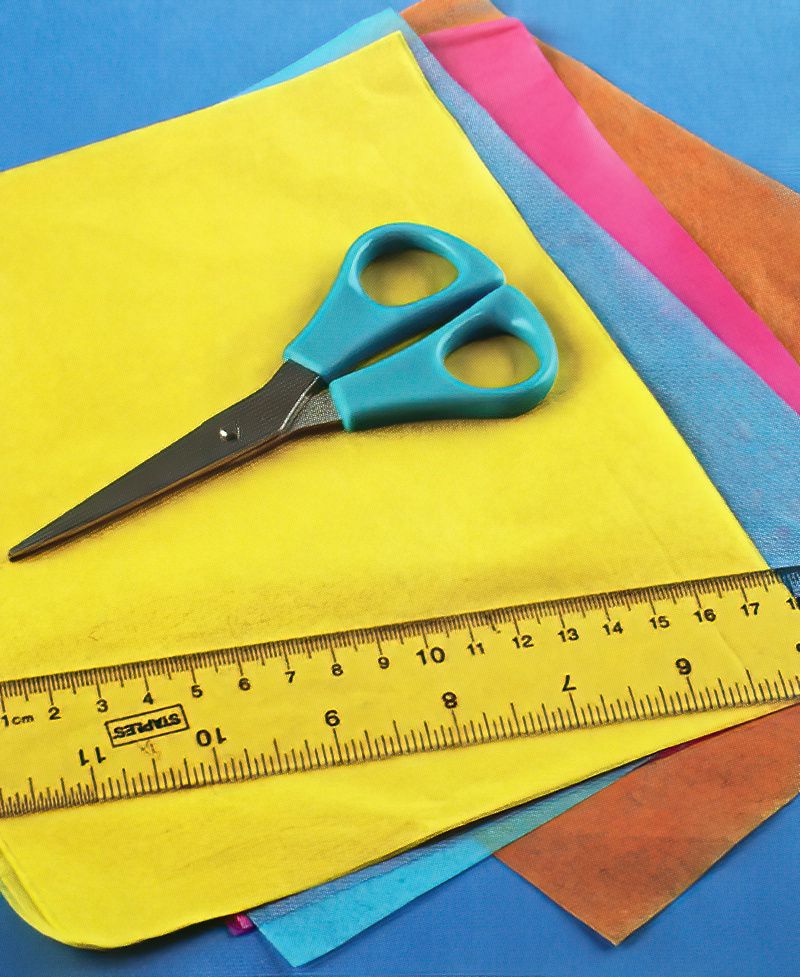
- Tissue paper all colours
- String
- Glue or double sided sticky tape
- Scissors
- Ruler
- Hole punch (optional)
Let's Start Making The Tissue Paper Flags
Step One
First we need to cut out some rectangles from the coloured tissue paper. Cut out rectangles that measure roughly:
- 21 x 19cms
- or 8 and one quarter x 7 and a half inches
You can, if you like, make your tissue paper fiesta flags any size you like. Once you get the idea of how to make them, it's fun to change the rules a little and make your designs more personal to you.
Make Some Cutout In Our Tissue Paper Flags
Step Two
So now we have some rectangles of tissue paper. Take one of them and fold it in half along its length. Make a sharp crease. Then fold it in half again, along the length again.
Now we can think about a design. But don't worry, just try some ideas and shapes. It's fun to experiment and if you make a little mistake, you can always get a new piece of tissue paper.
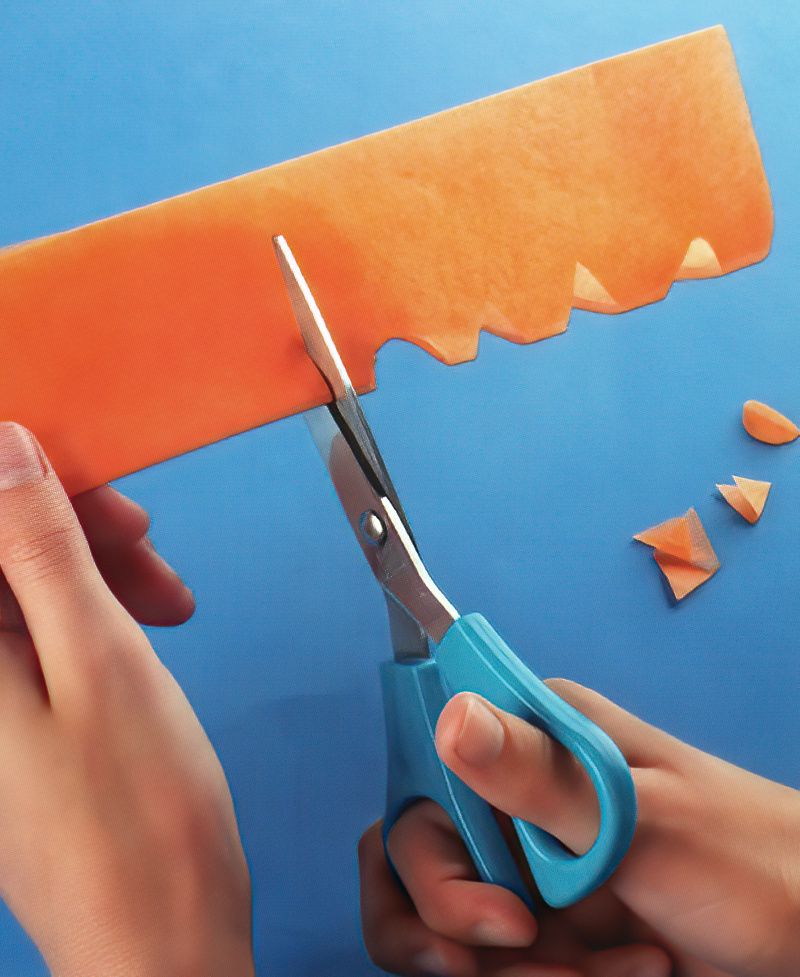
Cut small pieces from the edges where the folds are. Make sure an adult is helping with the scissors.
Don't cut your shapes too big. Your tissue paper fiesta flags still need to have a lot of tissue paper to hold them together. So smaller holes are best. But try a few designs and see what works best for you.
Add More Details To Our Tissue Flags
Step Three
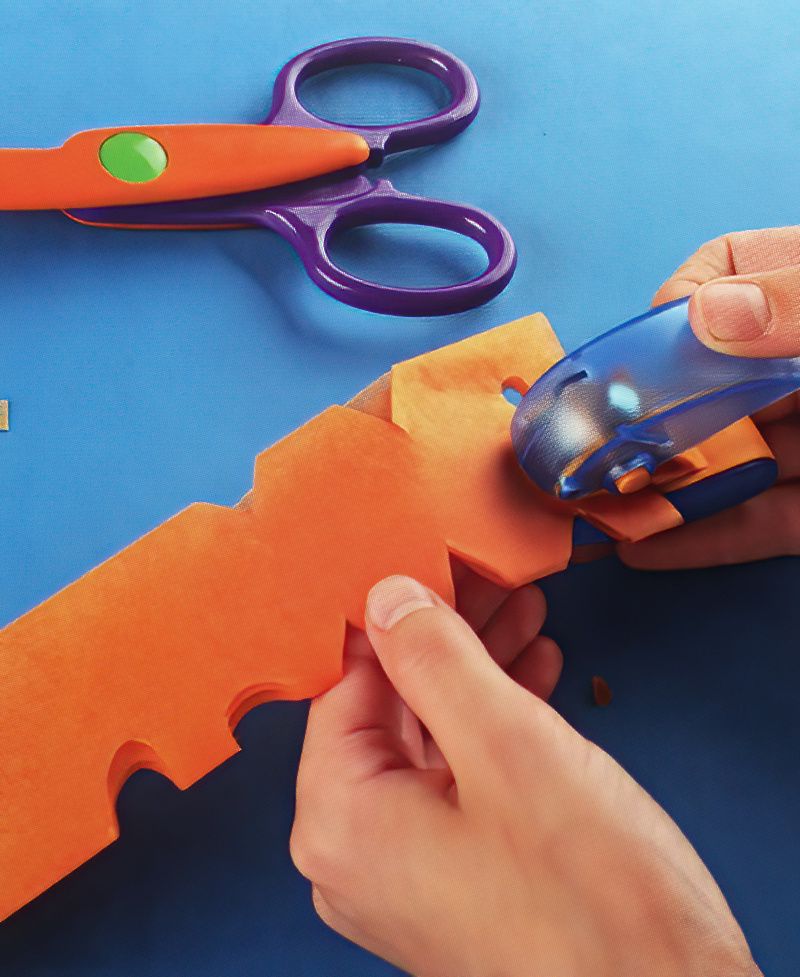
If you have a hole punch, you can also use that now. Hold all the layers of tissue paper tightly together and carefully punch some holes through all the layers.
This is great way to make fun polka dot effects in the tissue paper fiesta flags.
You can buy paper punches in different designs. If you have those you can try those designs too. Also pinking shears are great for making zig zag edges. Pinking shears are used in sewing for cutting fabric edges to stop them fraying.
Cut zig zags along the edges or make little triangles for a great effect on the end flag.
When you have finished with the cuts, you can now open the tissue paper and see the design you have created.
Finish Assembling Our Tissue Paper Flags
Step Four
The final stage is to assemble all the tissue papers into hanging flags. Once you have a good number of tissue paper designs, lay them out in a line on a table. You can do this in smaller batches or even one at a time if you like.
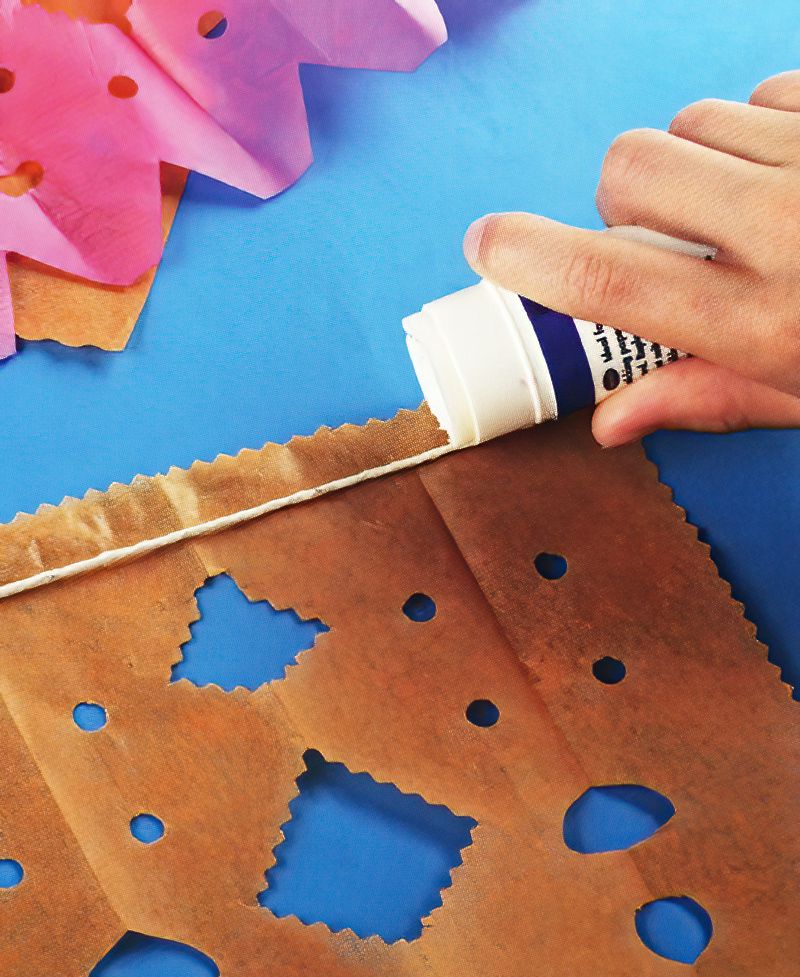
Lay a piece of string across the top and fold over the top of the tissue paper about 1cm or half an inch.
Now simply glue the top flap of tissue paper over the top of the string. Now continue along the string, mixing the colours up as you go. Finally you have made yourself an amazing set of tissue paper fiesta flags.








.jpg)
