Decorate Your Room With Painted Stick Letters
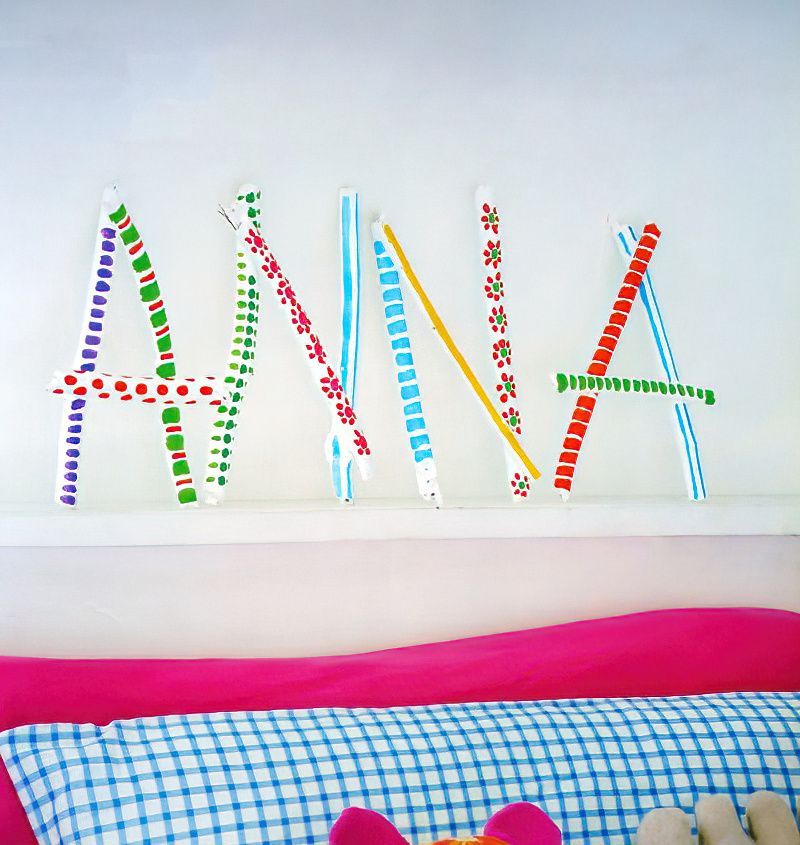
Make really fun, easy and cheap painted stick letters and decorate your room or anywhere. Remember you don't just have to make letters that spell your name. You can make a fun sign that says an inspirational word or the name of your club or make them for a friend.
Or just have fun decorating any space with interesting painted stick letters.
What do we need to make painted stick letters
- Sticks
- White paint
- Paintbrushes
- Paint in different colours
- Glue
How To Make Painted Stick Letters
Step One
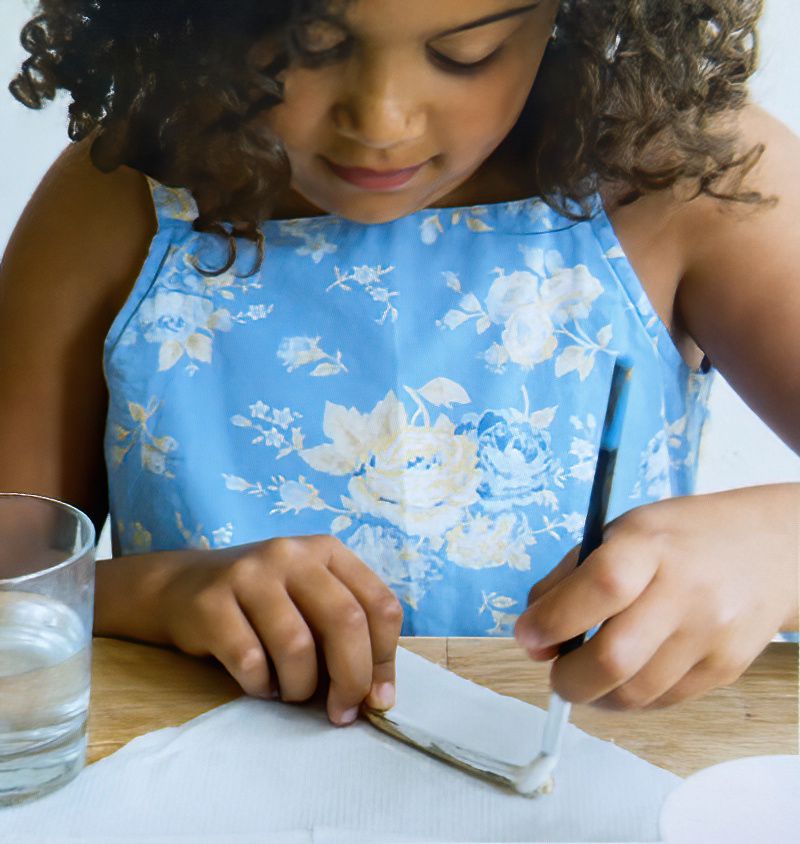
First we need to gather together some sticks or twigs. All our sticks need to be similar thicknesses. We can of course, snap or cut the same twig or stick into shorter lengths.
When you are collecting your sticks, you need to have in mind the word you are going to be spelling out.
Once you have a collection of sticks, lay them out on the floor and see if you can spell the word you want to create. Cut or snap sticks to get the correct lengths.
Once you are happy you have enough sticks. Paint them all white. Don't jumble them up too much as you may not be able to assemble them back into their letters.
Let the paint dry and do another coat if you feel it needs it.
Start Decorating Our Stick Letters
Step Two
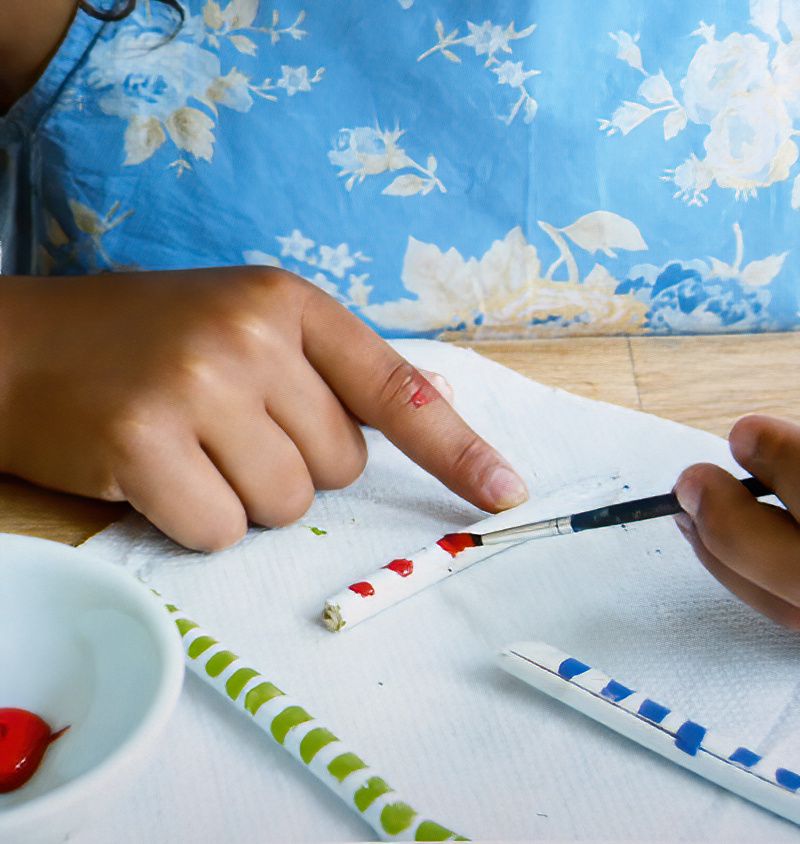
Once your sticks have had enough coats of white paint, we can start to decorate them. The more coats of white paint you add the better your sticks will look.
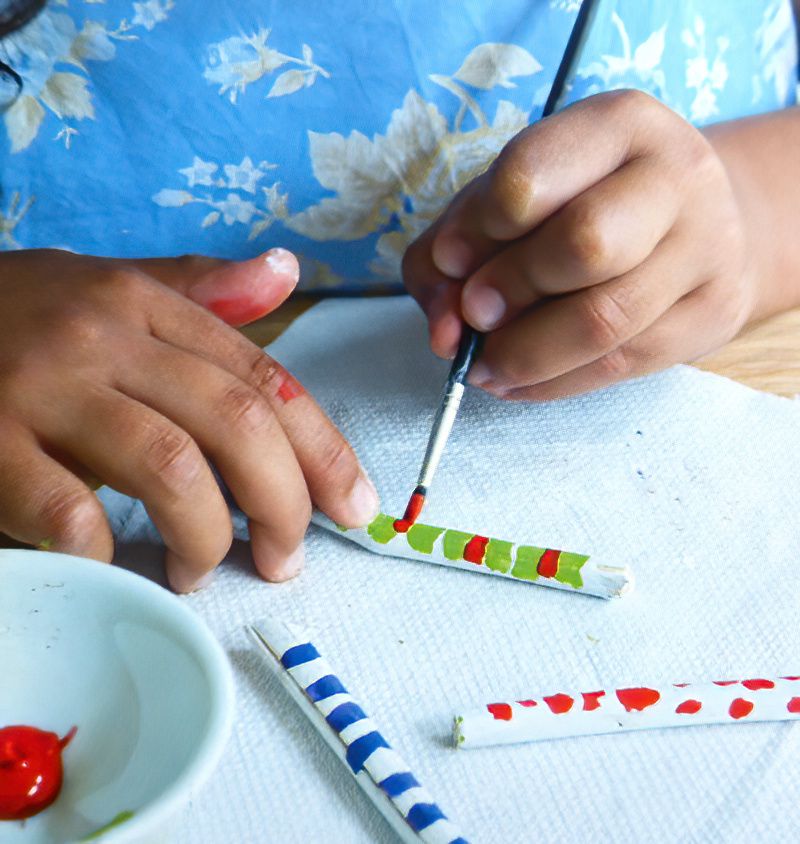
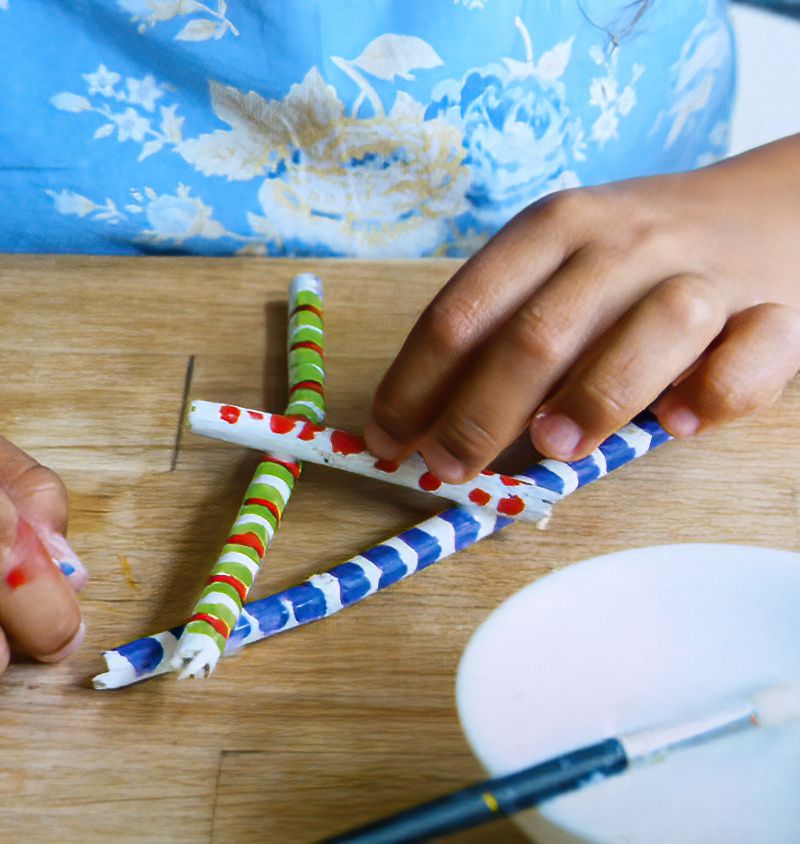
Start painting patterns on the sticks. Paint dots and stripes and use different colours on one stick. And different, bright colours on all the sticks.
Simple patterns like dots and stripes and lines, seem to work really well when we assemble all the letters. Plus this makes this an easy project for anyone to do.
Continue Decorating Our Painted Stick Letters
Step Four
Continue decorating all the sticks we will need to make up our word. Remember to keep each letter's sticks together so we don't get confused when gluing them together.
Finish Making The Painted Stick Letters
Step Four
Once all the paint is dry on all the little stick pieces we can get ready for assembly.
Finally, glue the stick together in the letter shapes. Wait until the glue thoroughly dries. Once we have finished all the stick letters and all the glue is dry, we can finally arrange them in our room.
What a great project that anyone can do. Easy and cheap room letters. They are super fun to paint and decorate and really make a big different to the decoration of any room or space.
Please post some pictures on your own studio and then comment your studio name down below. This way we can search your name and see your pictures.

