Frilly Paper Flower Picture
How Do You Brighten up the Dullest of Living Spaces?
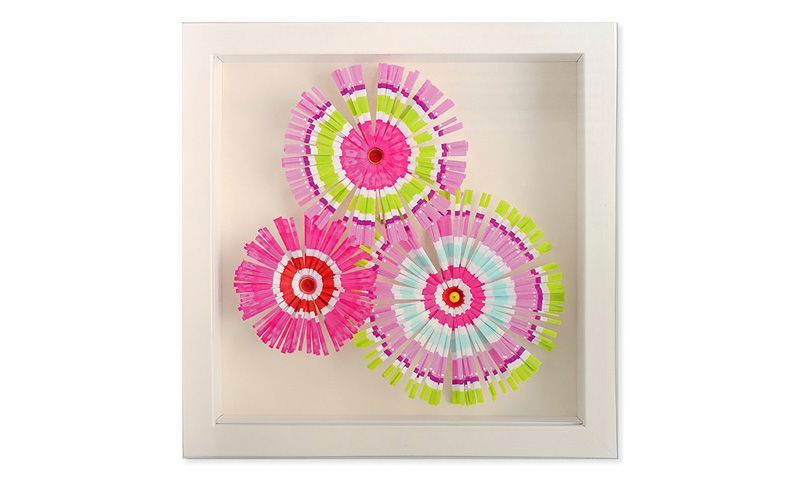
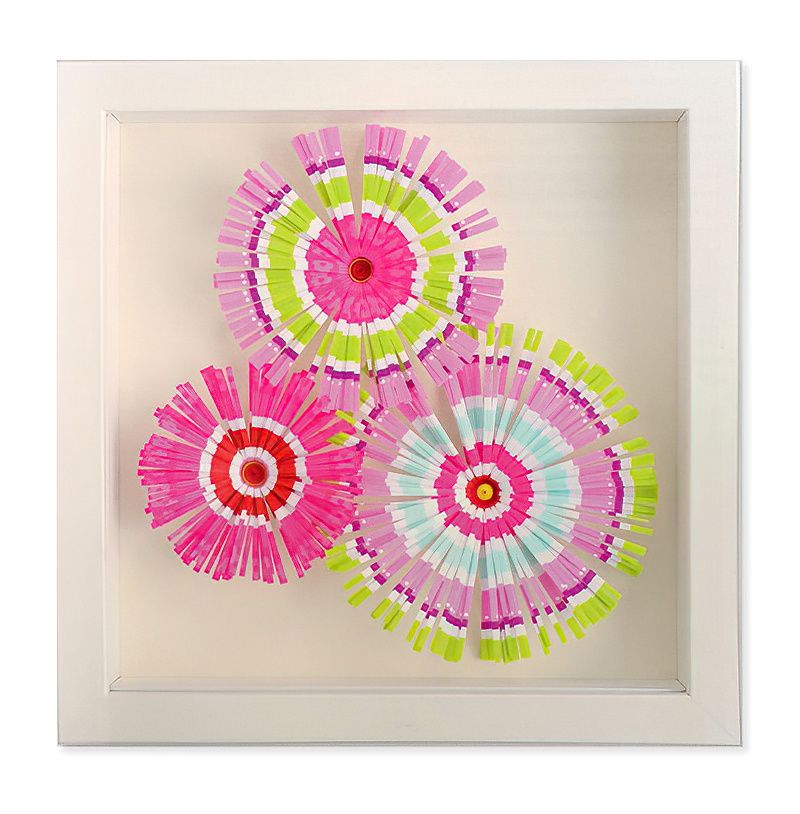
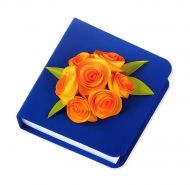
Well you make this fun frilly paper flower project. Either for yourself or for a lovely gift for a loved one. Decorating your living space with prints is so unbelievably popular at the moment. But what is better than a flat print? Yes a three-dimensional work of art.
Reminiscent of holidays and cocktails, this work of art is likely to bring a smile to anyone's face.
These flowers are actually made from wrapping paper. Yes I am that person who goes around saving all the wrapping paper. But obviously you could get a very different look if you used different papers. Imagine whites, creams and maybe silvers for a wedding themed flower set.
Stuff Needed to Make a Frilly Paper Flower
- Basic tools for paper crafting
- A roll of good quality striped gift wrapping
- Quilling tool
- Pink and yellow paper, 10mm or three eighths of an inch wide
- Picture frame, 25cms or 10 inches square, measuring the outside edge
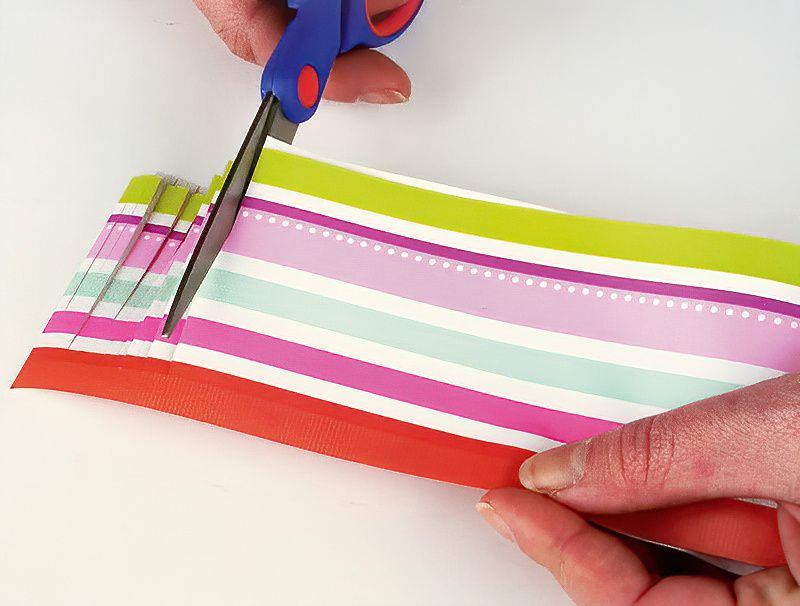
Start By Making Some Frilly Paper Cuts
Step One
OK to make the frilly paper flower, start by cutting a piece of paper 40cms long by 7cms wide or 15 and three quarters inches long by 2 and three quarters inches wide. Here we have the stripes going the lengthwise.
Stripes work really well with this craft project. But frankly anything looks amazing when completed.
Using long scissors cut across the paper, but not the whole way across. Leave a little space of about 6mm or one quarter inch where you don't cut through.
We want to keep going down the paper cutting fringes, at gaps or intervals of 2mms or one sixteenth of an inch.
We are making a fringe after all. Take your time and make it look nice.
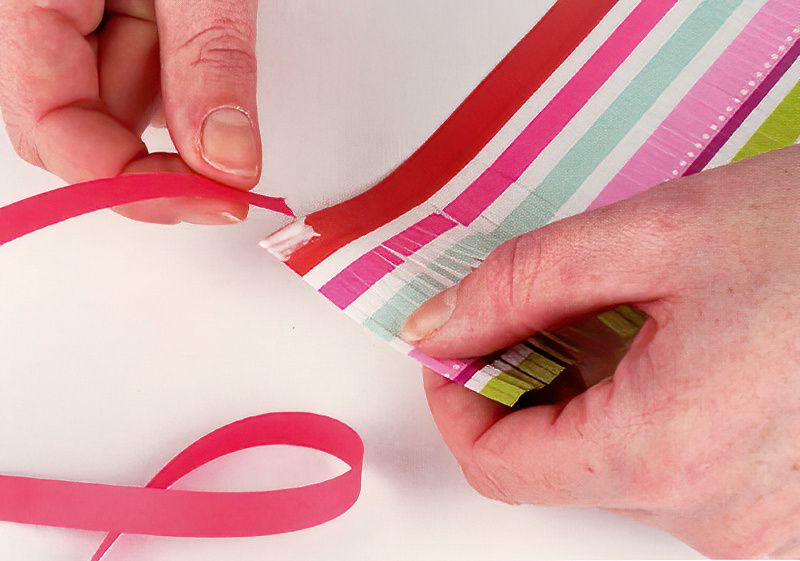
Add The Paper Flower Centre To Our Frilly Petal Piece
Step Two
Now we are going to glue a silly long piece of red paper hanging off the end of our striped, fringed paper. And then we are going to go totally mad and stick a yellow strip of paper to the end of the red strip.
This is so we can start winding the paper into a tight spiral. And ending with the fringed wrapping paper on the outside (BUT with the pattern facing inwards). And the tightly wound yellow and red papers at the very centre of it all.
It's going to be fine, deep breaths. It's a frilly paper flower effect, don't you know.
So glue a 40cm long or 15 and three quarter inches long strip of pink paper to the uncut side of the paper, on to the end so it is hanging off the end like a tail.
Then onto the end of the that tail, stick a 20cm or 7 and three quarter inches long length of yellow paper onto the end of that red strip. Madness!
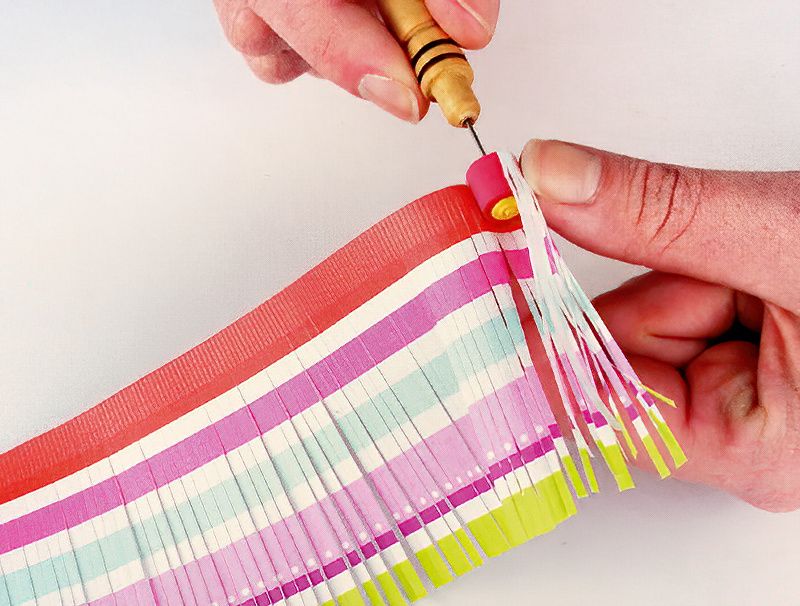
Start Assembling Our Colourful Frilly Paper Flower
Step Three
Now we have this super long strip of red and yellow paper hanging off the end of our fringed wrapping paper, phew! Get your quilling tool.
A quilling tool, is basically just a needle with a slot in it. You can use a cocktail stick, but it is much easier with a quilling tool.
So we want to put the far end of the yellow strip into our quilling tool and slowly and carefully start neatly winding. Hold your fingers on to maintain a good tension.
Remember, we want to end with the pattern on the fringed paper facing inwards.
The idea is that we are making the yellow centre of a flower. Once the yellow is wound, keep going into the red paper strip and try and keep it all neat and tightly wound.
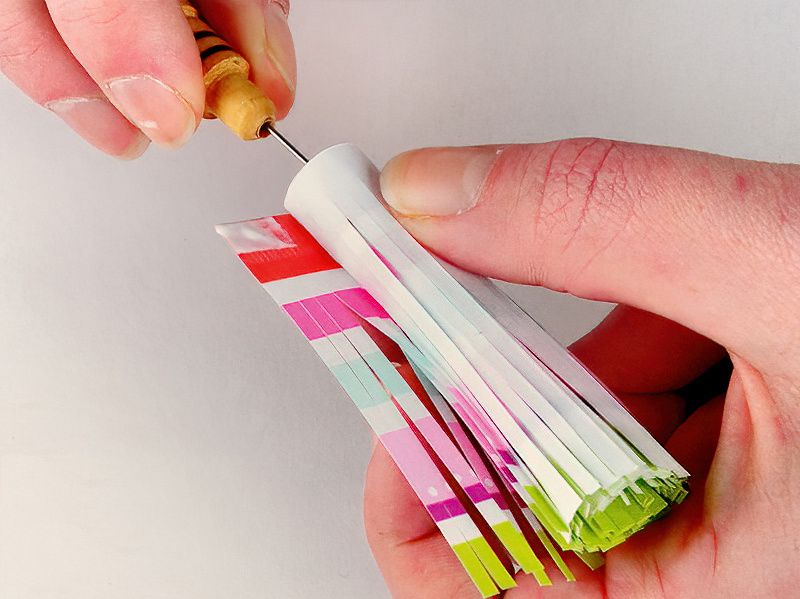
Carefully Roll Up Your Paper Flower
Step Four
Take your time and don't let go :)
Keep turning your quilling tool and wind all the paper up right until the end of the fringed paper. Add glue at the end and glue the monster coil shut.
Don't yank out the quilling tool or can you guess what might happen? Yep, frilly paper flower explosion.
Fluff Your Paper Flower Into A Nice Shape
Step Five
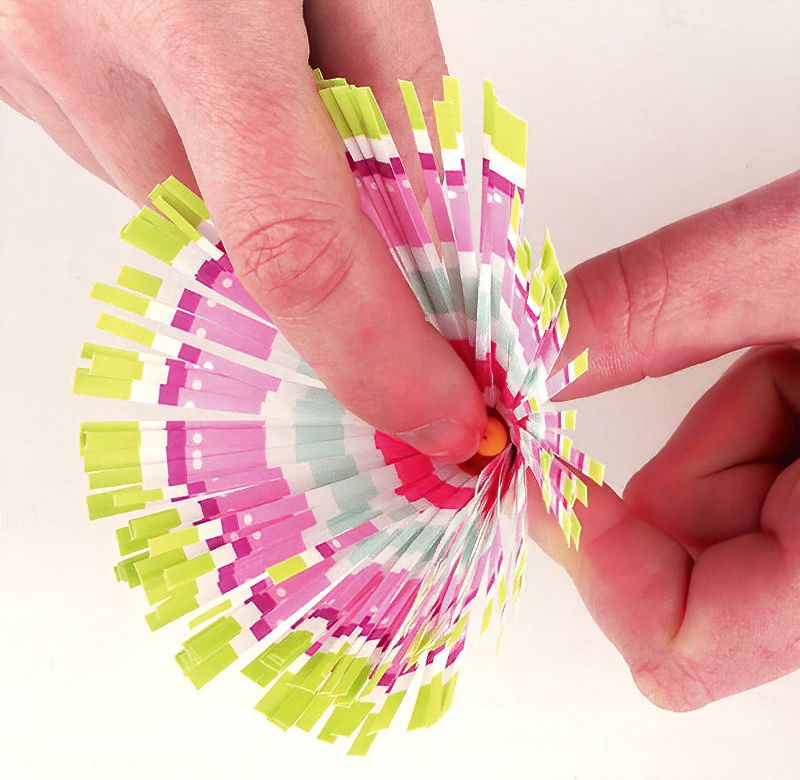
Now get the best tool you have, your finger, and push it gently down the centre of the flower. Teasing the fringes will slowly reveal the flower and the yellow and red centre.
You can leave it more natural and just gently tease with your fingers, working it until the flower looks nice. Or lay the flower fringes down on a flat, clean surface and smooth everything out from there.
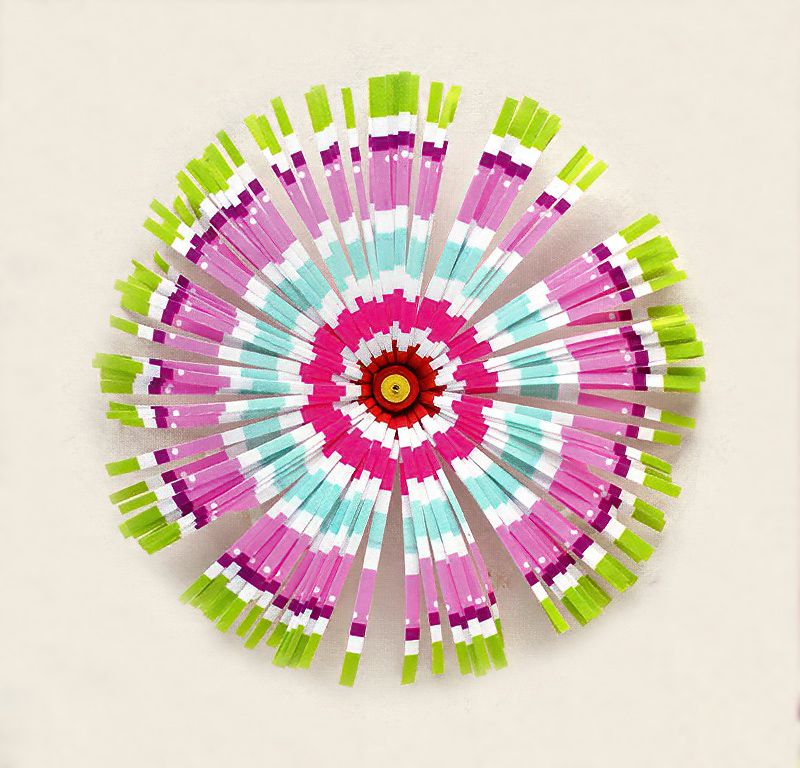
Now admire your marvellous frilly paper flower. Arrrrr, harps playing!
Complete More Variations Of The Frilly Paper Flower Design
Step Six
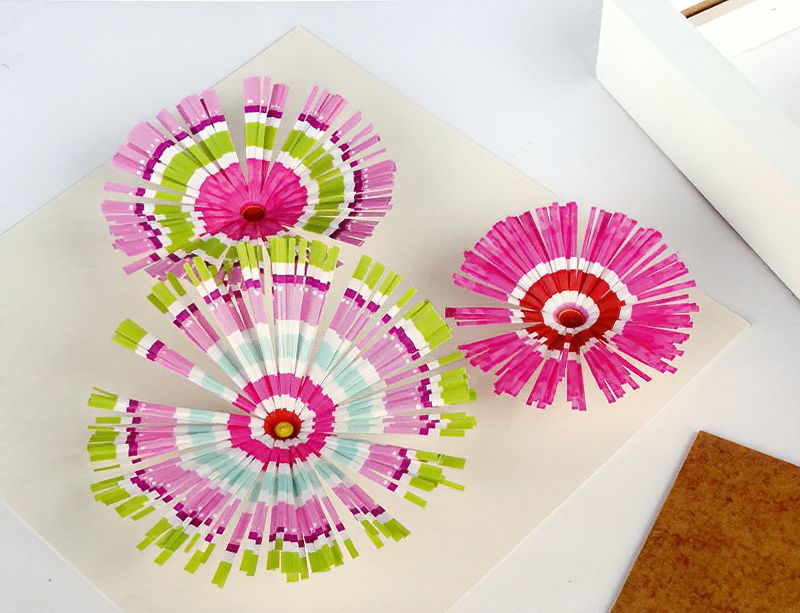
Now we need two more of these pretty frilly paper flowers at different sizes. Use different sections of the striped paper to add variation and interest to your final design.
Flower number two and three dimension:
- Flower two — cut the paper 40cm x 6cms or 15 and three quarter inches by 2 and three eighths inches
- Flower three — cut the paper 40cm x 4.5cms or 15 and three quarter inches by 1 and three quarters inches
Frilly Paper Flower Conclusion
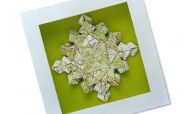
Glue the frilly paper flowers into the picture frame in an artistic fashion, slightly overlapping, and you are done.
Don't underestimate this project. Fun, simple and effective. And adds color, dimension and texture or any interior. Use this frilly paper flower technique in different ways. I can't wait to see what you come up with.




.jpg)








.jpg)
