Making Table Mats for Kids Is Actually Super Fun
Why make your own table mats? Well first you can design them exactly the way you want them. Second, these encourage kids to enjoy dinner time. But mostly, the make your own table mats project is crazy fun.
These table mats we are making, are covered in clear plastic that can be wiped clean. Once you put that clear plastic on your design, it transforms them into something fantastic and really fun.
So what do you need to make your own table mats?
- Pencil
- White paper
- Large coloured card
- Other coloured paper for designs
- Glue stick
- Felt tip pens
- Clear self-adhesive film, so we can wipe them clean
- Scissors
How To Make A Homemade Place Mat
Step One
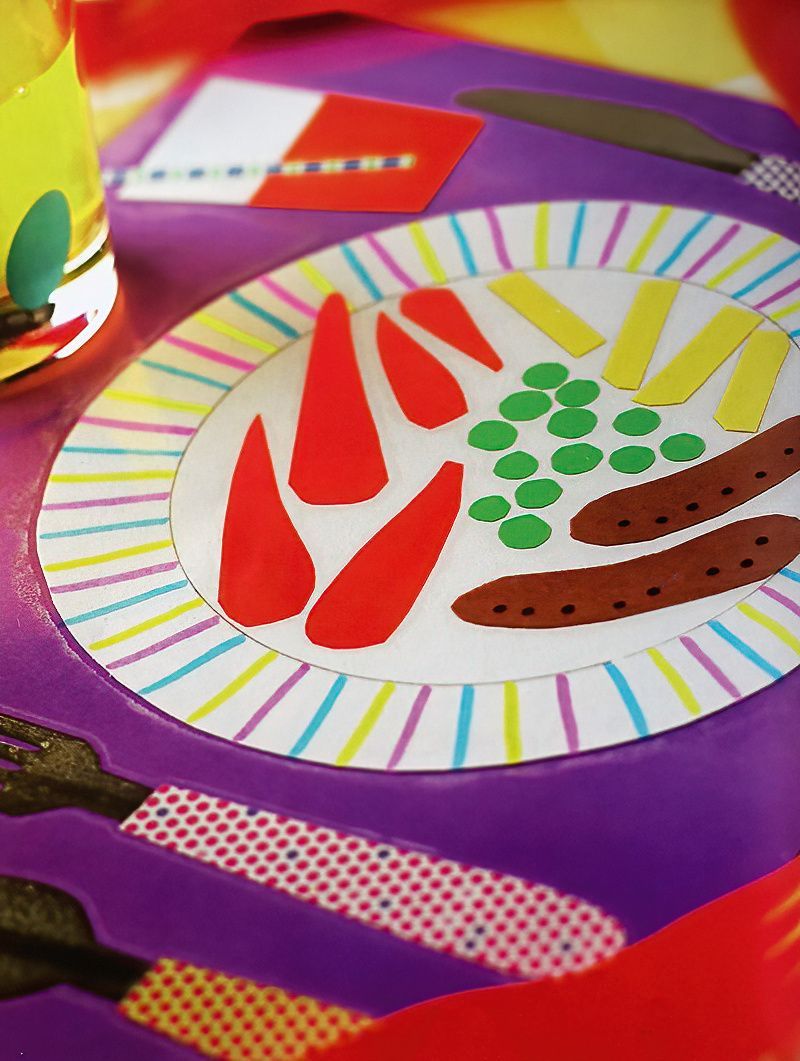
Here we are going to start to make your own table mats. So we are making a fun dinner plate design, but obviously you could make any design you like.
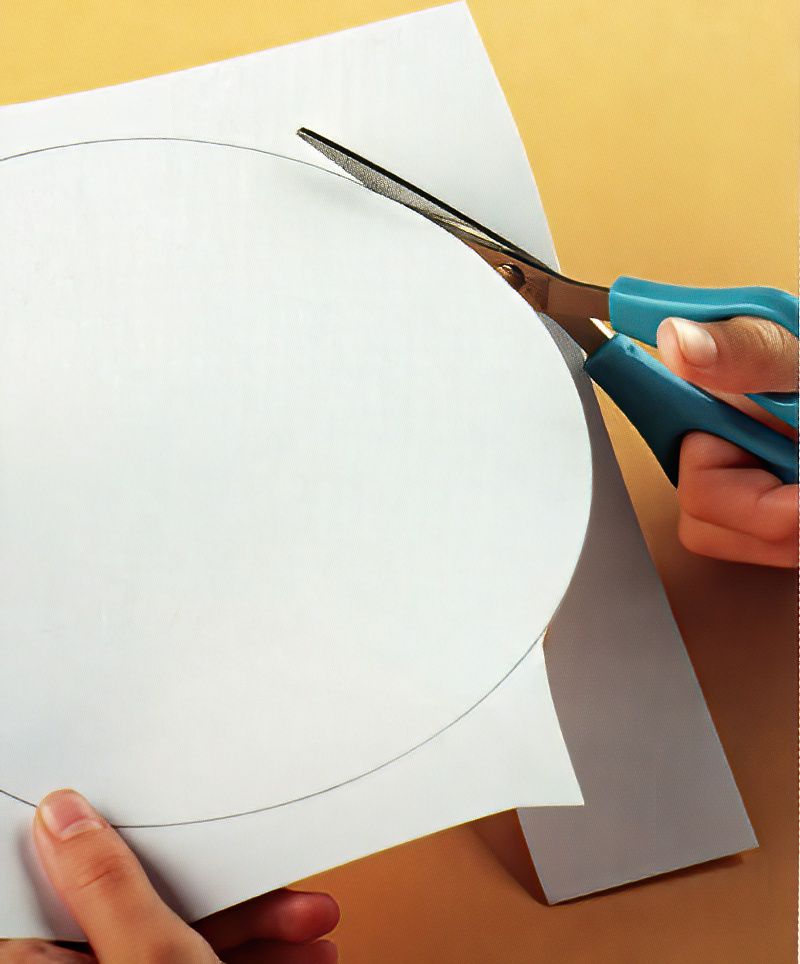
Get a dinner plate and draw around it on to a piece of white paper. Cut out the circle. Now to make it look like a real dinner plate, find a smaller plate and put it down on your white paper circle in the middle.
Now draw around this smaller plate to make the rim of your paper dinner plate.
Start Making The Base Of The Card Placemat
Step Two
Now we have our white piece of paper that looks like a dinner plate, we can stick it down. Get your large piece of card and make sure it is roughly the size of a place mat.
This large piece of card should be the size and shape you want your finished table mat to be.
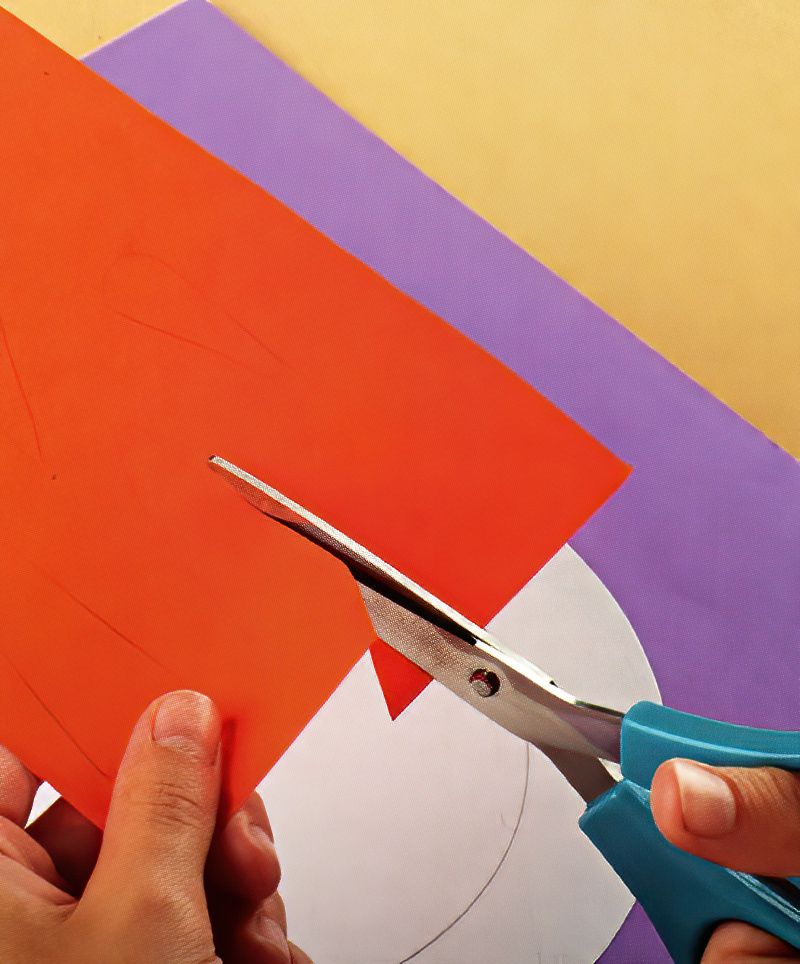
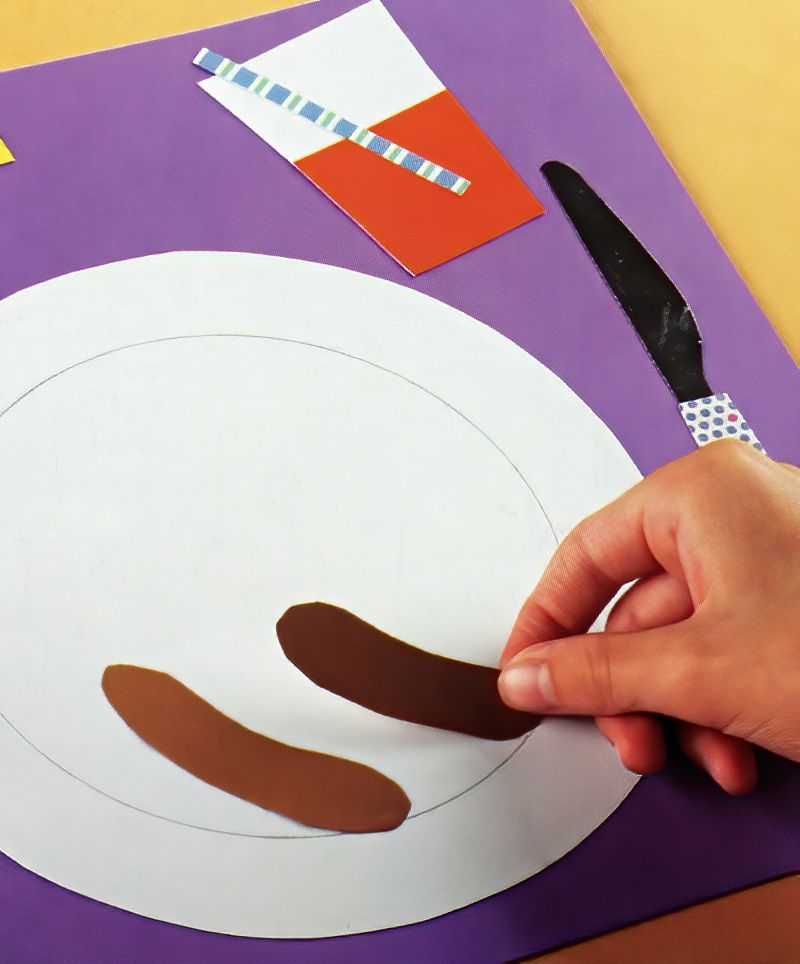
Now glue down your plate on to the card background. Now find more coloured papers and cut out food shapes that look like your favourite foods.
Add Details To The Homemade Placemat
Step Three
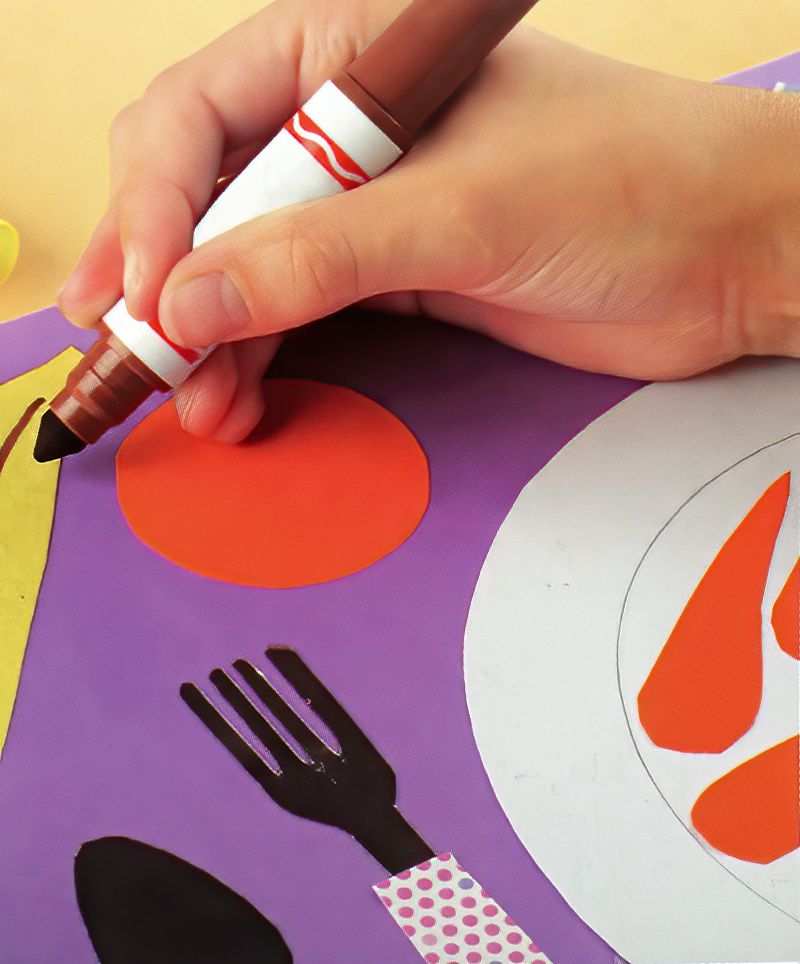
Continue cutting out shapes for food and don't forget when you make your own table mats you can add anything you like. So here we are going to add a knife and fork too.
Complete The Homemade Placemat For Children
Step Four
You can use shiny papers or wrapping papers or maybe even glue down some tin foil for shiny things. Finally, we can add more details with felt tip pens.
The last bit is the magic part. Once you have finished your design and the glue is dry we can apply the self-adhesive, clear film.
This film will let us see the design, but if we spill something on it, we will be able to just wipe it clean.
So applying the film, can be a bit tricky. Ask an adult for help. Cut the clear film to slightly bigger than our table mat. Then peel the backing paper away from one edge and fold it underneath. Don't peel the whole thing off. Start sticking down one edge of the clear film on one side of the design. Then as you stick it down, slowly push out any bubbles or wrinkles.
Then as you move across, slowly peel the paper away as you are slowly sticking the film down.
If you peel the whole backing paper off in one go, it can be tricky to line it up and stick it down without any bubbles.
Either, cut the edges to fit, or just fold them under and stick them down on the back.
Now you know how easy it is to make your own table mats, make sure you tell your friends to come over for dinner.


.jpg)





.jpg)
