Another Really Simple But Very Fun Craft Project For Kids
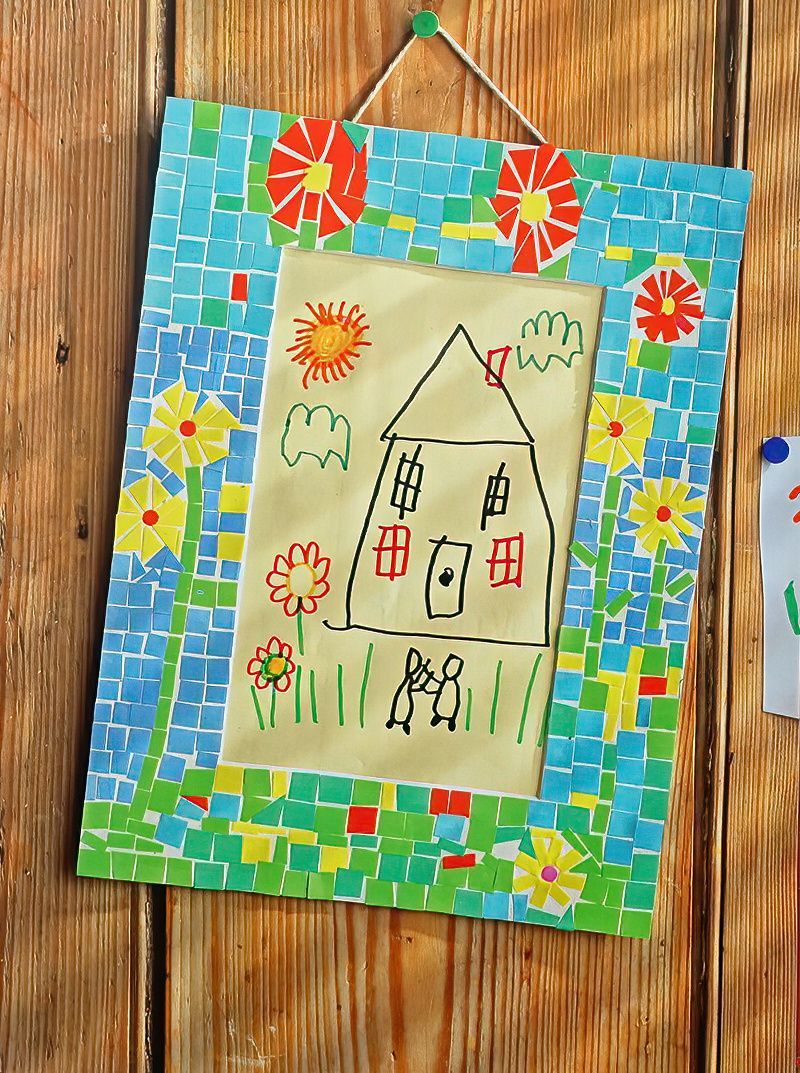
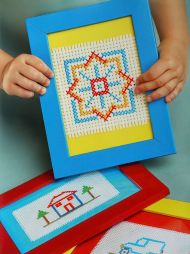
This simple mosaic picture frame makes a really brilliant present. Once you finish it, you will look back and say, did I make that. Very simple to make and actually, when finished, they make a really lovely mosaic effect.
Great for gifts for friends and family, or make a few and keep them for yourself.
What do we need to make a mosaic picture frame?
- Thick card or mount board or even corrugated cardboard for the frame base
- Scraps of coloured paper, or magazines or old wrapping paper
- PVA glue or glue stick
- Scissors (please ask for adult supervision)
- Ruler and pencil
How To Make A Simple Paper Mosaic
Step One
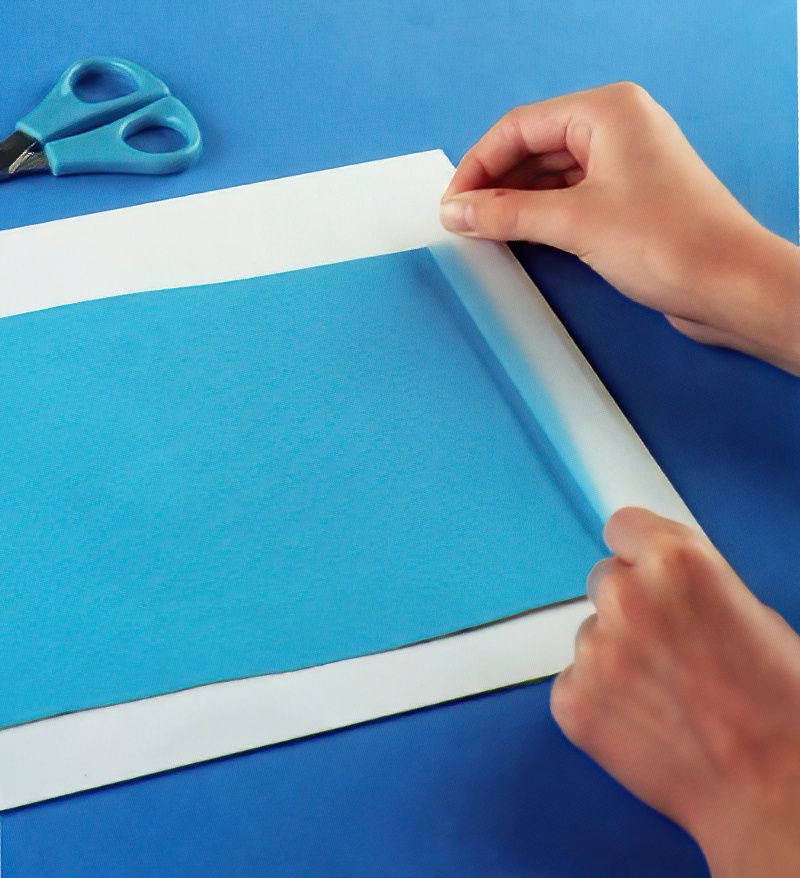
To start making our mosaic picture frame, we need to make the actual frame. Take your thick cardboard and cut it into a rectangle:
- 30 x 23cms
- or 12 x 9 inches
Now we need to cut the centre out to make the frame. Cut a rectangle hole in the middle with the size:
- 20 x 13cms
- or 8 x 5 inches
NOTE: You can, of course, make your frame any size you like. Just make sure you have a nice thick border so you can do your mosaic design.
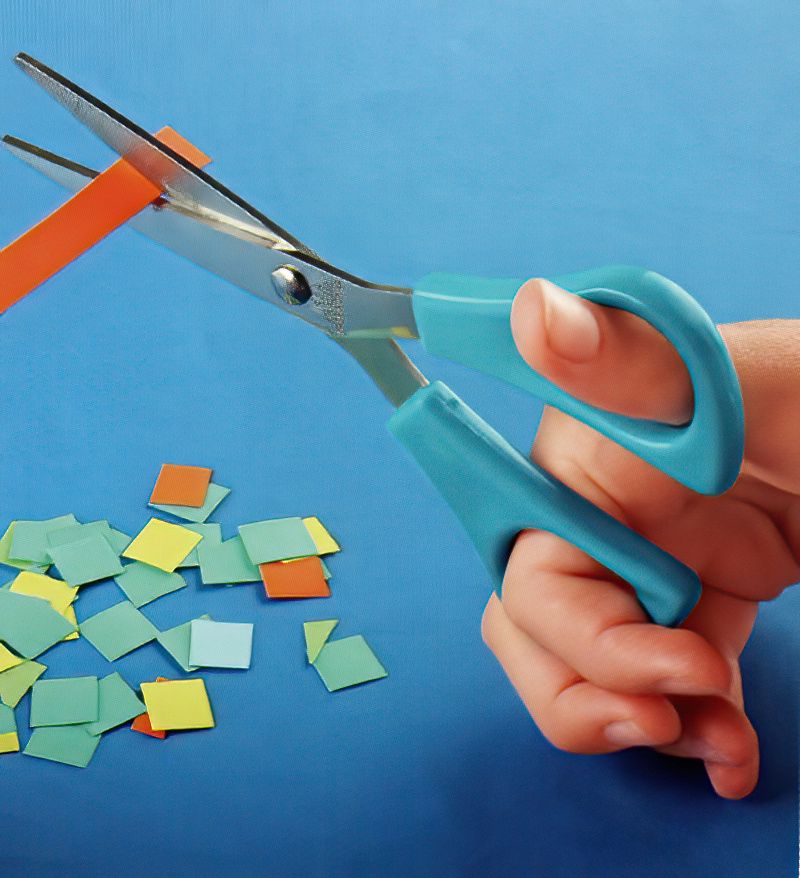
Start cutting the coloured papers into small squares. These squares can be as big or small as you like, but the effect looks better if they are all roughly the same size.
Also cut a few triangle shapes, if you want to create a flower effect.
Start Arranging The Paper Mosaic Pieces
Step Two
Practise arranging the shapes on the table to see if you can find some designs you like. I often like just making random coloured designs. Or sometimes I make strange coloured mosaic blobs in one corner and mix up the rest.
Create your own designs and your own ideas. Mosaics are great because even messy designs look great.
Try arranging the triangle shapes into a flower design.
Begin Assembling The Paper Mosaic Frame
Step Four
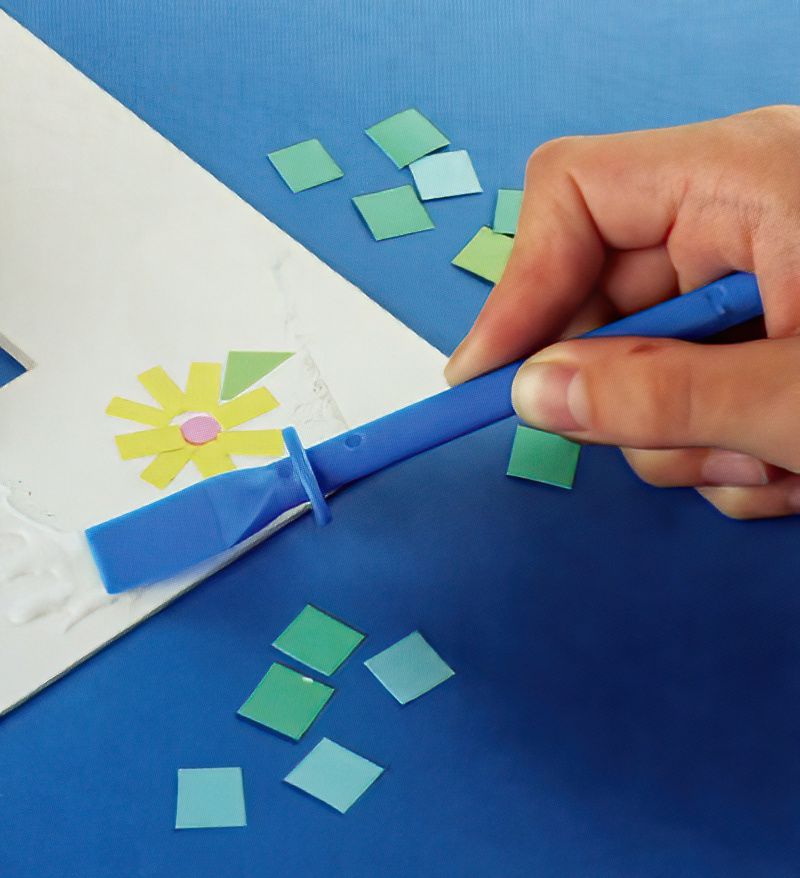
Next for our mosaic picture frame, we can start gluing the pieces down. If you have made a design on your table, just transfer it across to the frame. Maybe go one piece at a time. You can apply glue to the back of each piece of paper or put glue on the frame in a small area and slowly build up your design.
Start making your design on the picture frame border.
Complete The Mosaic Picture Frame Picture
Step Four
Finally, finish sticking down all of your mosaic pieces and let the glue dry.
To complete our mosaic picture frame, all we need to do now is turn it over and position our picture on the back and tape it in place.
You can also glue or tape a small piece of string to the back so you can hang your finished mosaic picture frame on the wall.
And there we have it. What a great simple project. A great project for those not so artistically inclined, as any bright colourful design, will look simply fantastic.

