A Fun Way To Decorate For Any Occasion is To Use A Star Shapes Garland
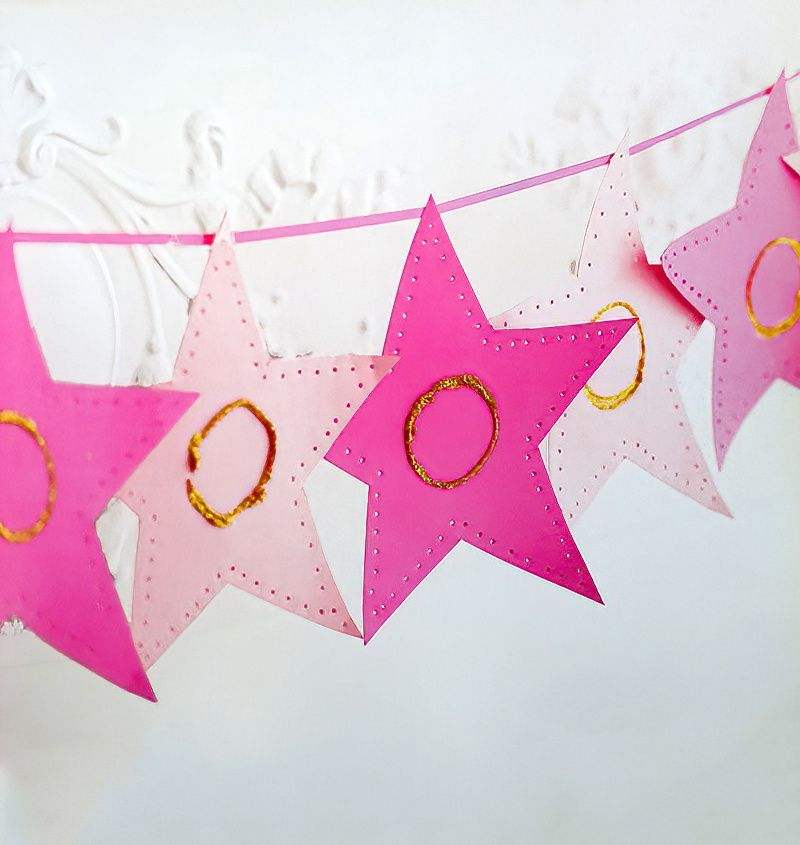
A great unisex banner design that will add lots of colour and fun to any occasion. A star shapes garland is an easy thing to make. Get some friends together and make a few. Each star is decorated with glitter and poked with holes to create a really interesting decorative effect.
For a boy's or unisex party, obviously just change the colour of the card you are using.
Things We Need For A Star Shapes Garland
- Paper for the template
- Scissors
- Pencil
- Two shades of the coloured card
- Thick needle
- Piece of foam
- PVA glue
- Glue stick
- Glitter
- Ribbon
Let's Start Our Star Shapes Garland With A Template
Step One
You can search the internet for "star shape template" or copy the template above. Make sure to resize the template before printing. Our stars are about 15cms / 6 inches across. But you can make your stars any size you like.
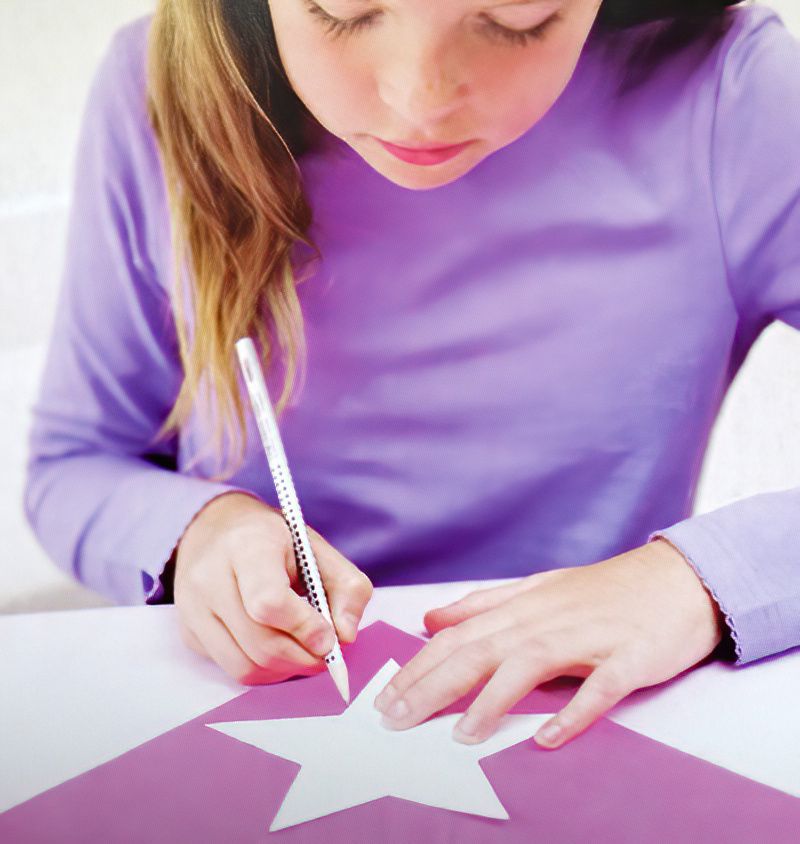
Print out your template. Then cut out the paper star shape. Lay it on your coloured card and carefully draw around the template.
Make All The Stars For Our Star Shapes Garland
Step Two
We want our star shapes garland to have two colour shades and have 12 star shapes in total. So we need 6 stars from each colour shade of card.
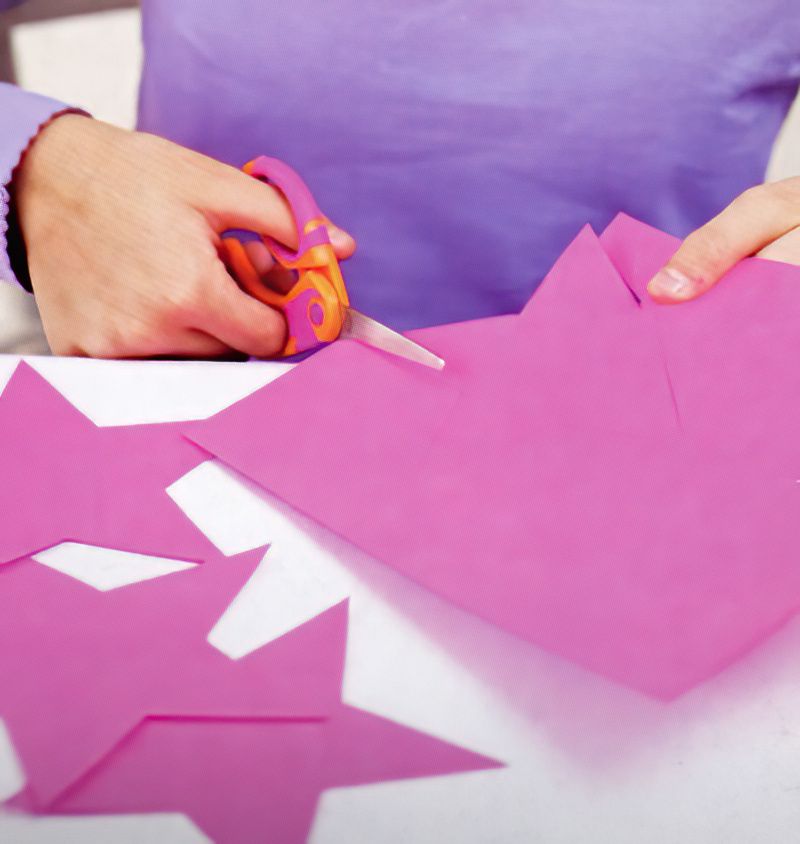
Draw all the star shapes and cut them all out at the same time.
Let's Decorate Our Card Star Shapes
Step Three
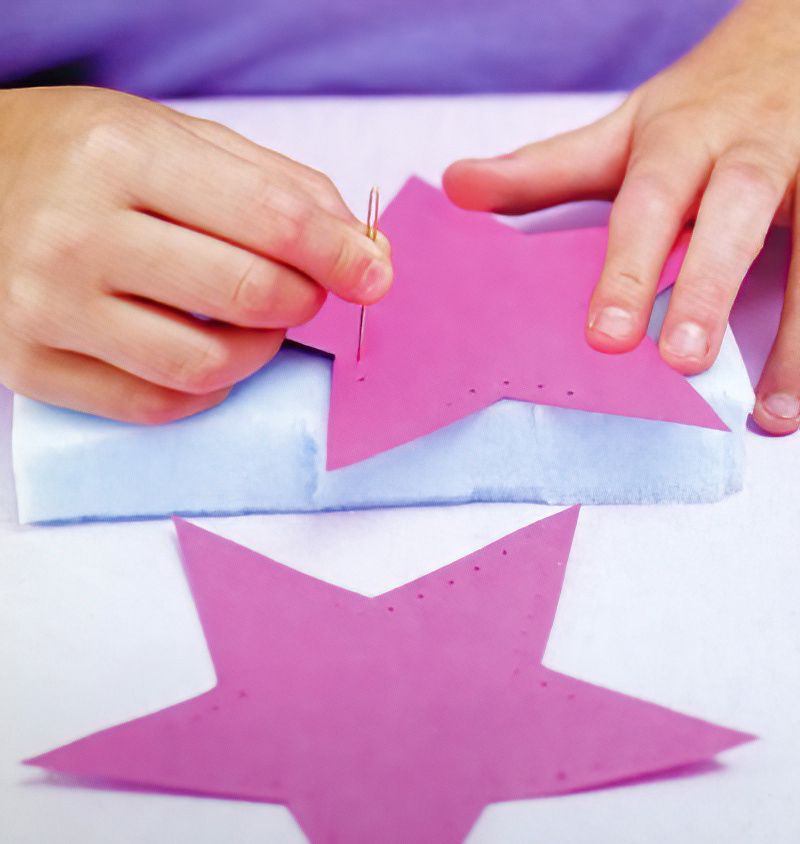
Now we want our piece of firm foam. You could use an old piece of white foam packaging. The foam is really only to support the card as we poke the holes.
Pop each star on top of the firm foam and use your thick, sharp needle to carefully poke holes through the card. Poke holes all around the edges of the stars. Try and make the holes equal distances apart.
The holes will look nice when the light shines through them. So the holes need to be big enough to see from a little distance away.
Pokes holes around all your stars.
Finish Making Your Card Star Shapes Garland
Step Four
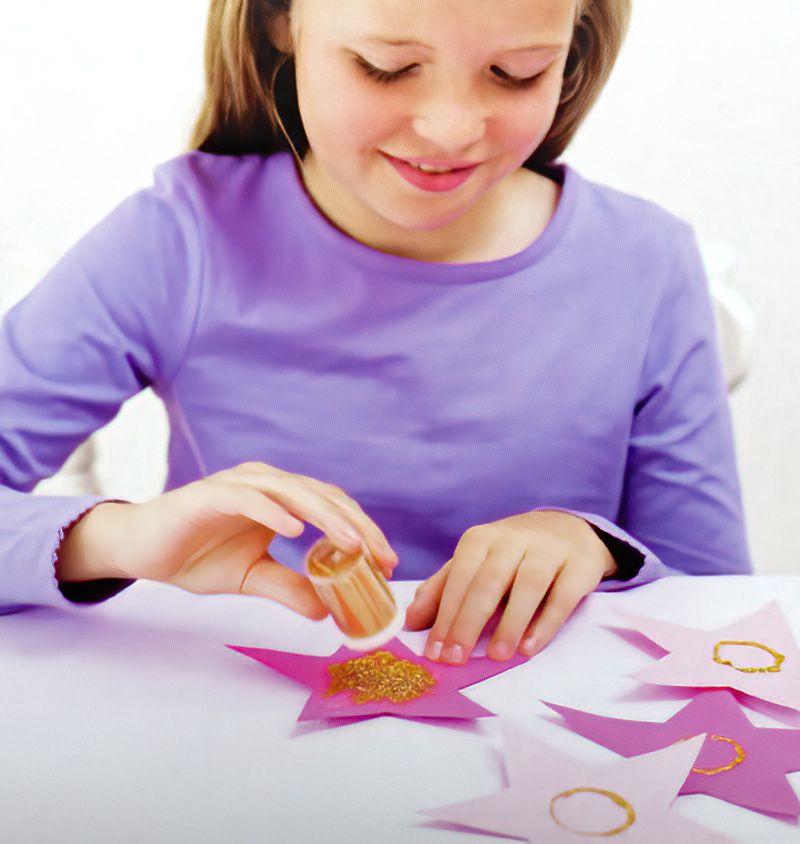
Now we can use our PVA glue. If your PVA glue has a pointy tip, use this to carefully draw a circle in the centre of each star shape. If your glue does not have a pointy tip, use a paintbrush to apply the glue in a circle. Don't worry too much if your circles are wobbly, this is fun too.
If you want a perfect circle, find something from the kitchen and draw around it onto each star, using a pencil.
Add glitter to your glue circles. Let the glue dry and then shake the excess glitter off onto a piece of paper below. Then save the excess glitter.
Once all the glitter glue is dry and shaken, just attach each star to a long piece of ribbon with some strong glue. Ask an adult to help with a hot glue gun, if you have one.
Well done! What a wonderful decoration for your party.














.jpg)
