A Fun Paper Cut Collage Is A Great Way To Learn
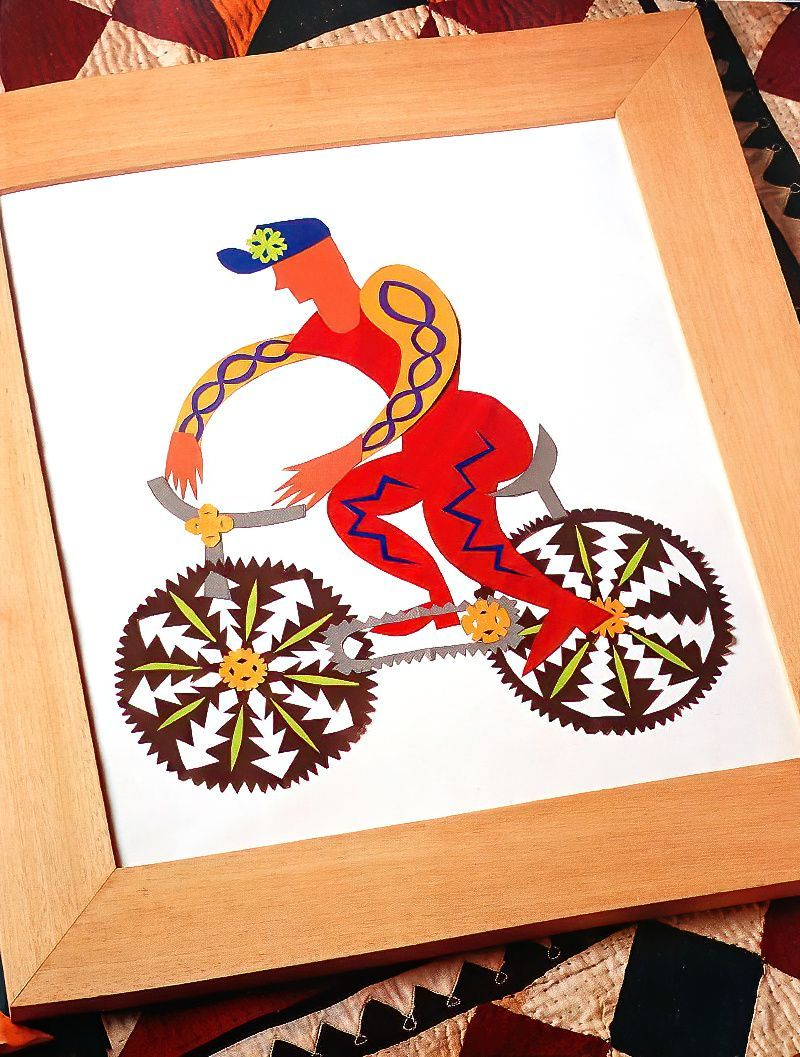
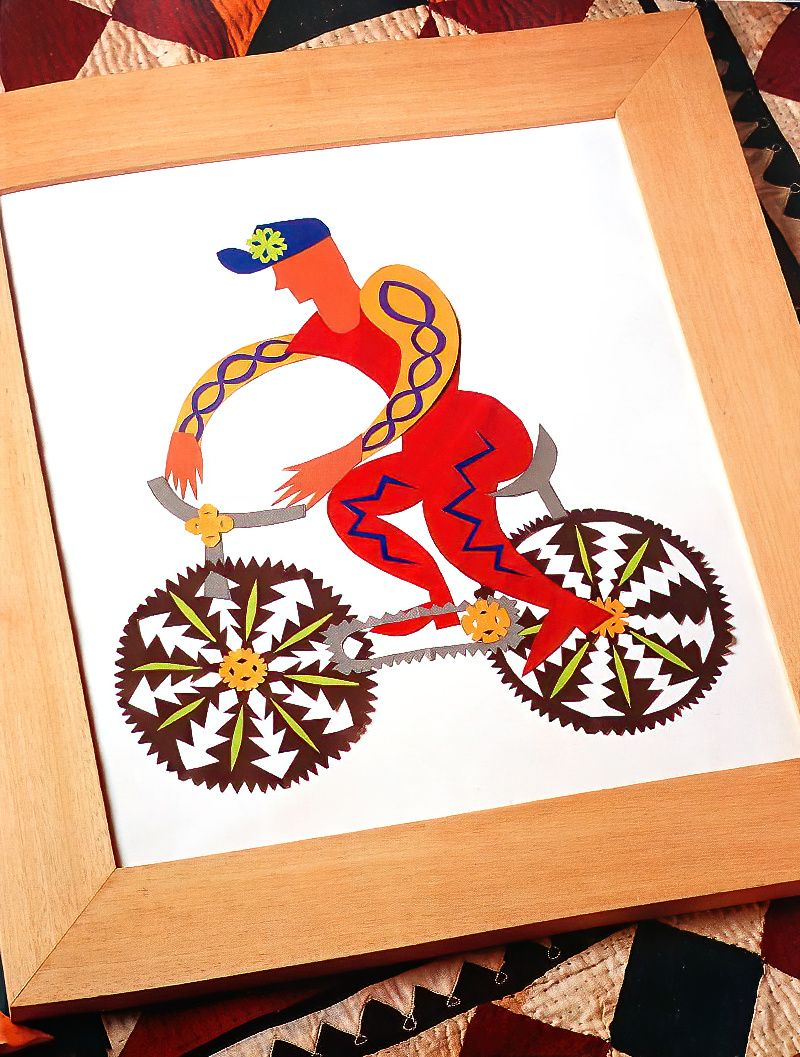
My nephew loves riding his bike, so I decided to make this fun paper cut collage of a person on a bicycle to hang on his bedroom wall. You can make any design that you like, using any colours that you like.
This is such a fun and easy craft project, as you only need some basic craft materials and equipment to make it. I would love to see what you all create. If you want to share your creations, make your own studio, then comment down below.
Things You Will Need
Materials
- Gummed Coloured Paper Squares
- PVA Glue
- Background Paper
Equipment
- Tracing Paper
- Pencil
- Small Sharp Scissors
- Craft Knife
- Cutting Mat
- Fine Artists Paint Brush
- Container for PVA Glue
Making A Paper Cut Collage Design
Step 1
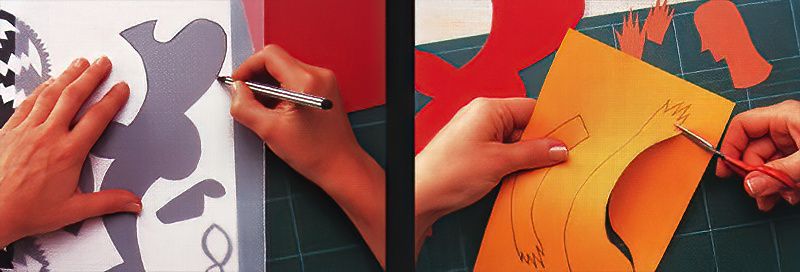
To start making your own paper cut collage, start by using the tracing paper to trace over your chosen design. You can print this out as a template or from a photocopy. Trace your design and cut it out from the tracing paper to make a tracing paper pattern.
For the purposes of this bicycle design, cut out each piece separately from the tracing paper, except for the wheels. Then transfer the tracings onto coloured paper squares.
Step 2
Next, cut out all of the cyclist pieces from the coloured paper using some small sharp scissors. Be careful when cutting as you need to try and keep the shape as accurate as possible.
Making Details For A Paper Cut Collage
Step 3
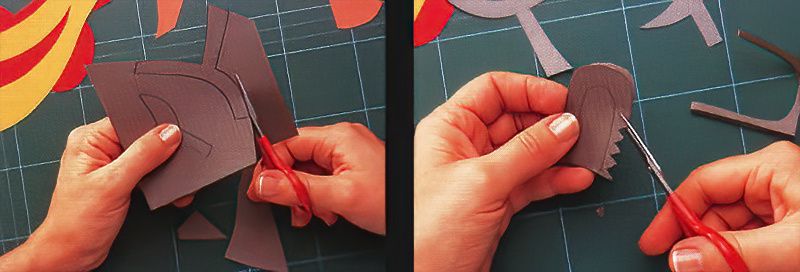
Next, cut out the parts for the bicycle in the same way using the small sharp scissors to carefully cut out your design.
Step 4
Then fold a piece of grey paper in half to make the bicycle chain, and carefully cut it out.
Making Paper Wheels
Step 5
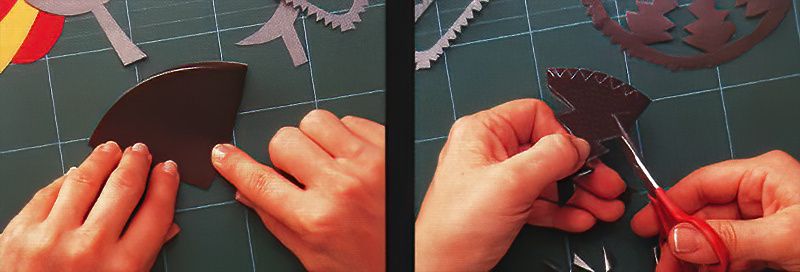
Now, draw two circles for the wheels and fold them in half three times.
Step 6
Trace and transfer sections of wheel patterns from a bicycle wheel template, then cut it out, unfold and flatten it.
Fine Detailed Paper Cut Collage Parts
Step 7
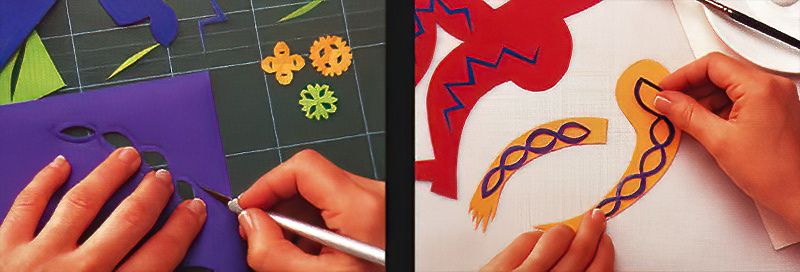
Next, if you have any fine detailed parts, draw and cut them out for things like the cyclists arms, and legs. Then fold up small circles of coloured paper and cut out some notches to make the centres of the wheels, the bike light, and the bike cap badge.
Step 8
Now, start to assemble your paper cut collage by sticking the detailed pattern onto the cyclists clothes. Use the PVA glue to stick it in place. Then decorate the wheel spokes.
Assembling The Paper Cut Collage
Step 9
Now for the fun part, arrange all of your paper cut collage pieces onto the background paper, but do not stick them down just yet. Then when you are happy with your design, you can stick your design down into place in order. If you are making something like a cyclist, make sure that you stick the left leg down last so it is at the front.

