How To Make A Bulletin Board For Notes
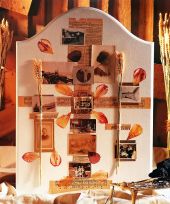
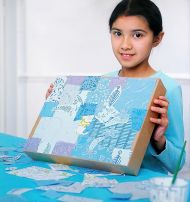
Make a bulletin board to hold and capture all your ideas, notes and images. A really fun place to leave happy reminders of fun days and notes of exciting things coming up. Also your friends and family can leave notes for your when you are not there.
Make a bulletin board that matches the room where you want to keep it. Or make it for a friend and load it with fun photos before you give it as a gift.
What we need to make a bulletin board
- 50 x 70cms / 20 x 28 inches thick cardboard
- 50 x 70cms / 20 x 28 inches sheet of thin foam
- Printed cotton fabric 60 x 80cms / 24 x 32 inches
- Pinking shears
- 6m or 20ft ribbon (1cms wide or half an inch wide)
- Drawing pins
- Strong glue
Starting Making The Bulleting Board With The Cardboard
Step One
So we need to start with the cardboard and the foam that will cover it. So cut the thick cardboard and thin foam so that they are 50 x 70cms or 20 x 28inches. Cut the corners into a small gentle curve.
Now we can can place the fabric, face down on a table top. Then pop on top the thin foam. Then on top of that we can place the thick cardboard. We want to wrap the fabric around the back of the foam, cardboard sandwich. So make sure there is around 4cms or 1 and a half inches of fabric sticking out all around.
Next we can trim the fabric so that we have the extra 4cms or 1 and a half inches all around. Use pinking shears which give a zig zag cut. These help prevent fraying of the fabric.
Secure The Fabric Of Our Bulletin Board
Step Two
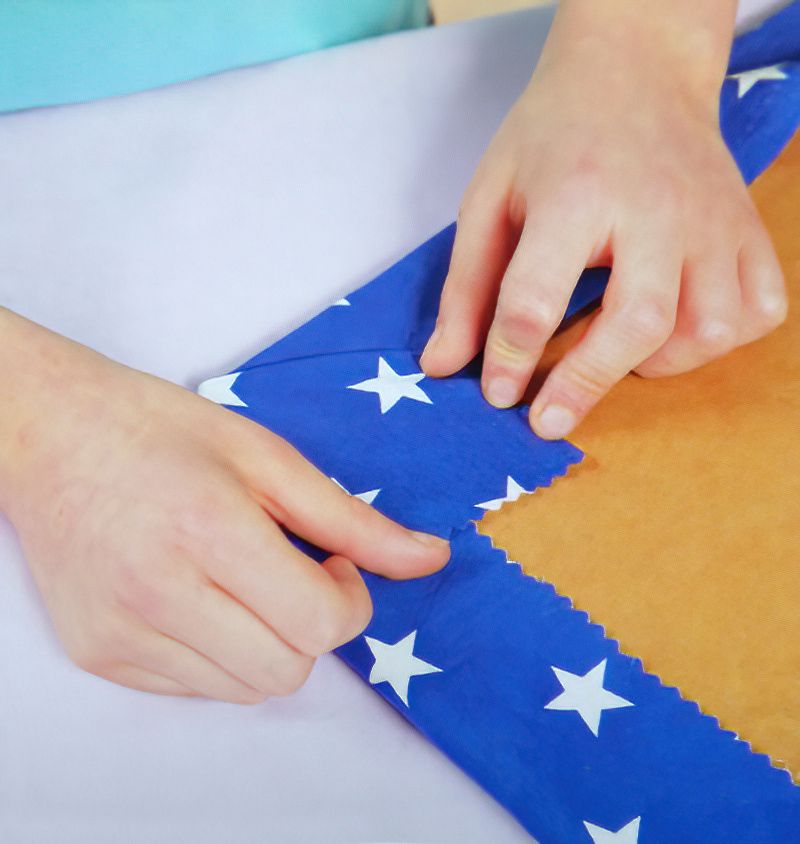
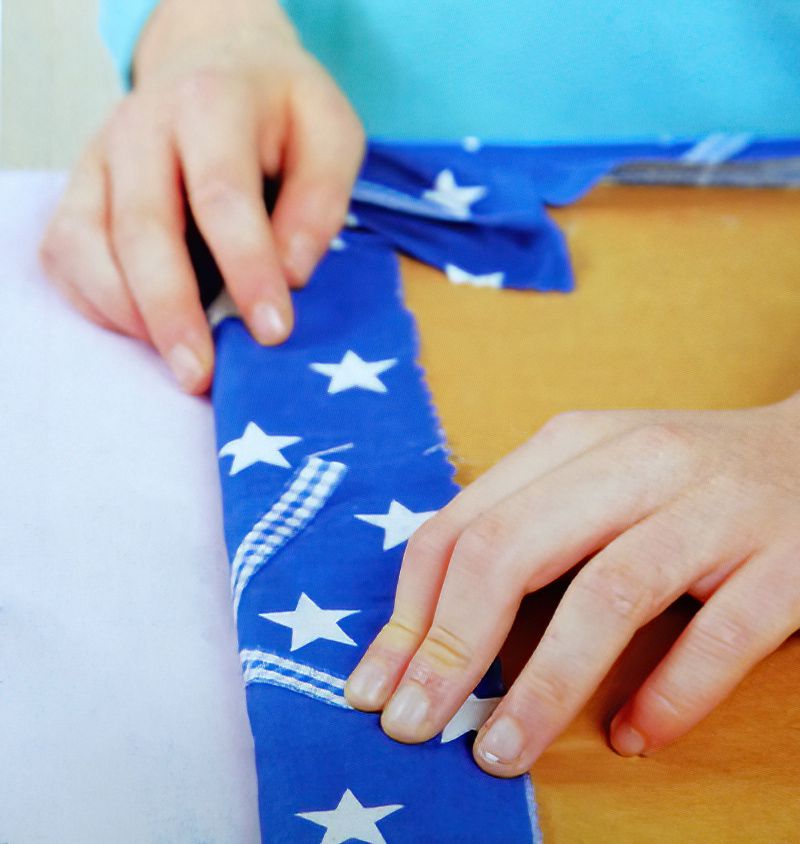
Fold the fabric over the back of the cardboard. Pull it tight so there are no wrinkles. Now we can glue the fabric down around the edges. You may need to hold the fabric in place until it takes hold. Allow all the glue to dry.
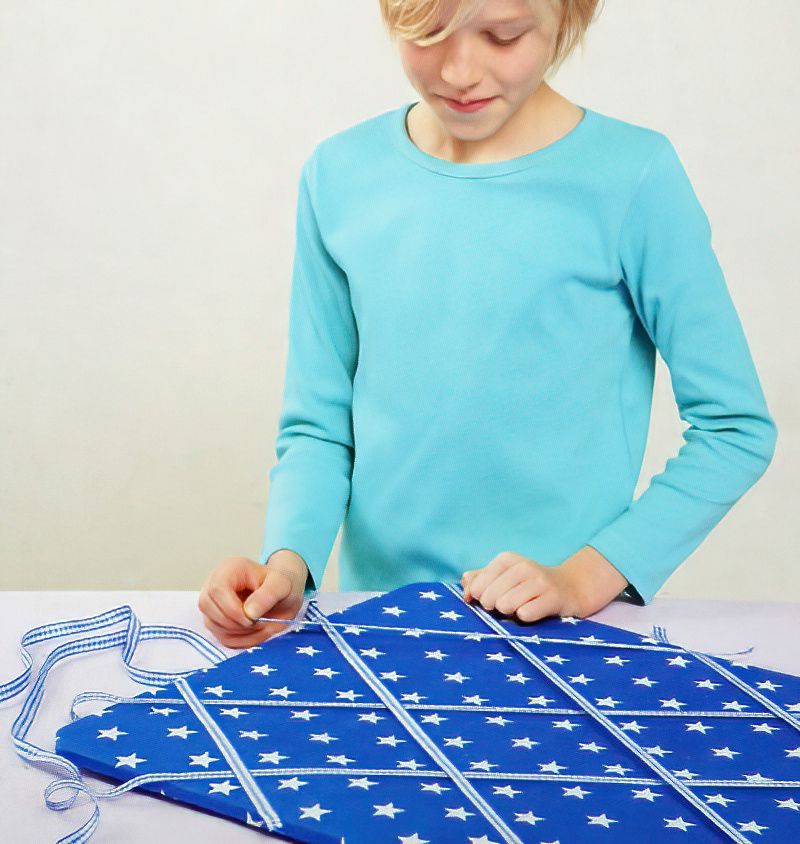
Next we want to add some diagonal ribbons to hold our photos and notes. Turn the bulletin board over so we can see the front. Layout four pieces of ribbon at a diagonal, going across the front, one way. Evenly space them around 15cms or 6 inches. Cut the ends of the ribbon with extra pieces so we can wrap the end of the ribbon around to the back of the cardboard.
Now we want to cut four pieces of ribbon going in the other diagonal direction. We want to make diamond shapes with the ribbons.
Make A Bulletin Board Continues
Step Three
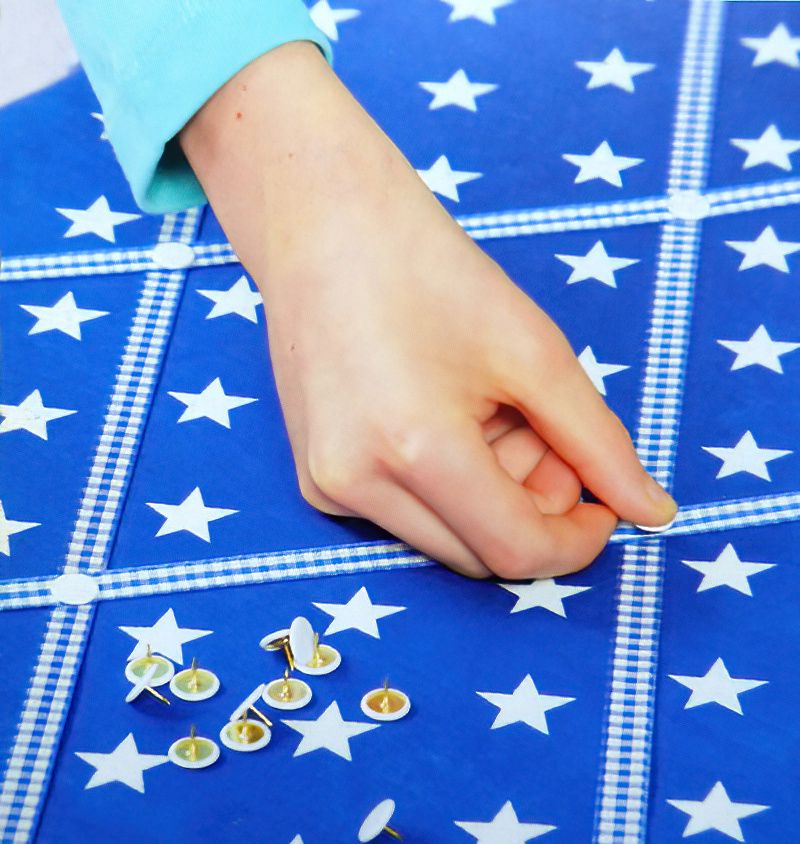
Now let's attach the ribbons before we turn the board over and glue them. We can do this by adding some drawing pins. Push a drawing pin into each place where the ribbons cross over. Press the drawing pins firmly into the bulletin board.
These pins will hold the ribbons on place.
Finishing The Homemade Bulletin Board
Step Four
Now finally, we can just turn over the bulletin board and gently pull each ribbon around to the back. Use the glue to stick down the ribbon ends firmly. Let the glue dry completely before moving.
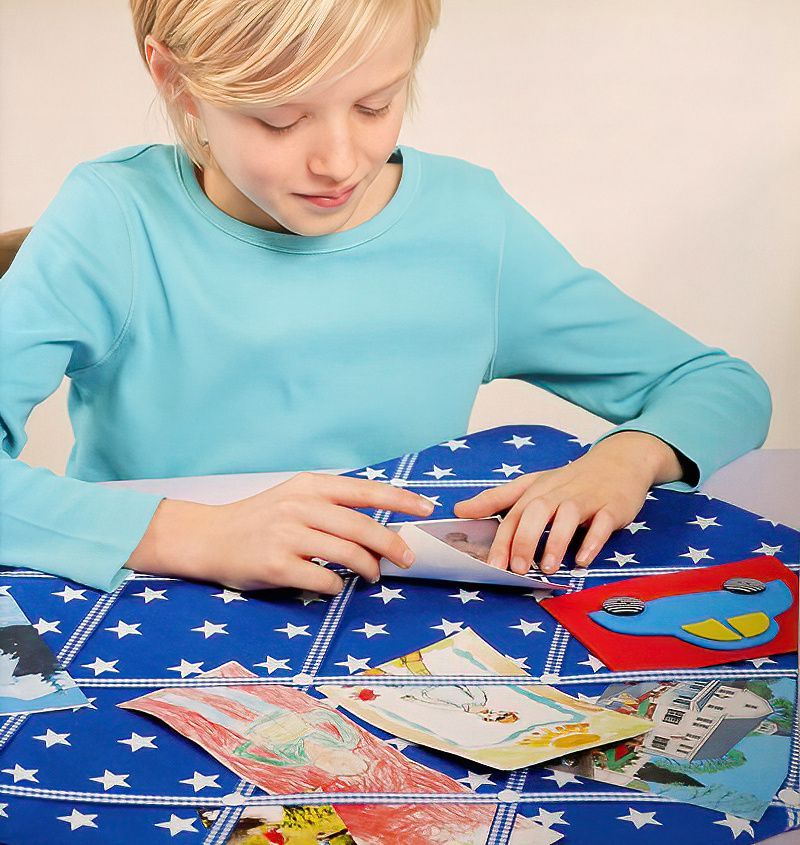
And there we have completed our fantastic bulletin board make. Now we can add some fun pictures and ideas and notes.
Maybe make a plan to make a bulletin board for a family member or friend.




.jpg)
