Make A Papercut Screen, Just Lovely
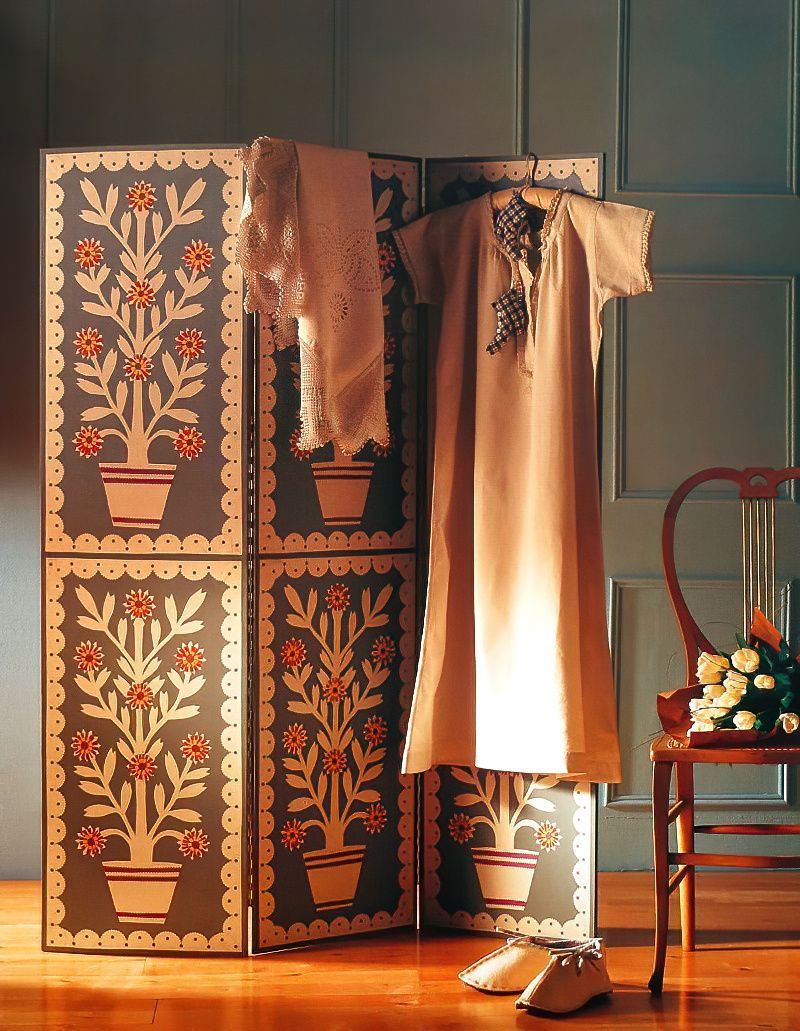
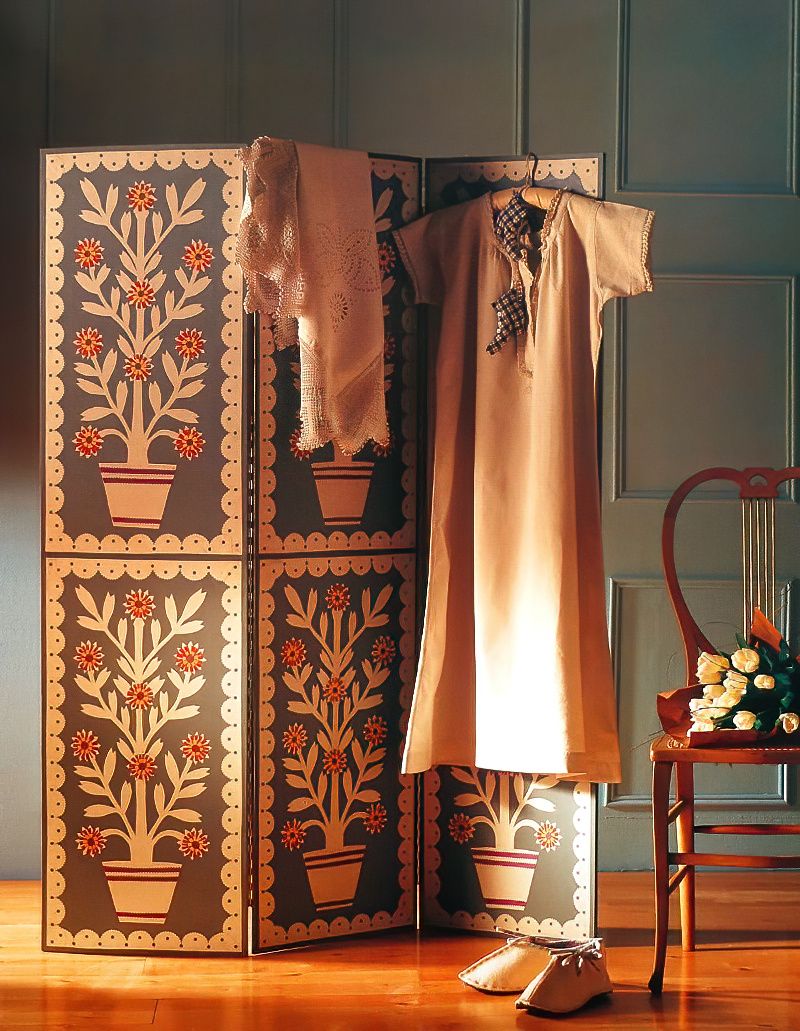
This lovely decorative screen is inspired by traditional floral papercutting techniques. However, you can follow any design that you choose. You can use almost anything for inspiration. It is surprisingly simple to make and very fun to make. I love working on larger projects whenever I get the chance.
A real crowd pleaser. If you want to impress your friends and family with your super amazing crafting skills, you must make a papercut screen. Plus you can hide things behind it.
Things You Will Need To Make A Papercut Screen
Materials
- Pre Cut Three Panel Screen
- Water Based Wood Primer
- Blue/Grey Satin Finish Wood Paint
- Thin Paper in White, Blue, Red and Yellow
- Wallpaper Paste
- Thin Cardboard
- Bulldog Clips
- Two Piano Hinges and Screws
Equipment
- Small Decorators Paint Brushes
- Scissors
- Pencil
- Ruler
- Compasses
- Pinking Shears
- Hole Punch
- Container for Wallpaper Paste
- Tracing Paper
- Screwdriver
Making A Papercut Screen For Privacy
Step 1
Begin by painting the screen panels with wood primer. Then apply two coatings of the blue/grey paint. Obviously you can use another colour if you want to. Also, make sure that you paint the edges of each of the panels.
Step 2
Next, cut out two strips of plain white paper, two long and two short to fit around the edges of each panel. Draw a line that is 1cm from the edges. Then using the compasses, draw semi circles along each strip to create a scalloped edge.
Using Paper To Decorate A Papercut Privacy Screen
Step 3
Now, cut around the semi circle edges of each strip using pinking shears to add even more detail. Then use the hole punch to make decorative holes in the middle of each semi circle and along the straight edges.
Step 4
Next, draw a 1cm line border around the edges of each panel. Then, mix the wallpaper paste to a quite thin consistency and glue the scalloped strips down onto the screen along the edges that you have just drawn.
Cutting A Design For Our Make A Papercut Screen
Step 5
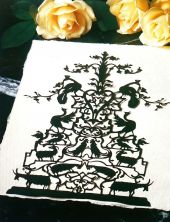
It is now time to create the floral design or other design using your chosen template. Trace over it with a pencil and tracing paper, and cut it out from thin cardboard. To get it symmetrical, fold a sheet of white paper in half and position the straight edge of the template along the fold.
Hold it in place with bulldog clips if you need to. Then draw around the template twice for each panel, and cut it all out.
Step 6
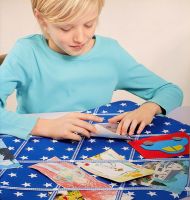
Now, carefully put the papercuts in place until you are happy with the layout. Then use the wallpaper paste to glue them down onto your screen. Make a papercut screen for each room.
Decorating A Floral Privacy Screen
Step 7
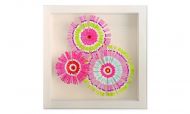
Draw and cut circles out using a selection of coloured papers of your choice. Then fold them into quarters and cut notches into them to create a floral design when you open them out. Glue them into place, layering the different colours as you go to make multicoloured flowers.
Step 8
Finally, use the pinking shears to cut bands of coloured paper and glue them to the flower pots to add even more detail to your design. Now, you can attach all of the panels together using hinges and screws.
Make A Papercut Screen Conclusion
Get organised and collect all the pieces you need for this project. Take it one step at a time and enjoy the make. Once you are finished you will have years to lean back and admire your amazing talent and the beautiful papercut screen you've made.

