How To Make Paper Stained-Glass Butterflies
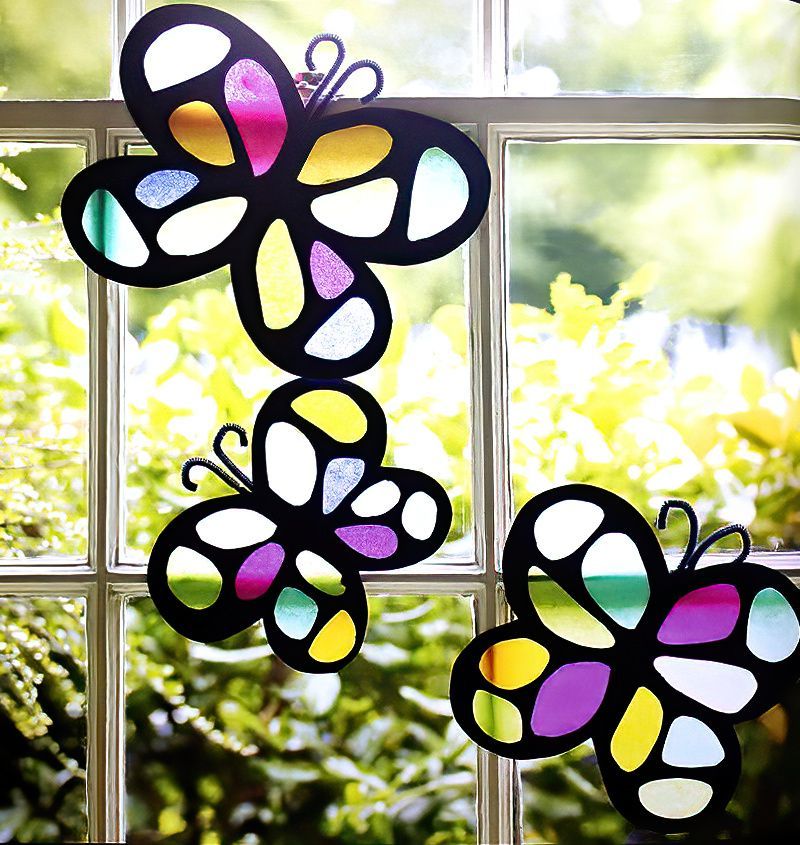
This really is a magical project to add some beautiful colour to any room. They look totally different at various times of the day. And if you hang them in a window where the sun shines through occasionally, these paper stained-glass butterflies are truly amazing.
A great simple project. If you don't like butterflies, maybe try flowers or another animal that you like.
What We Need To Make Paper Stained-Glass Butterflies
- Plain paper for template
- Scissors
- Paper
- 1 pieces of a4 / letter-sized black paper or thin card for each butterfly
- White pencil
- Tissue paper in various colours
- PVA glue
- Black pipe cleaners
Our Paper Stained-Glass Butterflies Start With A Template
Step One
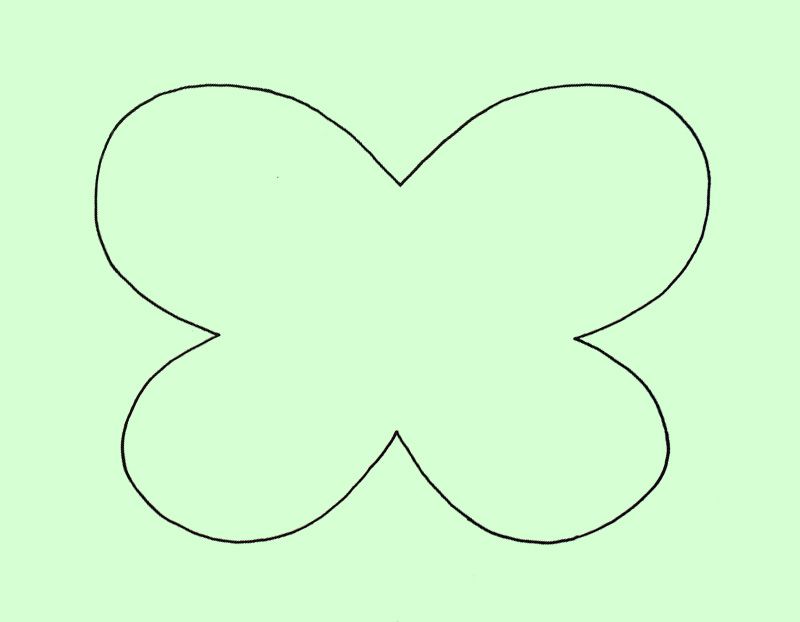
The first thing we need is a template. You can search the internet for "Butterfly Shape Template" or copy the template above, resize and print it out. You can make your stained-glass butterfly any size you like. But I am making mine so each one takes up most of an A4 / letter sized piece of black paper or thin card.
Again, you don't have to make paper stained-glass butterflies. Simply search the internet for "Flower Shape Templates" or anything else you prefer.
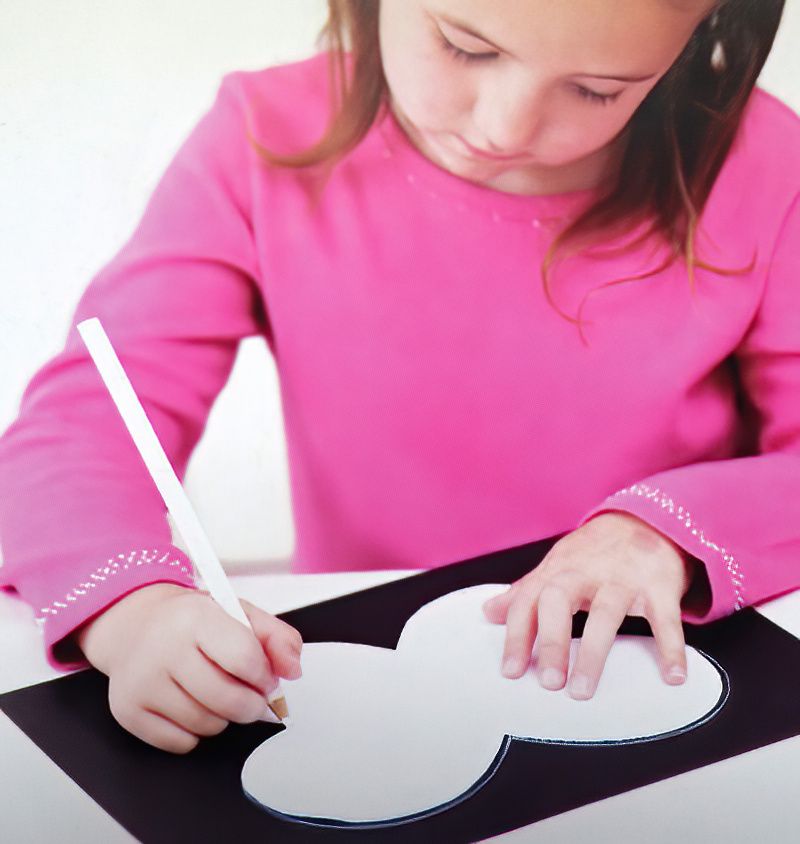
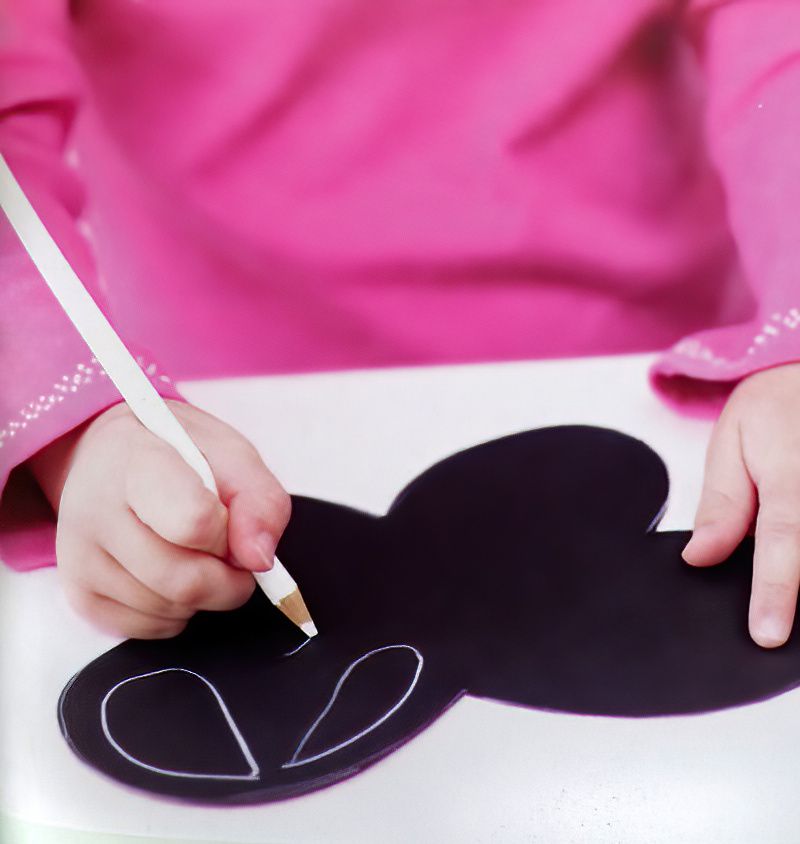
Cut out our printed template shape. Then place the template on your black paper and use the white pencil to carefully draw around the template.
Cut Out The Paper Butterfly Template Shape
Step Two
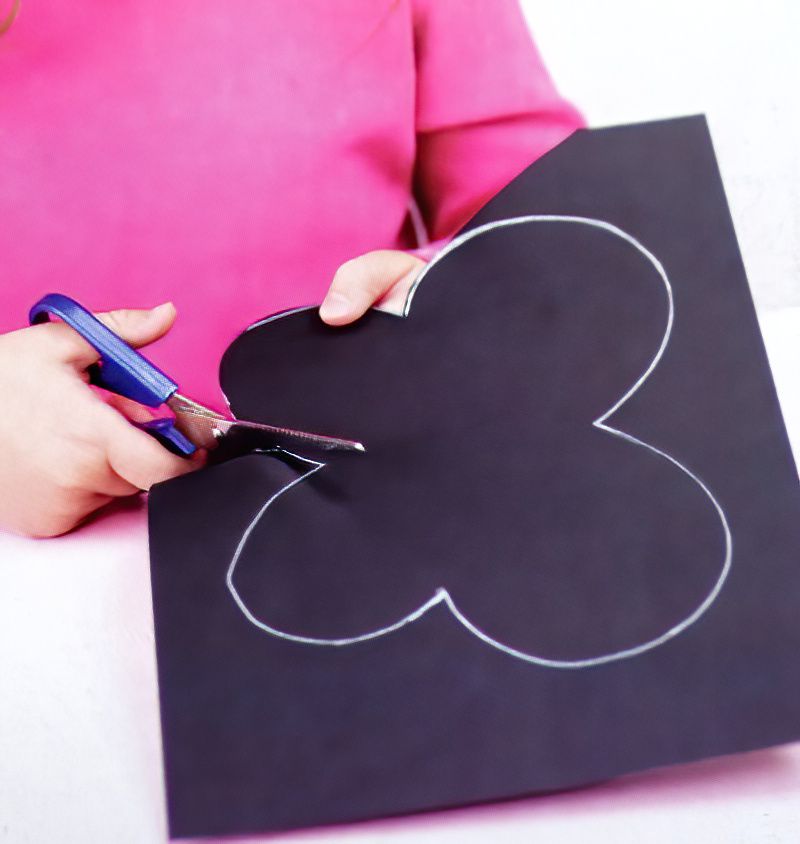
Now we can use our scissors to cut out the butterfly shape we traced onto the dark paper. If you want to make a collection of butterflies, it is easier to make a number of them at the same time. Rather than making each one completely before starting the next.
So trace more butterfly shapes and cut them all out at the same time.
Draw The Holes For The Stained-Glass Tissue Paper
Step Three
Now we can start drawing some holes for our tissue paper. Don't make your holes too big because your butterfly will become too wobbly. Smaller holes with curvy edges work best.
Use your scissors to carefully cut out all the holes. Don't worry if you rip the black paper. Just fix it on the back with a little piece of tape.
Finish Making Our Paper Stained-Glass Butterflies
Step Four
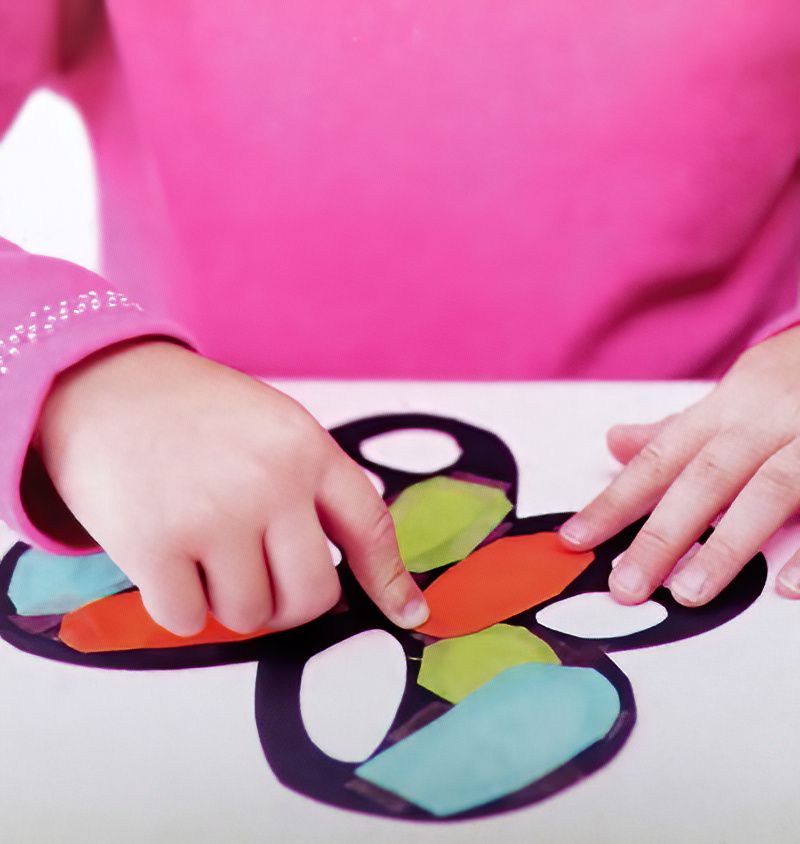
Now to finish making our stained-glass butterflies we simple need to fill the holes with coloured tissue paper. So on the back of our butterflies start cutting pieces of tissue paper to fill each hole.
The tissue paper needs to be larger than the hole, so we can glue or tape it around the edge. Use a small amount of glue around the hole you are filling, and carefully and gently press down your tissue paper. Too much glue will make the tissue paper go all wrinkly.
To complete our paper stained-glass butterflies we can add in some fun little pipe cleaner antennae. Curl your black pipe cleaners and glue them to the head of your butterflies.
Congratulations!
Now just decorate a sunny window with your amazing stained-glass butterflies and marvel when the sun shines through them.









.jpg)


