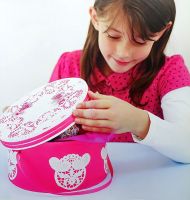
Make a Simple Gift Box or Good Luck Box
Making Boxes is Not Difficult, Simple Gift Box
Well it is not difficult if you know a few secrets. And I am going to tell your those secrets, right now. When you look up box templates on the internet, it all becomes quite complex, very quickly. And even my head starts spinning. So follow my simple rules and you will be able to make any box for any gift.
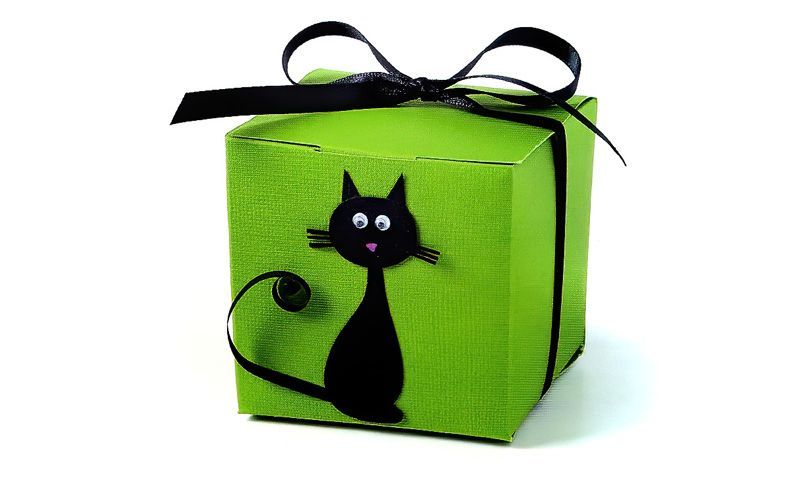
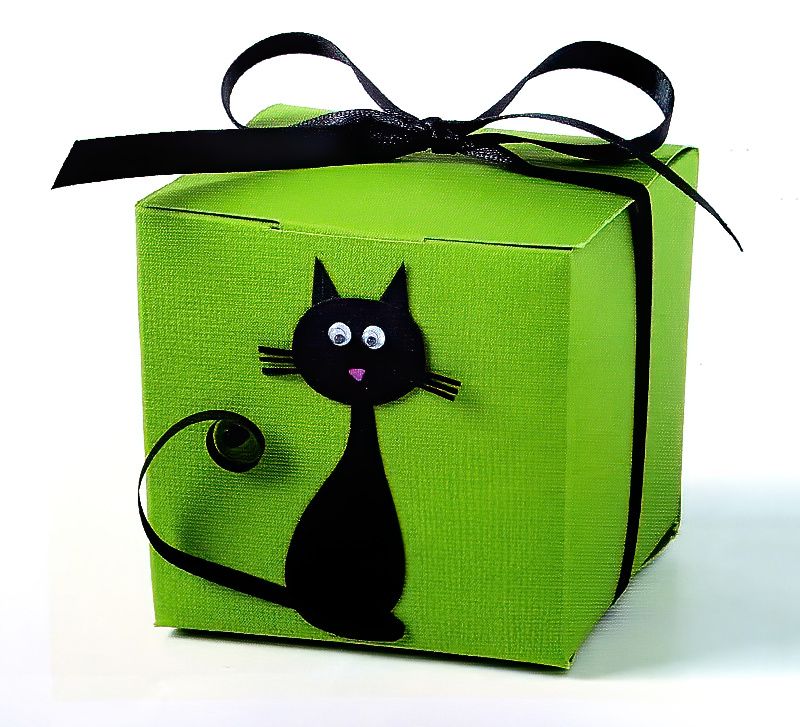
Here we are going to make a simple gift box or good luck box for cat lovers. But you can obviously make any box design you like.
You DO NOT need the precise measurements of card below. I will explain how you can make any box out of any sized piece of card you may have. Below is just a guide.
What Do We Need to Make a Simply Gift Box?
- Basic paper craft tools
- Green card, 30cms square or 12inches square
- Black paper, 5 x 7.5cms or 2 x 3 inches
- Wiggly eyes, 3mm or 1 eighth of an inch
- White felt pen
- Pink felt pen
- Strong glue
How to Make a Simple Gift Box, the Secret!
So here is the secret. Things get a lot simpler, if you just make cube boxes. So each side if just a square. If you make boxes that are cubes, then we really don't need to do any maths.
Boxes like shoe boxes, where all the sides are different lengths, these boxes can be complex to make a template. And will definitely require plenty of number crunching.
Personally, I'm lazy! I want to do the decorating and creative part. I'm not too much into the mathematics. And I just want to get on with it.
So I make cube gift boxes. They look nicer too :)
So What Are the Rules for Making Simple Gift Boxes?
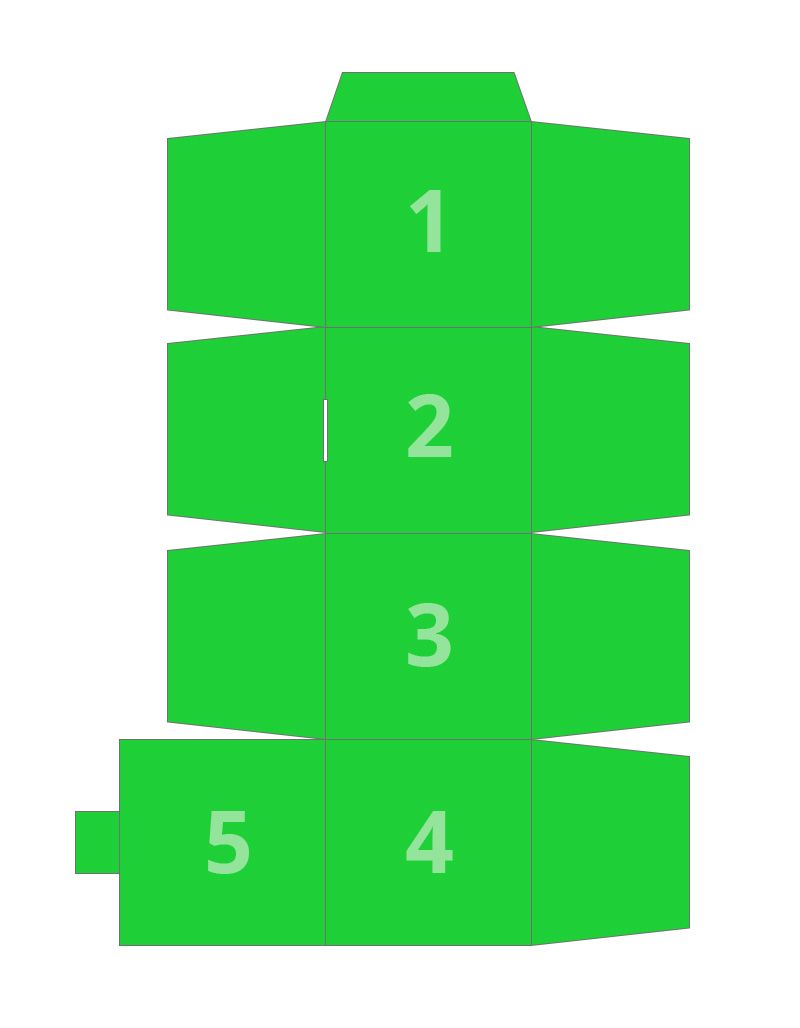
So if you want to make a cube box, like I do, look at the template above. All we need to do is draw 5 squares in an L shape, that's basically it!
You can basically make up everything else.
So when we find some card we like, we just need to make sure we can fit 4 squares along its length. With a little bit extra space for a tab.
If you can draw 5 squares in an L shape, you can make my gift box. And make my gift box at any size. The L shape can go either way as well, that doesn't really matter. Box 5 is the lid of the box.
And all the other bits are just tabs. You can eyeball them when cutting. The top tab can be any size. The side tabs need to be big, as they all form the bottom of the box. But not as wide as the other squares, so they all fit neatly on top of each other.
The Simple Gift Box Closing Tab
NOTE — box 5 is the lid, and the little bit sticking out is a closing tab. You can make that any size you like.
BUT you will notice there is a little slot on square 2. The tab and slot are always on the same side. The closing tab and the slot obviously need to be the same width.
That's about as complex as this gets.
Just draw 5 squares in an L shape, and guess the tabs.
So Let's Start Making A Simple Gift Box
Step One
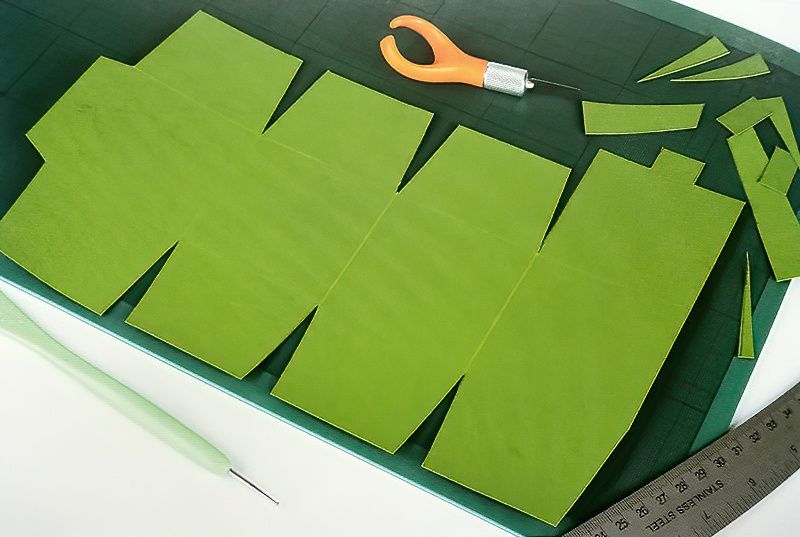
So now you know the basics, copy the template or create your own. If you are making many boxes, make a template from an old cereal box, cut it out. Then you can just trace around it again and again.
Cut out the simple gift box template shape using a sharp craft knife.
Don't forget to cut the slot for the box lid tab. The slot and the tab are always on the same side. Now score along all the edges so you can make nice creases and folds.
Make Sure Your Gift Box Tab In Positioned Correctly
Step Two
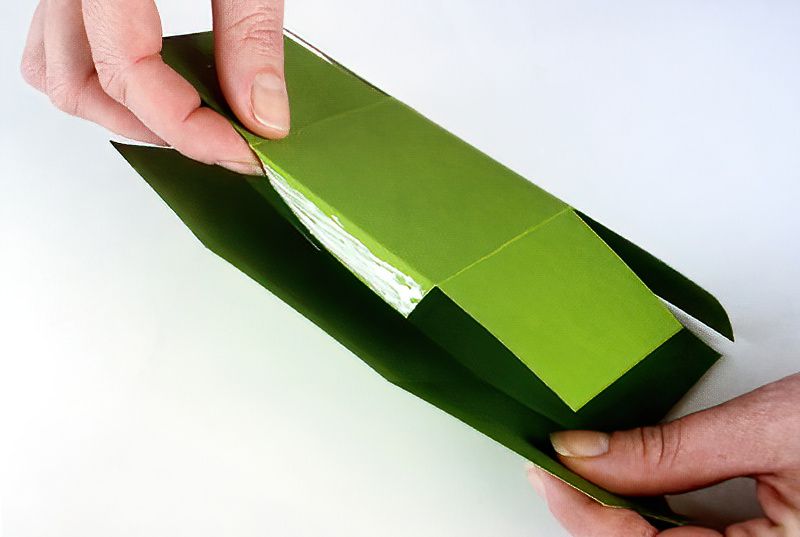
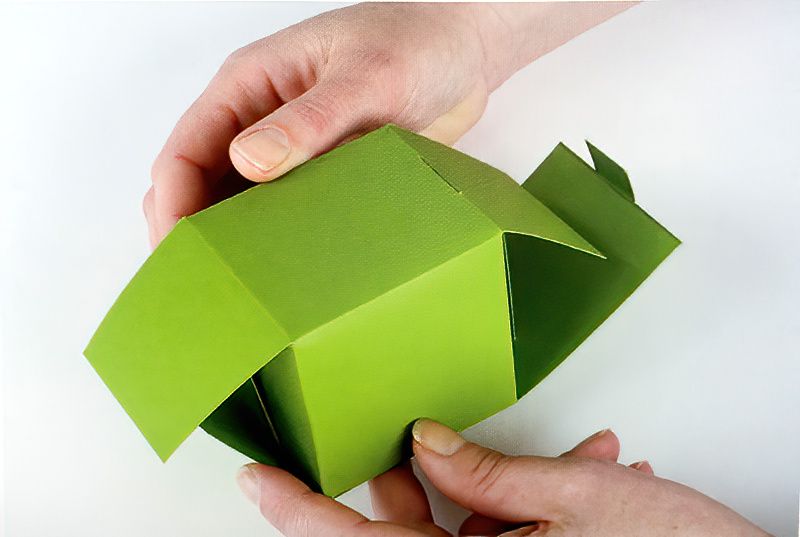
The top tab from our template or end tab or whatever you want to call it, is obviously to close the simple gift box horizontally into a loop. So put some white glue on the outside of that tab and wrap the box around and place the tab on the inside of the other side.
We put it on the inside to hide it and it looks neater.
Hold this until the glue takes hold. It will try and ping open if you don't.
Gently Start Assembling Your Cube Gift Box
Step Three
Now we are going to work on the simple gift box bottom. You can see which is the lid with the little tab. Go to the other end and gently fold in all the flaps.
You can glue each tab, but really you only need to glue the last tab you fold over. Gluing all the tabs may be better if you want to put something heavier in the box.
Now the bottom is closed and glued. Check the lid again and make sure it closes and the tab fits through the slot. Use a craft knife to make an adjustment to the slot or tab if you have a slight misalignment issue.
Let's Add Some Details To Our Homemade Gift Box
Step Four
Decorating, hoorah!!
If simple gift boxes still seem complicated, don't worry. Just go through the above sections again. Once you've made a few, you'll get it. It's just 5 squares in an L shape and guess the tabs.
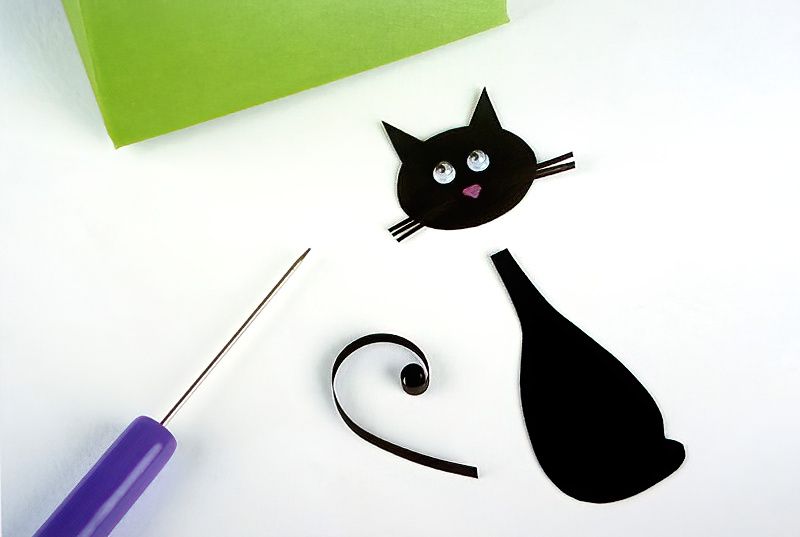
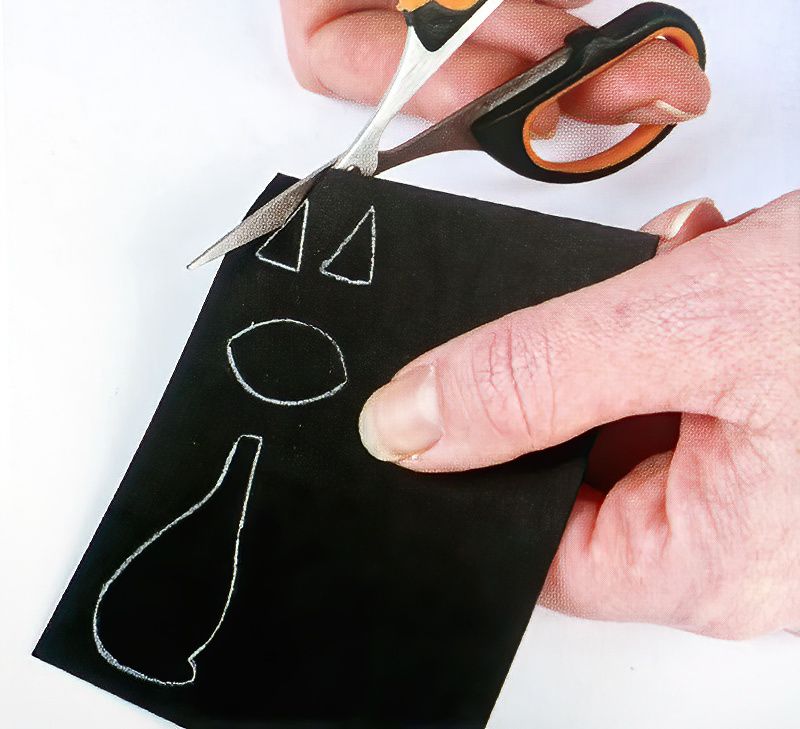
So now we need to cut out a cat body shape from the black card.
Draw a cat's body, face and ears on black card and cut out with scissors or a sharp craft knife.
Making A Fun Gift Box
Step Five
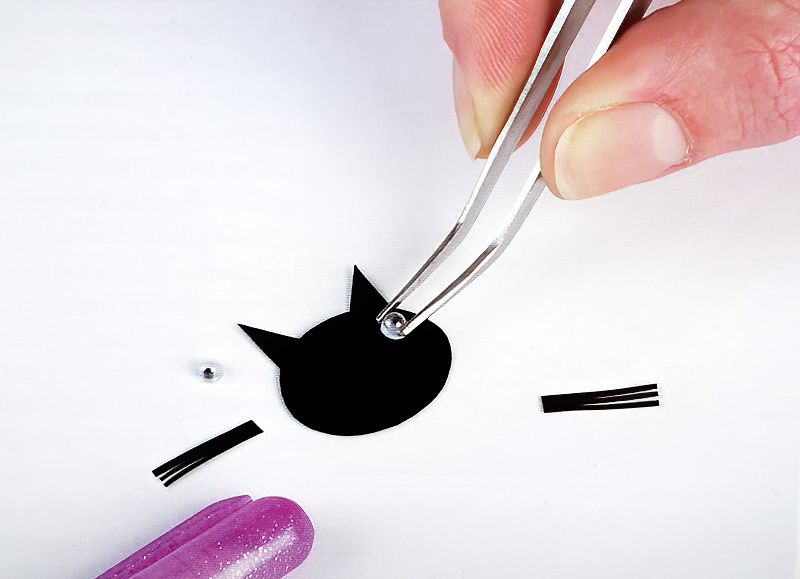
Now glue down the ears of your cat and attach her wiggly eyes. If you don't have wiggly eyes, just make some eyes from white card and colour in a black pupil.
Cut some cute whiskers and stick them on and use the pink pen to draw on a little upside down triangle for the cat's nose.
How Do We Keep Our Gift Box Closed?
Step Six
Cut a strip of black paper 3mms wide and 10cms long, or 1 eighth of an inch wide x 4 inches long.
Use a quilling tool or a cocktail stick to roll up the long strip of paper into a spiral. Glue the end of the cat's tail into place. Then glue the whole cat to the simple gift box.
Finally, tie the box closed with a ribbon. Wow, doesn't it look fantastic.
Extra Idea For Making Boxes
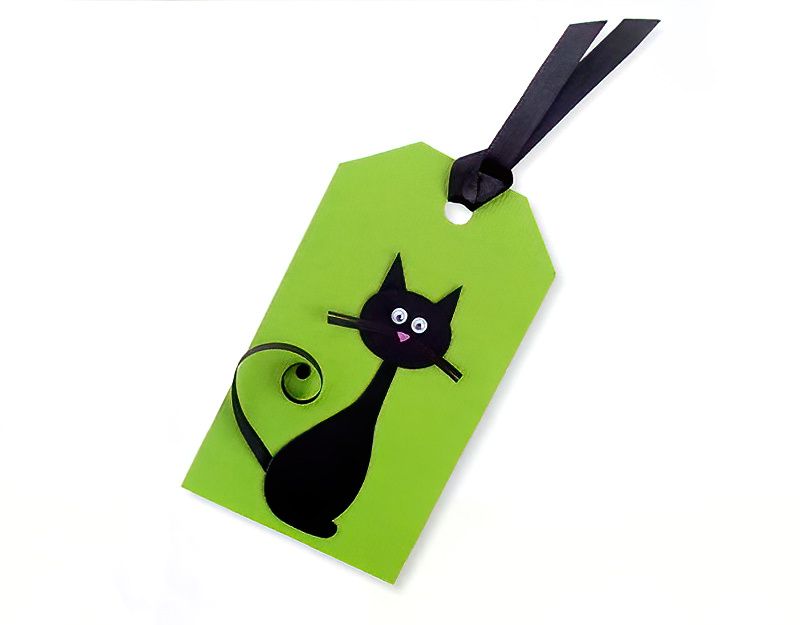
Now you are advanced level of box expert. Why not add a cat tag to your cat box?
Simple Gift Box Conclusion
Finally you just need to find some tasty treats to fill your simple gift box and present it to the fluffiest creature you know.
Making gift boxes always puzzled and perplexed me for years, until I found this simple technique. I always loved the idea of making boxes, but hated the idea of working it all out. I have tried lots of different techniques and been frustrated lots of different times.
I hope you'll give my simple gift box method a go, as I'm sure you'll love it.

