How To Make A Heat Embossed Christmas Card
Heat embossing might sound complex, but it's surprisingly straightforward! This technique involves using embossing pens for freehand drawing or an embossing ink pad with a rubber stamp design. Sprinkle embossing powder on the design, then apply heat to reveal enchanting embossed patterns – the transformation is truly captivating!
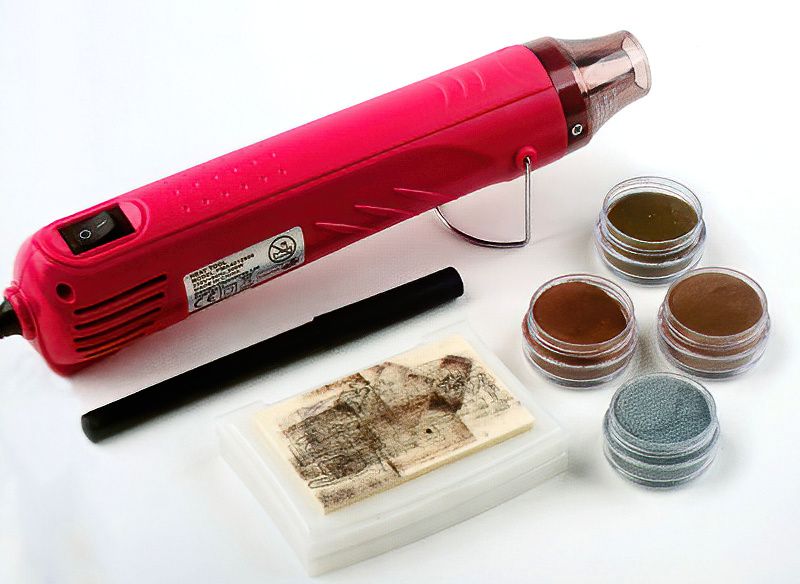
What you need to make a Heat Embossed Christmas Card
- 100 x 150mm (4 x 6in) black card blank Tracing paper and pencil
- Heat embossing pen
- Gold heat embossing powder
- Heat gun
- Gold glittered card
- Grey embroidery thread
- Cocktail stick
- PVA glue and paintbrush
Start Our Heat Embossed Christmas Card
Step One
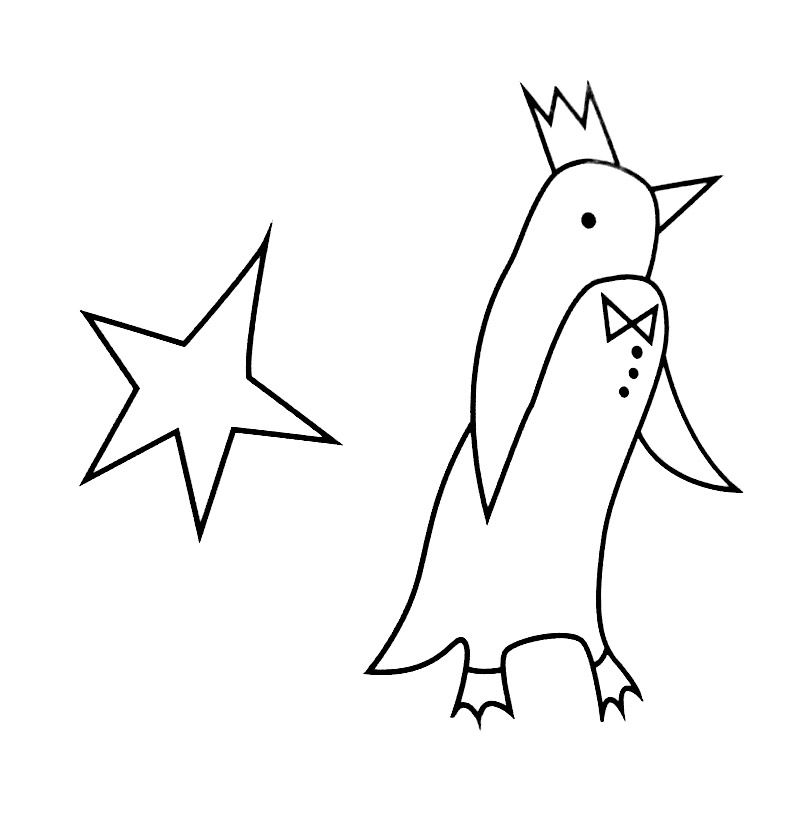
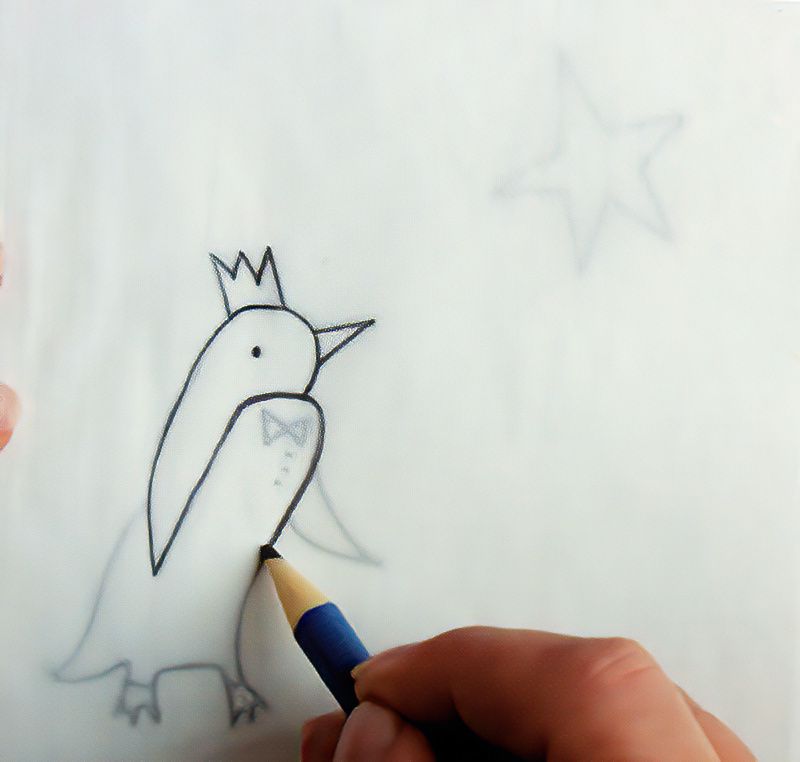
Resize and print the template picture above. Then trace around the penguin design onto some tracing paper.
Trace Out The Design For Our Christmas Card
Step Two
Place the penguin tracing in the bottom right corner of your black card blank. Using a pencil, transfer the mirrored image from the tracing onto the front of the card blank.
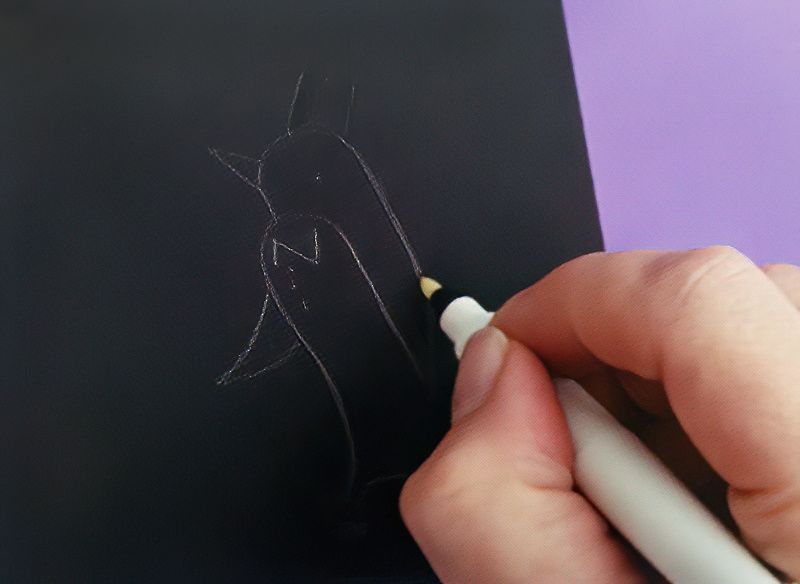
Use The Embossing Pen To Outline The Design
Step Three
Outline the entire penguin design using a heat embossing pen.
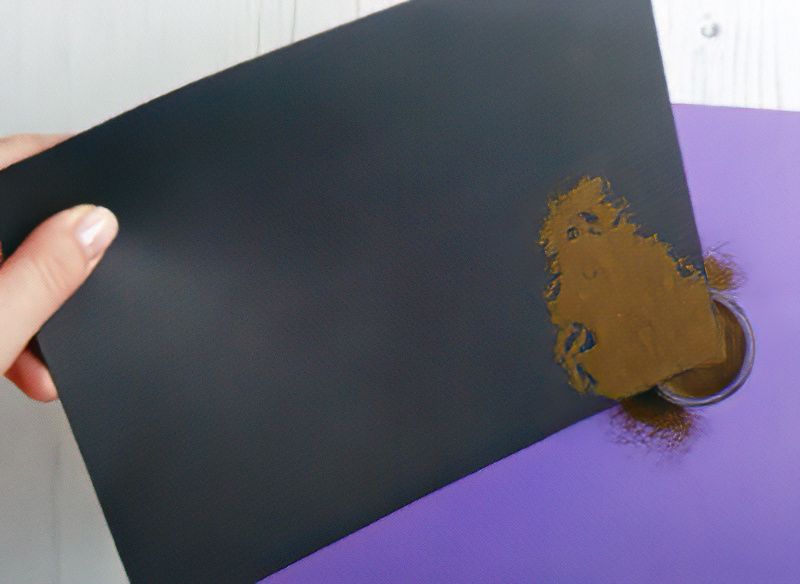
Apply The Embossing Powder To Our Christmas Card
Step Four
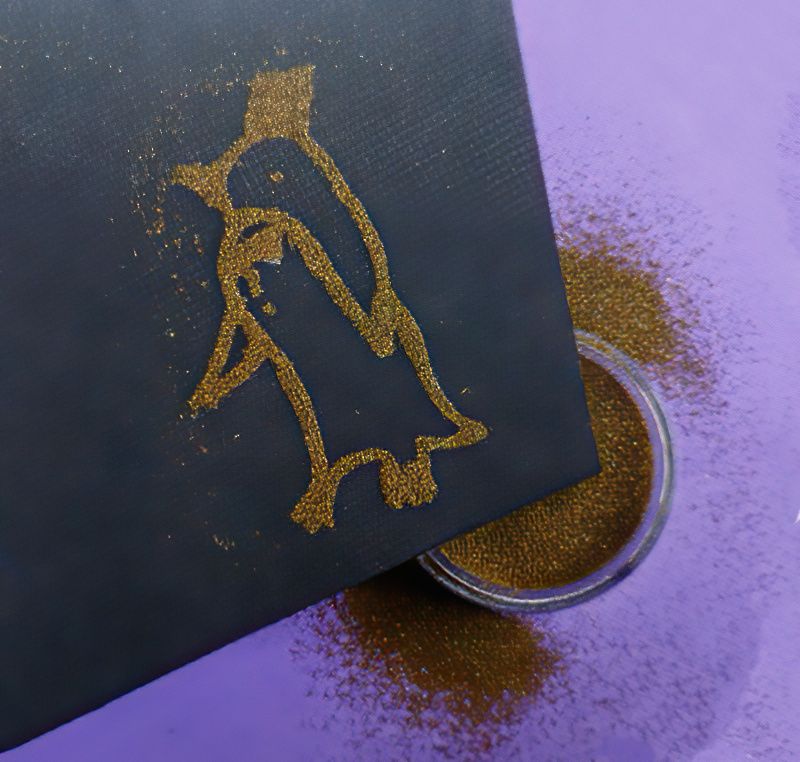
Generously apply gold embossing powder onto the design. Don't fret about excess powder – any leftover can be returned to the container. As you remove the excess powder, your penguin design will emerge.
Make Sure To Save Any Excess Embossing Powder
Embossing Powder Tip
If unwanted powder lands on areas you wish to keep clean, gently blow it away or use a cotton bud (Q-tip) to sweep it off.
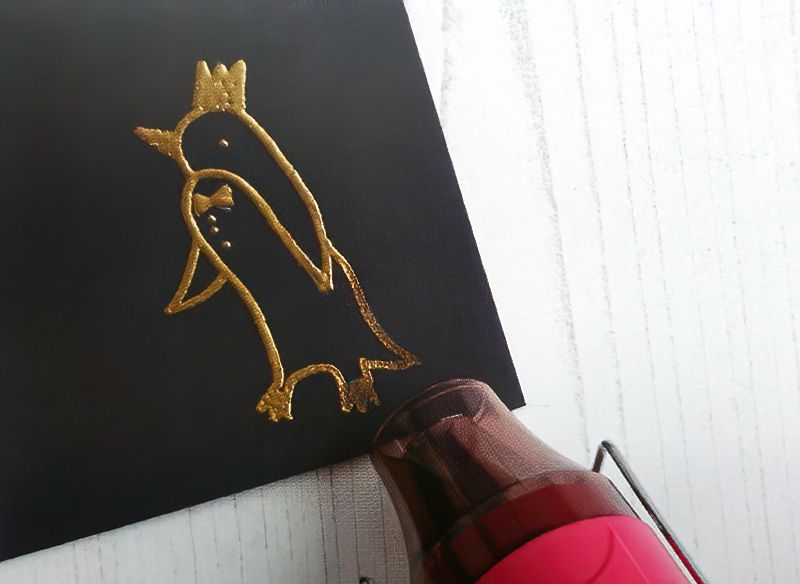
Start Heating Our Heat Embossed Christmas Card
Step Five
Turn on your heat gun and position it just above your design. Move the heat gun over the design evenly to heat the powder.
Make Sure To Heat The Embossing Powder To The Correct Temperature
Step Six
As the powder reaches a specific temperature, it will melt and solidify. Within seconds, your design will be dry and the powder will adhere securely to the card.
Add Some Details To Our Christmas Card
Step Seven
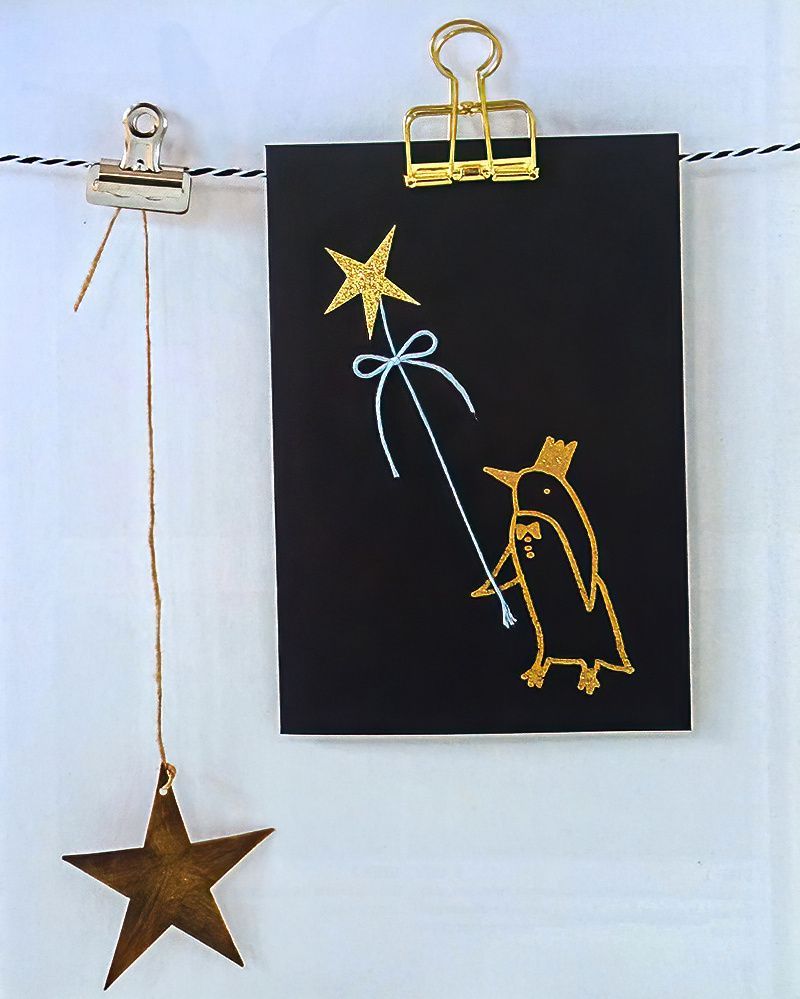
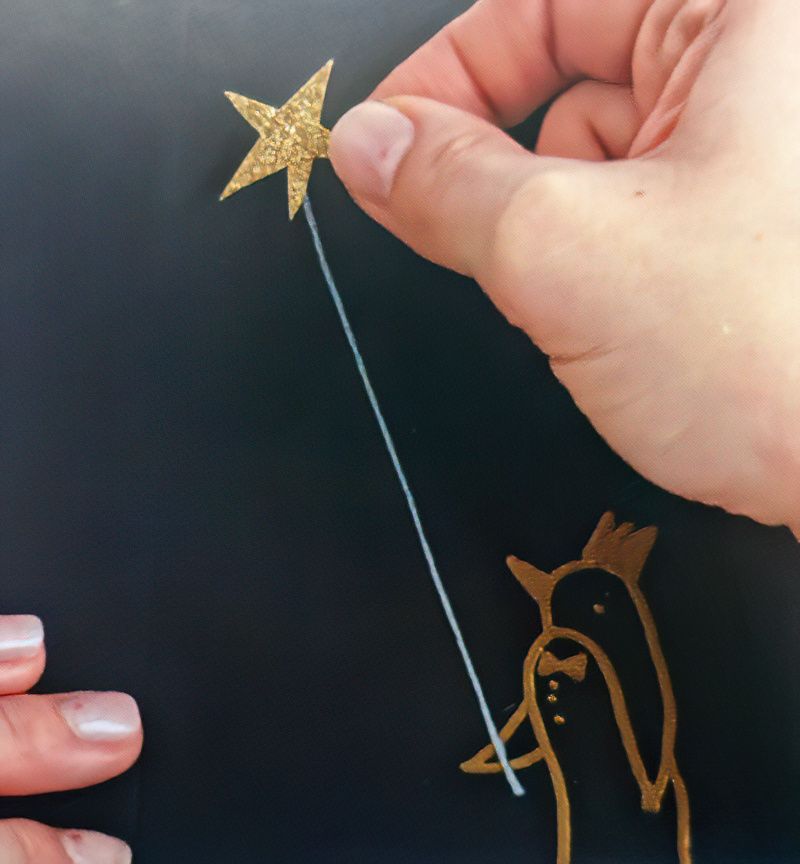
Cut a piece of embroidery thread around 90mm (31/2in) long. Apply PVA glue at both ends of the thread using a cocktail stick. Affix the thread tautly to the card at an angle, resembling the penguin's flipper.
Now We Need A Star For Our Heat Embossed Christmas Card
Step Eight
Cut out the star template from the image using gold glittered card. Glue it to the top end of the thread using a glue stick.
To Finish Our Heat Embossed Christmas Card
Step Nine
Lastly, create a small bow from a separate length of embroidery thread. Trim the bow's tails to about 30-40mm (11/4-1/2in) in length. Apply PVA glue to the knot of the bow and attach it to the first thread, just beneath the star. This completes the card.
More Ideas For Heat Embossing Cards
Bonus Idea
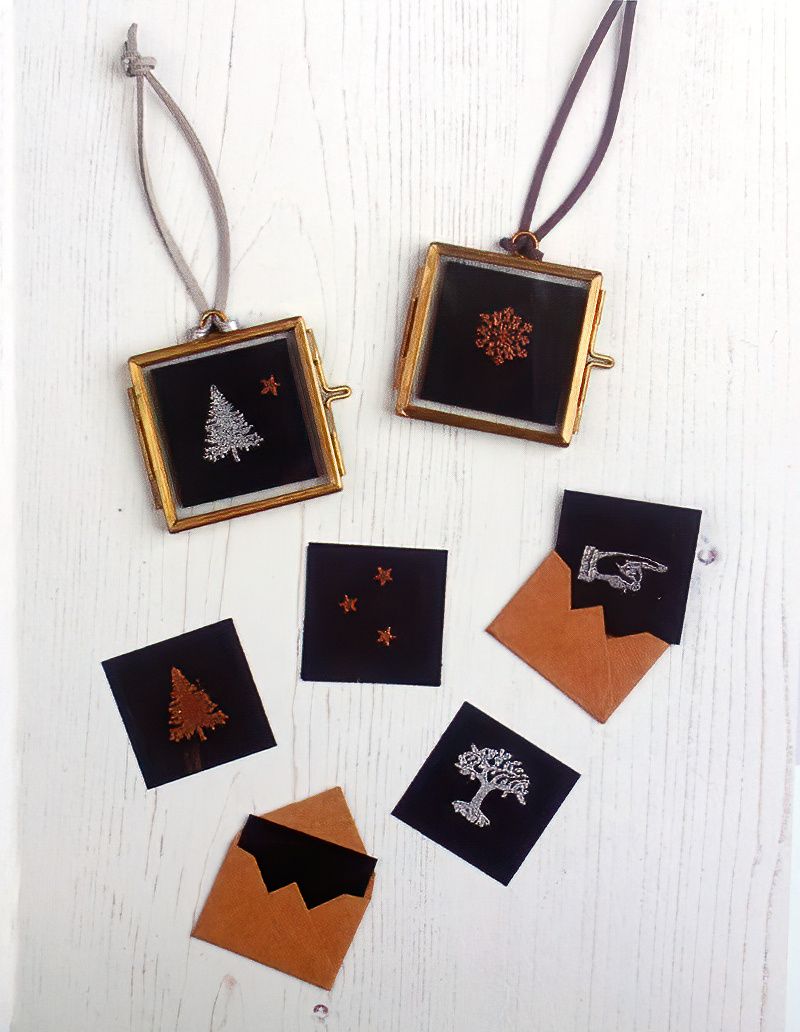
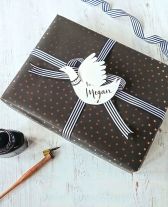
If you're not confident with hand-drawing a smaller design for heat embossing, decorative rubber stamps are perfect. Press the stamp into an embossing ink pad, then onto a piece of black card. Following the main project's steps, sprinkle powder, shake off excess, and heat with a heat gun. Trim the card to fit a small frame, attach leather twine or ribbon, and use these mini decorations for the tree or as adornments for gifts. You can even insert a small one into a tiny envelope, add a guest's name to the envelope's front, and use it as a charming miniature place setting.


.jpg)
.jpg)
.jpg)















.jpg)


