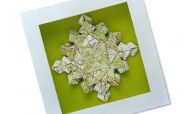
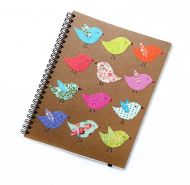
Hanging Paper Birds Are A Lovely Thing
I would love to show you a quick and easy way to make pretty little hanging bird decorations out of colourful paper. You can choose any colours that you like to make your own paper birds. And they can either be made as individual hanging decorations or made into a mobile with multiple paper birds hanging from it.
I really think this is a good craft project to make with your children. Little fingers are always helpful. And making fun little birds is always a joy.
Craft Materials & Equipment For Hanging Paper Birds
Stiff Coloured Papers
Paint
Fine Cord
Pencil
Tracing Paper
Scissors
Ruler
Stapler
Hole Punch
Saucers
Fine Artists Paint Brush
Making The Basic Shape Of Hanging Paper Birds Decoration
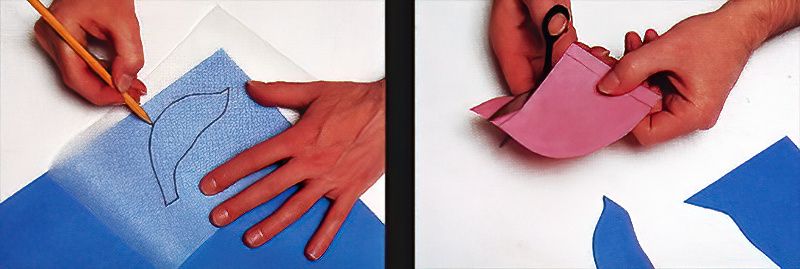
1st Stage
You will need to begin by finding a template in the shape of a birds body, trace around the template with tracing paper, and then transfer the tracing onto coloured papers.
2nd Stage
You will now need to use some small sharp scissors to carefully cut out the body and wing shapes. Choose a different colour for the birds wings than the body, to make the birds more colourful.
Attaching Paper Wings To The Hanging Paper Birds
3rd Stage
Now that you have the basic shape, use the blunt edge of the scissors and ruler to score 6mm apart fold lines on the wings. Make sure you space them evenly as this will make the pleats in the wings.
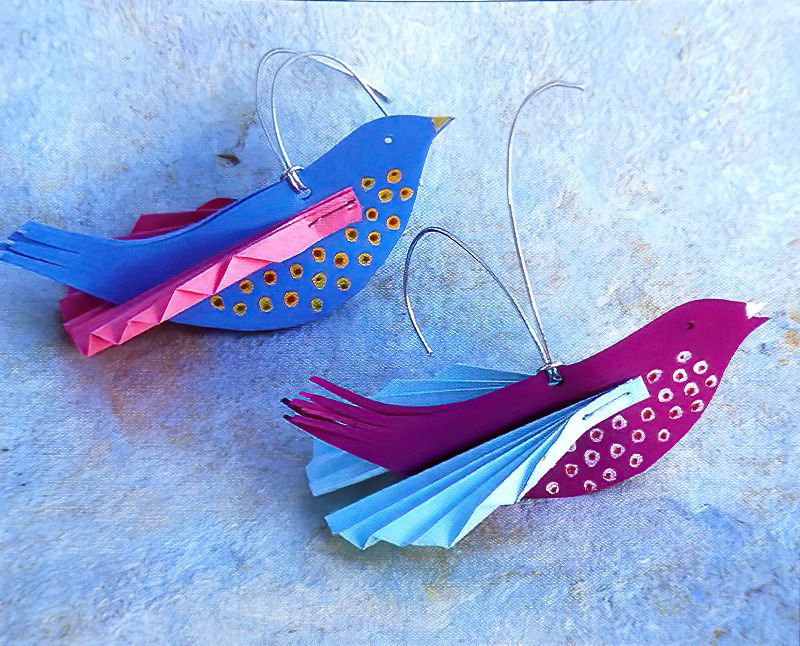
4th Stage
You are now ready to staple each wing to each half of the birds body, then fan the wings outwards. Then punch a small hole on each side to give the bird eyes.
Decorating Paper Birds
5th Stage
If you choose, you can paint spots or any other markings onto your birds underside with paint. And once dry, you can add an additional contrasting colour smaller spot on top of the previous.
6th Stage
Finally, punch a hold through the top of the bird, roughly half way along. Then thread through some fine cord, and they can now hang up looking pretty.


.jpg)