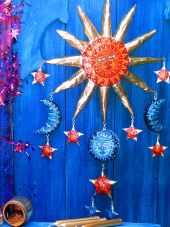
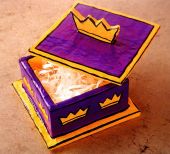
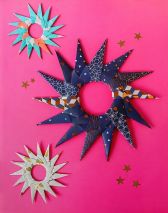
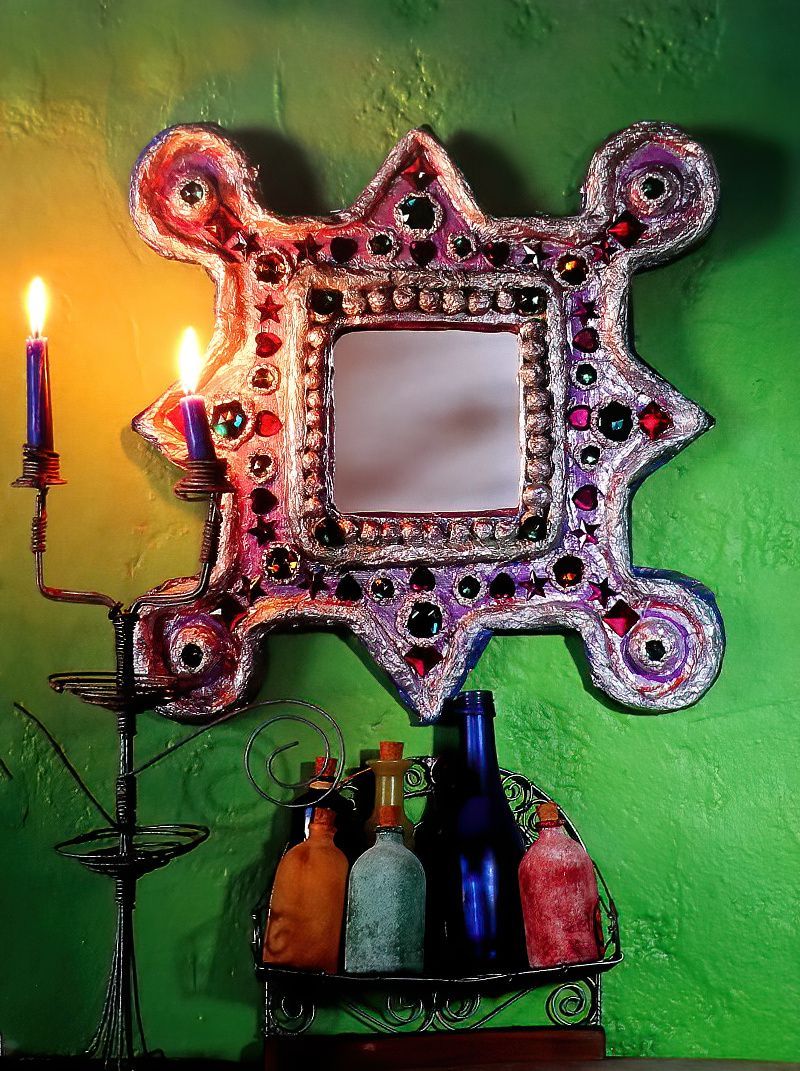
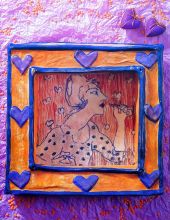
Make A Pretty Papier Mache Frame With Jewels
Here is a really simple and fun decorative papier mache frame. My children loved making this with me last weekend. It is actually simpler to make than it looks.
Craft Materials & Equipment
Corrugated Cardboard
Cardboard
PVA Glue
Newspaper
Tissue Paper
White Acrylic Primer
Acrylic Paints in Purple and Green
Silver Poster Paint
Costume Jewells (Assortment of Colours)
Kitchen Foil
Strong Sticky Tape
Mirrored Glass or a Picture
Tracing Paper
Soft Pencil
Scissors
Container for PVA Glue
Fine and Medium Artists Paint Brushes
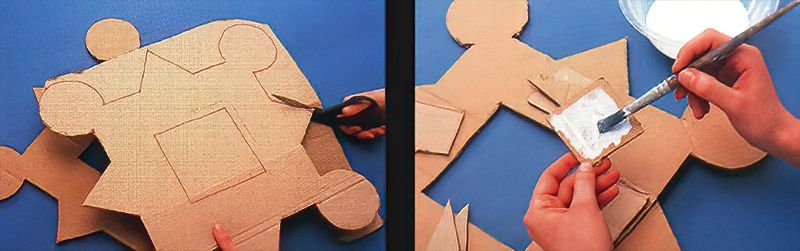
Making A Cardboard Frame
1st Stage
Start by finding a template for your papier mache frame. You can do any size and shape that you wish. Transfer the design twice onto corrugated cardboard and cut it out using strong scissors or a craft knife and cutting mat.
Then cut out three triangles or squares of plain cardboard for each of the four sides of the frame.
2nd Stage
Next, use PVA glue to stick a stack of three cardboard shapes to each side of the back of one of the frames. Put the second cardboard frame on top and glue it in place.
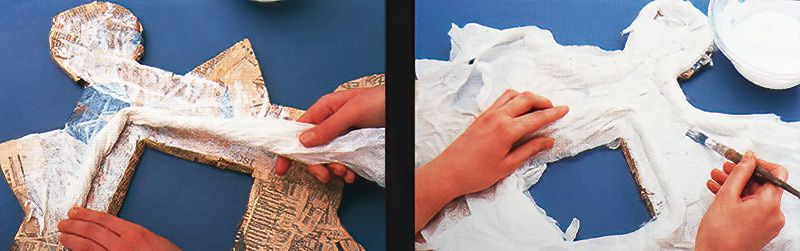
Making A Papier Mache Frame
3rd Stage
Now, tear some strips of newspaper and dip them into diluted PVA glue. Start by layering the strips over the sides and gaps of the cardboard frame.
4th Stage
Keep building up the layers of papier mache onto the papier mache frame. Make sure that you cover the entire frame in a few layers. Ideally you will need five to six layers. Then let it dry thoroughly.
Covering The Frame
5th Stage
Next, make two boarders for the papier mache frame using tissue paper soaked in diluted PVA glue, and twist it into rope shapes. Then lay one of the ropes around the outer edge and one rope around the inner edge. Again, leave to dry thoroughly.
6th Stage
Once dry, cover the entire papier mache frame with two sheets of white tissue paper. Lay them on individually and soak them on with the diluted PVA glue.
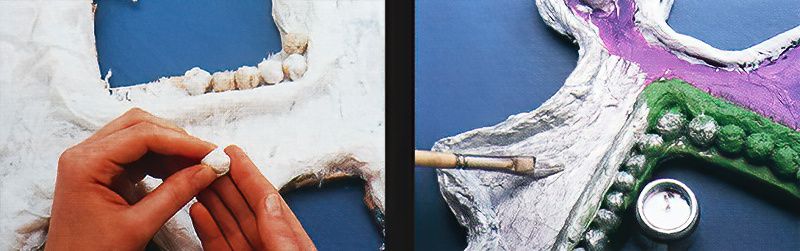
Painting A Papier Mache Frame
7th Stage
Next, make small ball shapes using the same white tissue paper and glue them around the inside of the frame. Once you have allowed them to dry thoroughly, which could take a few days, prime the whole frame with several coatings of white acrylic primer.
8th Stage
Now, paint the papier mache frame with a base coat of acrylic paints in purple and green, and allow to dry. Then lightly brush on a coating of silver poster paint. Make sure that you let the colours show through slightly.
Decorating A Papier Mache Frame
9th Stage
Now for the decoration. Wrap the edges of the jewels with foil that has been torn into squares. Then dull the foil slightly by painting it with a little purple acrylic paint. And then glue the jewels onto the frame. Then you can tape a piece of mirrored glass or a picture onto the back of the frame.


.jpg)