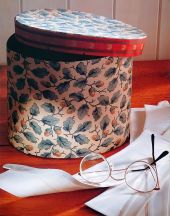
Fancy Concertina Star Christmas Garlands
Who Doesn’t Love a Christmas Garland Concertina Star?
Some on my earliest Christmas memories are actually making endless paper chains. And I remember making so many that we would be sitting in just a mountain of them in the middle of the living room.
And then we would have trouble finding places to stick it all. All over the ceiling, all over the walls, fireplace, Christmas tree, dinner table, Grandma, the cat, the car, the garden... everywhere!
But now I am older, I can appreciate quality over quantity, thank goodness.
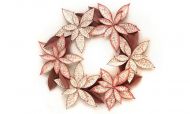
So here we are going to make some concertina effect Christmas garlands that are really pretty. Once you get the idea, they are easy to scale them up or down.
Stuff We Need For Concertina Christmas Garlands
- The basic paper craft toolkit
- Red and green patterned papers, 29cms lengths or 11 and a half inches lengths
- Small star punch
- Circle punch, 1.5cms or five eighths of an inch
- Cream card, 10 x 13cms or 4 x 5 inches
How To Make A Christmas Garland
Step One
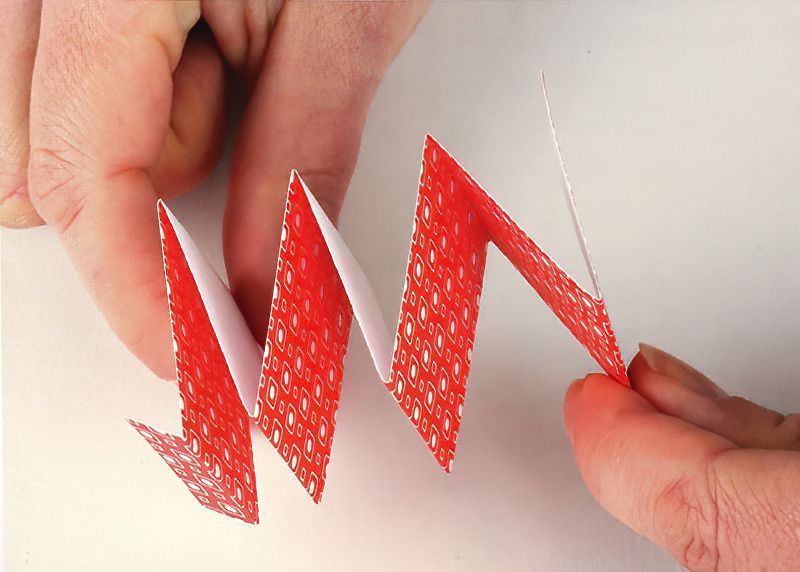
Take a red strip of pattered paper, 29cms long by 3.5cms wide or 11 and a half inches long by 1 and a half inches wide.
With this strip we want to start making a concertina fold all along it. Make each fold at 4cms or 1 and a half inches.
Start Your Homemade Garland Pieces
Step Two
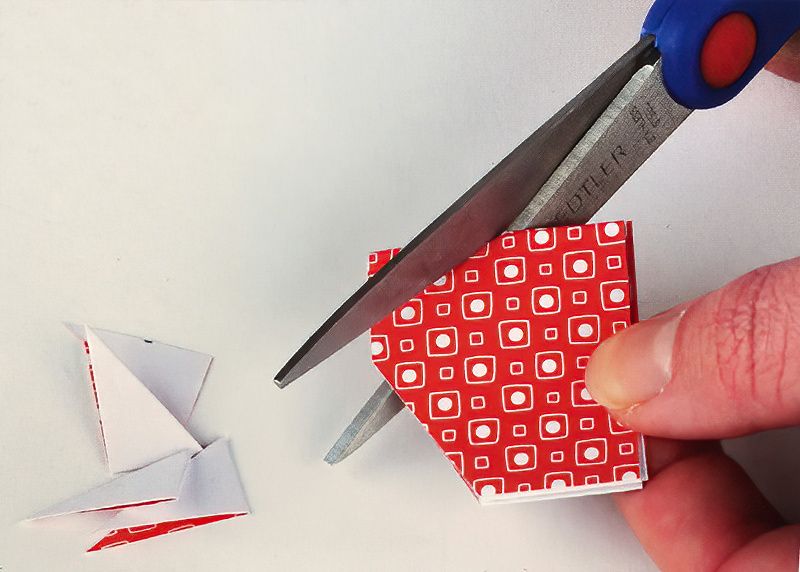
Use a large pair of sharp scissors and cut from the centre of one of the folded sides up at a 45 degree angle to the centre of one of the edges that is open.
Flip the concertina over and cut again from the centre of the other group of folded edges up to where you finished the first cut.
If you have done it right, when you open the paper strip out, you will have a strip of paper with some points on one side.
Carefully Assemble Your Christmas Garland Parts
Step Three
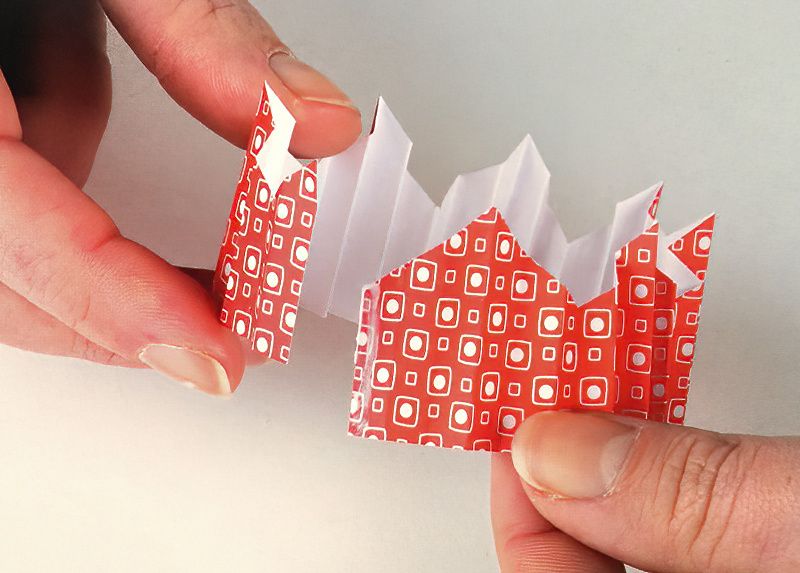
Open out the strip of paper. Then fold it in a new concertina, this time space out each fold at 6mms or one quarter of an inch spacing. Concertina all the way down the length again.
You don't need to be super precise with your folding. But if you want your rosettes to look professional, it is best for each rosette to have roughly the same number of folds.
Glue the ends of the concertina together to form a ring. Let it dry up a bit.
Now for the magic. We are finally going to make the concertina stars.
Finish Assembling One Concertina Star
Step Four
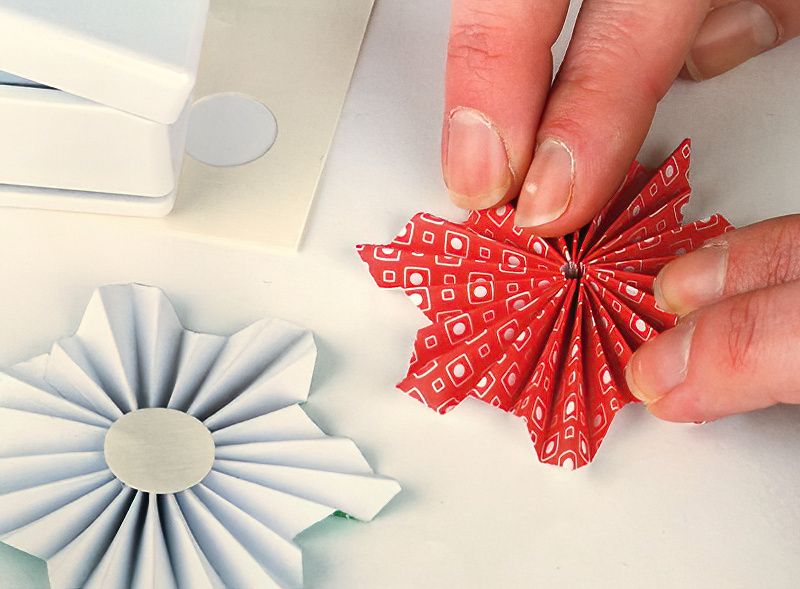
Make a circle of card using the punch. Put glue on the card and then gently flatten the concertina leaving the points on the outside.
This can be tricky. Basically find the side of the concertina ring that is flat and gently start gathering it together. Squeeze and pucker it all closer and closer until you can start laying it on a flat surface. Let the flat surface help your pucker the flat edges all the way into the centre, nearly to a point.
Once the concertina is now in its flat form, make sure the pattern is face up and stick it down on top of the cardboard circle you glued up previously. You will probably have to hold it until it sets up a bit, otherwise it very well might ping across the room at the first opportunity.
To be clear, the cardboard circle is on the back.
Now you can repeat the steps again, but with the green paper strip of 29cms long or 11 and half inches long, by 2.5cms wide or 1 inch wide.
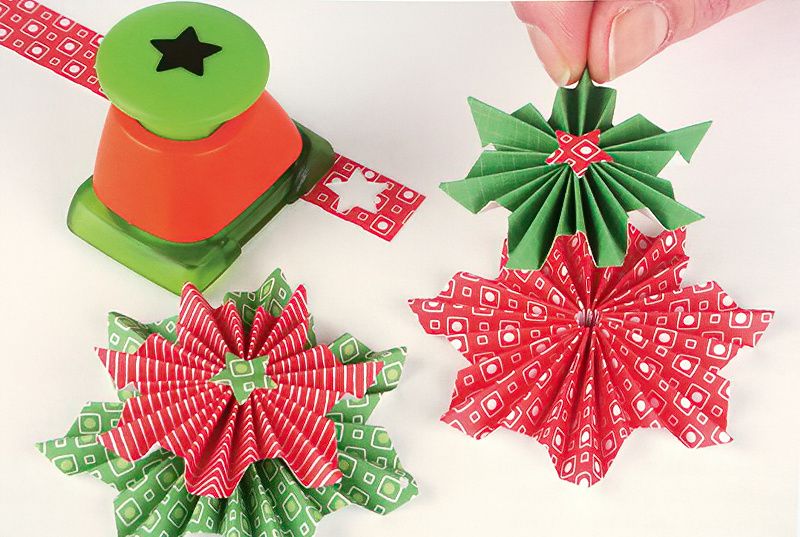
Make Many Concertina Stars To Assemble Into A Garland
Step Five
Once we have a few of the concertinas made and they are looking fab, we can start a bit of assembly.
So now we can glue the smaller green concertina star on top of the red concertina star. Use a small star punch to punch stars out of the paper scraps. Finally stick the cut out star on top of the concertinas to finish off the individual item.
Make more concertina stars using different papers and try layering them up in different combinations.
Finish The Concertina Star Christmas Garland
Step Six
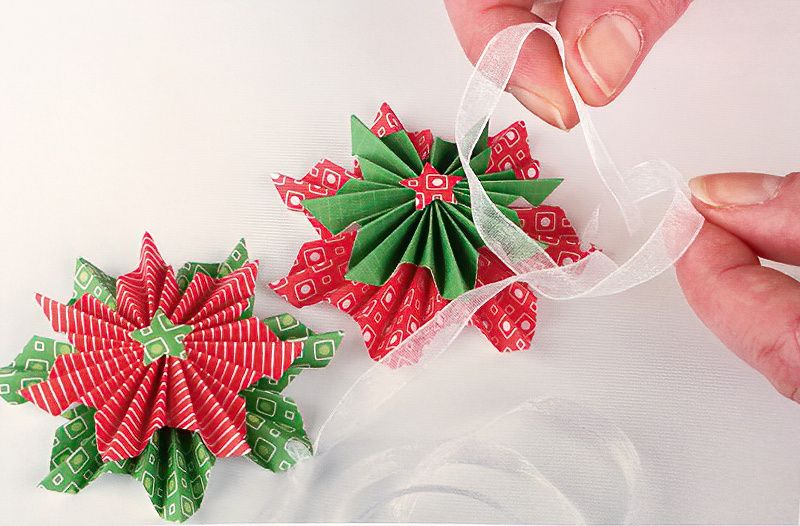
Make a hole in one of the points of the larger concertina stars and thread some pretty ribbon through. Continue threading on concertina stars until you have as many as you require.
Here is an advanced ribbon trick for your concertina stars. This will enable you to position you stars better and they won't slide around once set.
How to Tie on Your Concertina Stars in a Clever Way
- Have you concertina star ready with the hole
- Poke through the hole the middle of a length of ribbon, so you have a loop of ribbon sticking through the hole
- Tease out the loop of ribbon so that loop gets as big as the star
- Then put the concertina star through the loop
- Now tease the ribbon back so the loop gets smaller and smaller
This technique of attaching the concertina stars to the ribbon, will mean you can attach one in the centre of a garland, even if that garland is already hung. And you can be sure they will be securing held in place and won't slide into a bunch over time.
Space them as far apart as you think looks nice.
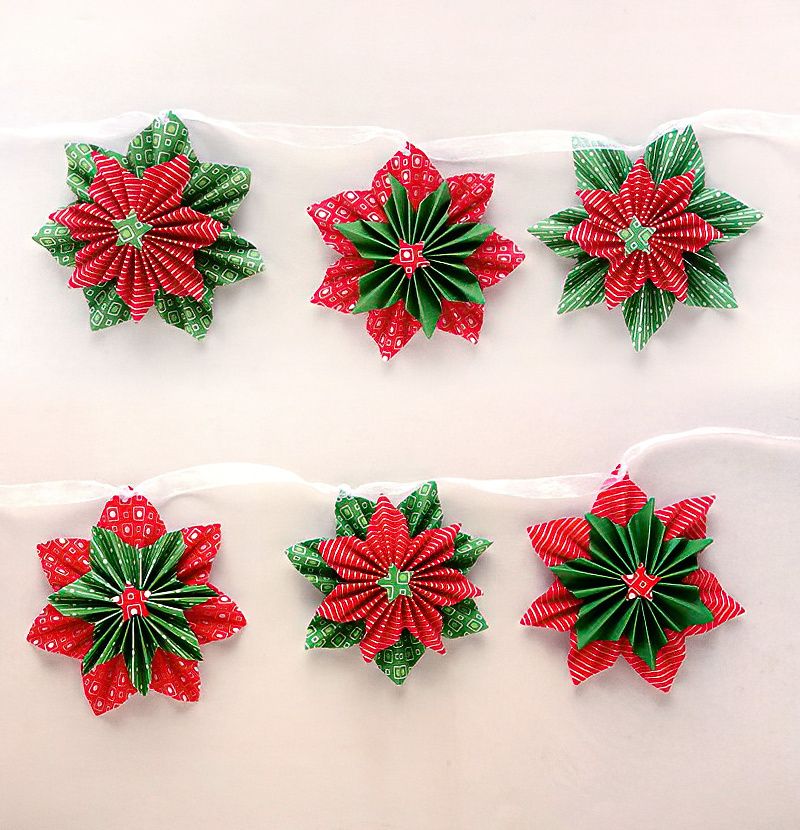
Concertina Star Christmas Garland Conclusion
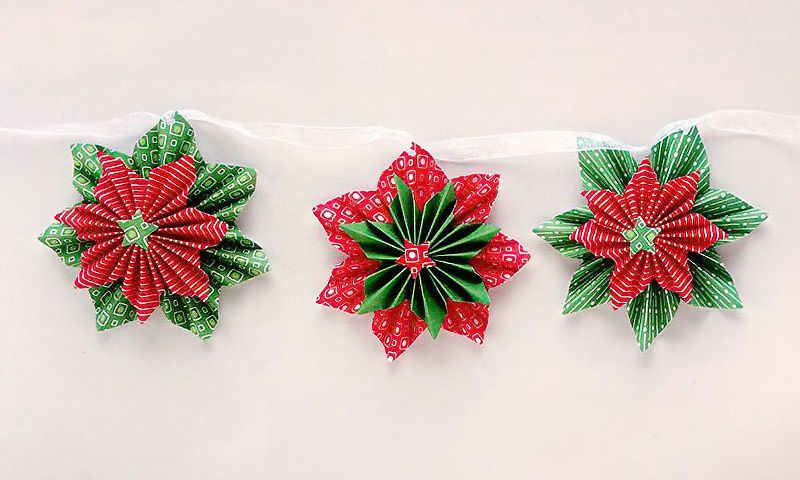
And there you have it. Actually quite amazing. I think they look fantastic. And so adaptable to any interior or environment. Use more subtle colours for something more sophisticated. Or use kids papers for something more fun.
How about a superhero set of concertina star Christmas garlands.


















.jpg)
