Papier Mache Dinosaurs Are Fun to Make
Papier mache is super messy and I love it. Nothing else helps us create three dimensional sculptures, quite as easily as papier mache.
We need loads of newspaper and loads of time to clean up. But the end results of often amazing. The process creates a layered paper sculpture. These sculptures can be painted and aren't too heavy so you can easily hang them. And if sealed and painted they will last a long time inside.
What Do We Need For Papier Mache Dinosaurs
- Newspaper
- Balloon
- Thick paint brushes
- PVA glue
- Tin foil or aluminium foil
- Cardboard
- Paint
- Masking tape
To Start Making Our Papier Mache Dinosaur
Start by ripping some strips of old newspaper. Continue ripping into rough pieces. We will probably need a lot of strips and smaller pieces, so rip your newspapers and make a pile.
Blow up a balloon, this will be the dinosaur body. To stop the balloon rolling around we can actually pop it in a bowl to keep it steady.
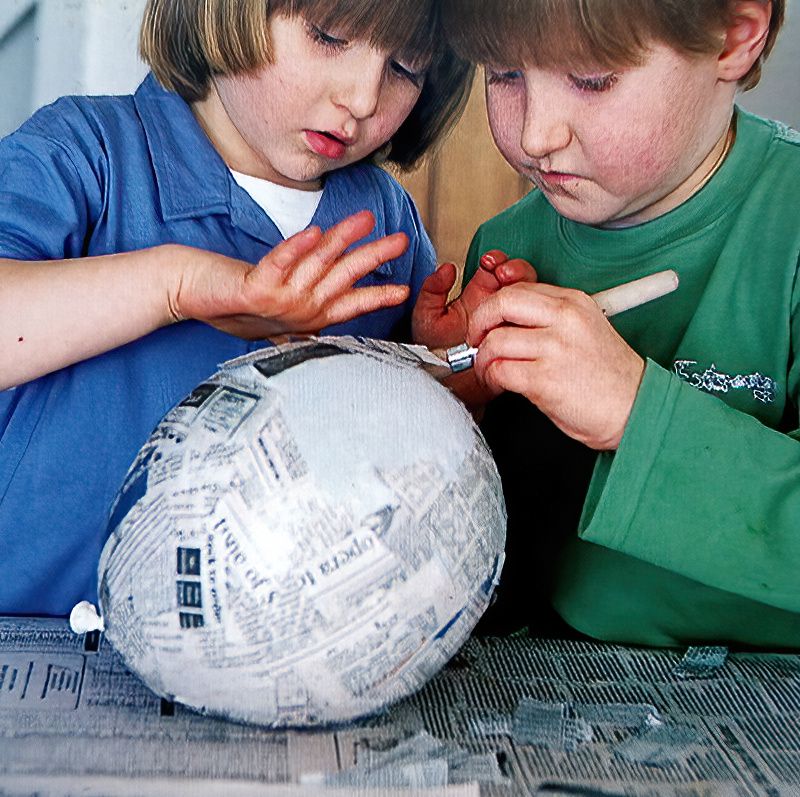
Using a brush we start by painting the glue onto the balloon. Use lots of glue and spread the glue wider than the first paper chunk. Now stick the piece of newspaper onto the balloon.
Paint more glue around the balloon and stick more pieces of paper on it. Cover the balloon with paper. Let it dry thoroughly and apply another full layer. The more layers you apply, the strong the finished model with be.
Papier Mache Dinosaur Legs
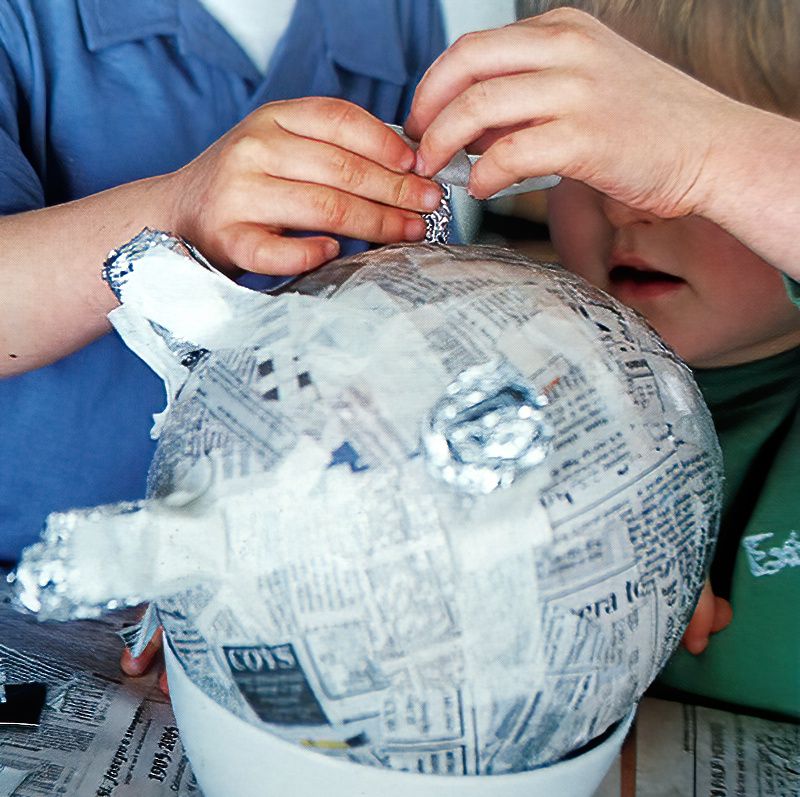
We used tin foil to make cylinders for the dinosaur legs. Tape these legs to the body with masking tape. Now carefully paint glue over the tin foil and cover with the newspaper piece again. Keep going until all the foil is covered.
Make sure some of the strips overlap the leg and the body part, connecting the legs and the body together.
Papier Mache Dinosaur Spines
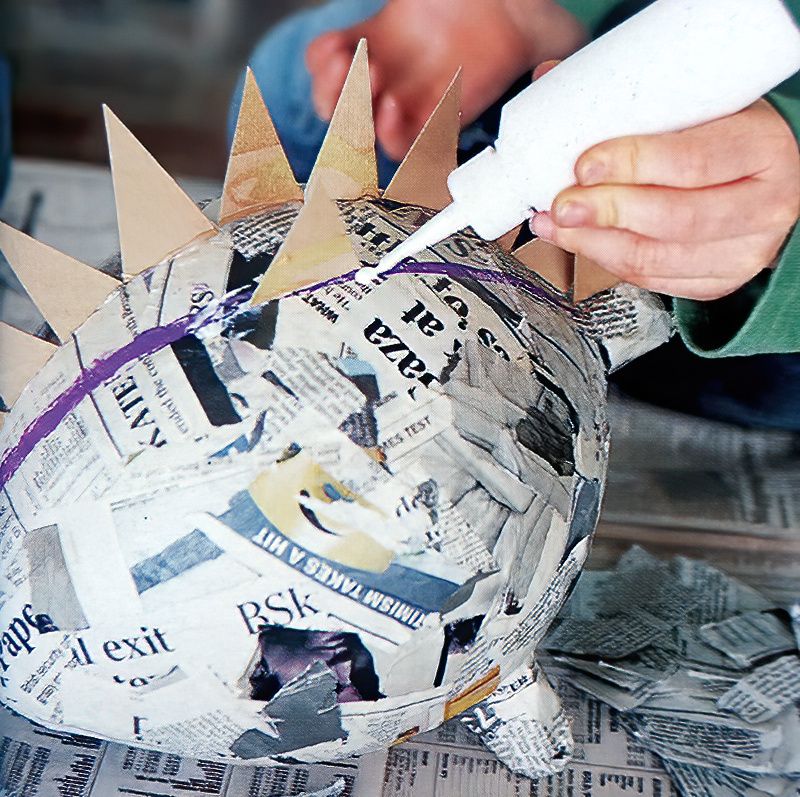
Cut triangles from card that are roughly 2cms wide and 4cms high. Make a little flap by folding the bottom of the triangles. Use this flap to glue the triangles to the dinosaur's back.
Make two lines of triangles on the dinosaur's back or be creative and do your own design.
When the glue is dry. Rip smaller pieces of newspaper and apply them to the triangles to reinforce them. Make sure you newspaper pieces overlap the edges to secure the triangle spines to the back.
How to Finish a Papier Mache Dinosaur
Once everything has been covered in layers of papier mache and all the glue is dry, we are nearly finished.
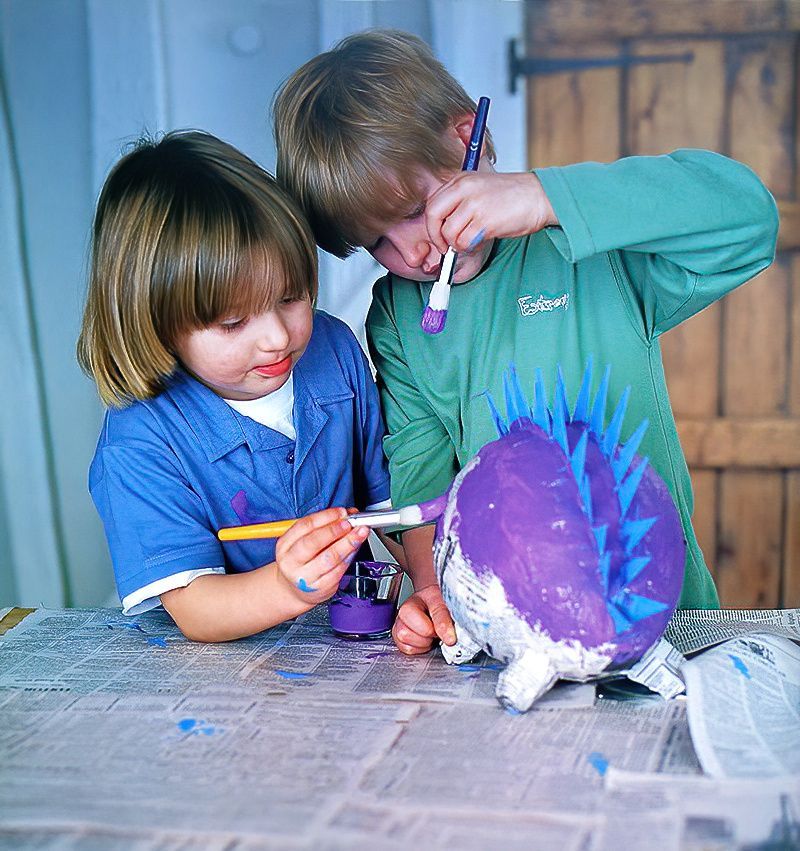
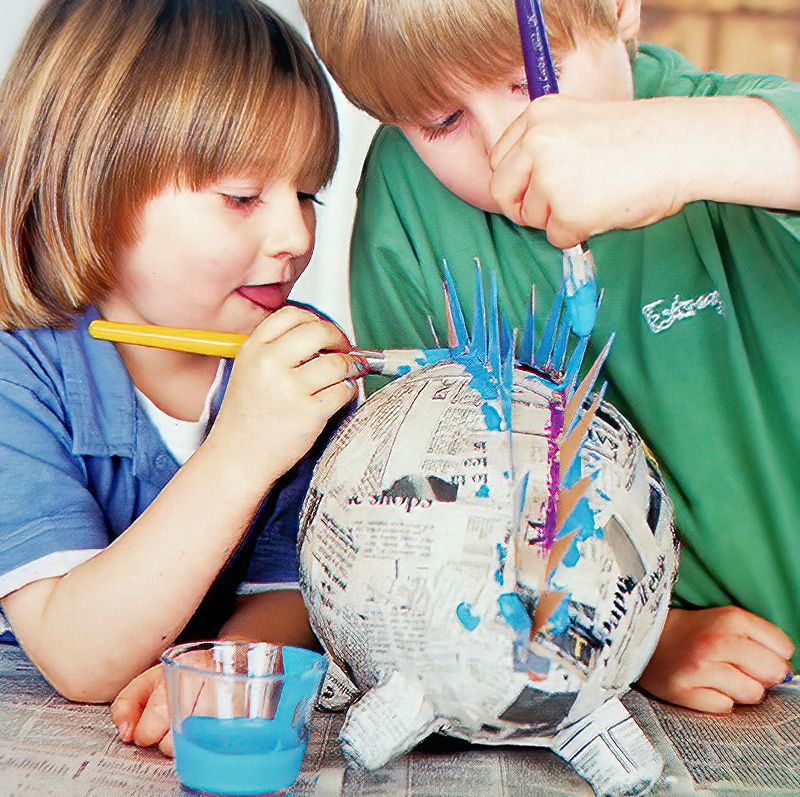
Now we can have fun painting our dinosaur. Pick colours your like and paint your dinosaur. We picked mauve and blue. Add eyes and a smile and spots to the body. Allow all the paint to dry and add any more details as you like.
Congratulations you are finished. You just need to name your papier mache dinosaur now.

.jpg)
