Learn To Make A Basic Papier Mache Bowl
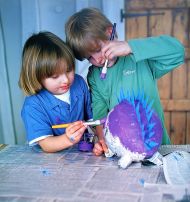
Here is just a quick back to basics to make a simple, basic papier mache bowl. Bowls were some of the first things that I ever made as a child using papier mache. They are so easy for kids to make, it is a great starting point for learning. All you need is a bowl to use as a mould and some very basic craft materials.
This basic papier mache bowl is a great place to start if you are beginner. Because many of the papier mache principles simply follow on from these techniques.
To Make A Basic Papier Mache Bowl You Will Need
Materials
- White Packing Paper
- Wallpaper Paste
- White Matt Emulsion
Equipment
- Bowl to use as a Mould
- Cling Film
- Pastry Brush or Similar
- Small Decorators Paint Brush
A Great First Papier Mache Project
Step 1
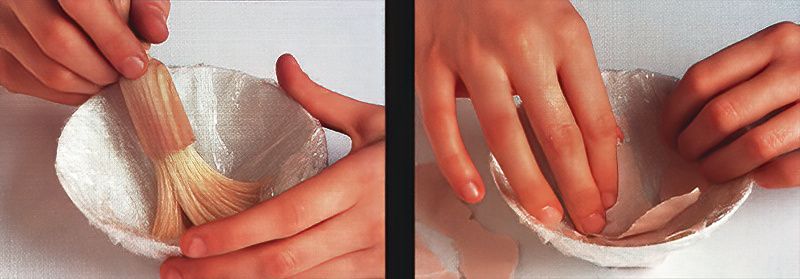
Start by tearing the packing paper into strips. Then cover the bowl mould in cling film to make it easier to remove later on. I would recommend a couple of sheets of cling film. Now apply the wallpaper paste to the cling film using a pastry brush. If you don't have access to wallpaper paste, use a slightly diluted solution of PVA glue and water.
Step 2
Next, lay the strips of packing paper onto the cling film to completely cover it, then coat it in the paste. And then apply another layer of paper strips. Allow it to completely dry. Then keep repeating the process until the bowl is at your desired thickness. Once done, allow the bowl to dry thoroughly. This may take a couple of days depending on the thickness of the papier mache, room temperature and moisture.
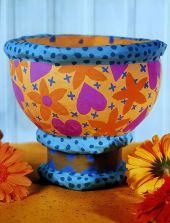
A Simple, Basic Papier Mache Bowl
Step 3
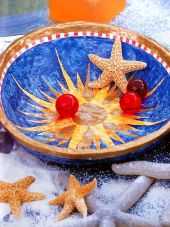
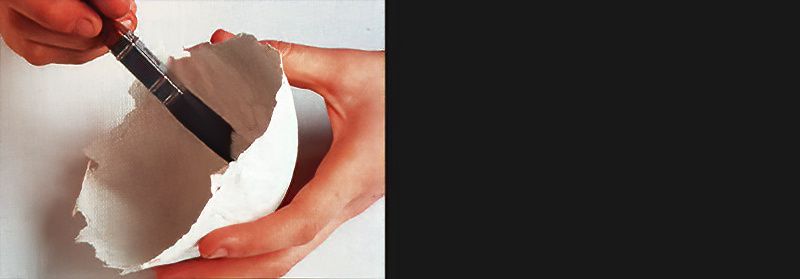
Once completely dry, carefully remove your papier mache bowl from its mould. Then paint it with an even covering of white emulsion paint using a paint brush. Leave to dry. You now should have a simple, but beautiful papier mache bowl.

.jpg)
.jpg)
