Create A Really Fun Colourful Woven Screen For A Multitude Of Purposes
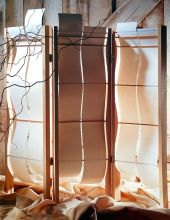
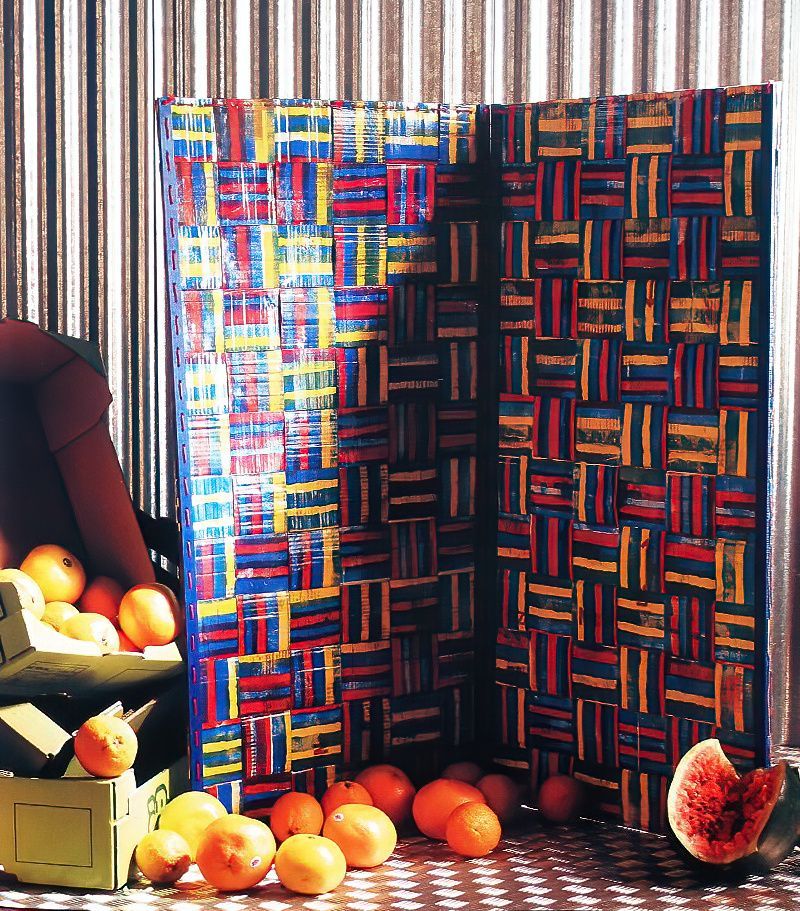
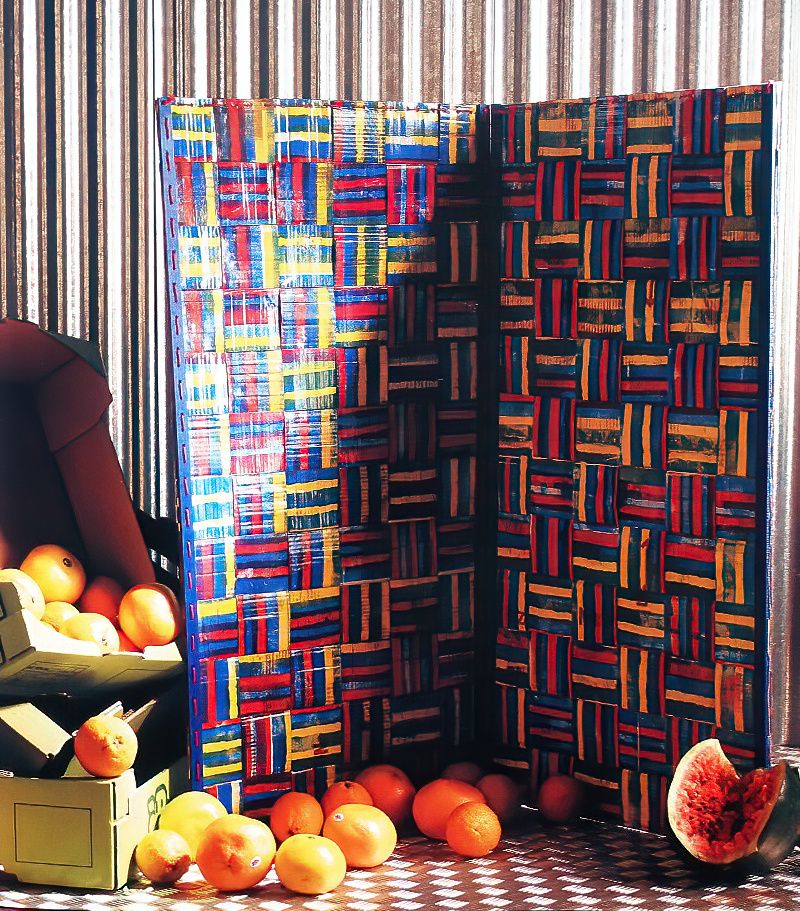
This is such a fun privacy screen. It's great if you like a bit of colour in your home. And really good for separating children's bedroom spaces into sleep and play areas. Heavy weight corrugated cardboard is a fantastic material to use as it is affordable and strong. It is also really light weight to move around. It can even be coloured and woven together to create a screen like this one.
You can choose any colours that you want. It could be two colours or twenty colours. It's your design to style however you wish. My kids like to help me paint, so they always choose loads of bright colours. Here is a tutorial on how to make a colourful woven cardboard screen.
Craft Materials & Equipment
Corrugated Cardboard
Water Based Paints in White and Colours
Strong Coloured Nylon Cord
Wooden Batten
Large Clips
Scrap Wood
Scissors
Small Paint Roller
Paint Tray
Stapler
Bradawl
Large Darning Needle
Small Saw
Drill
Small Sponge
Painting A Large Colourful Pattern
1st Stage
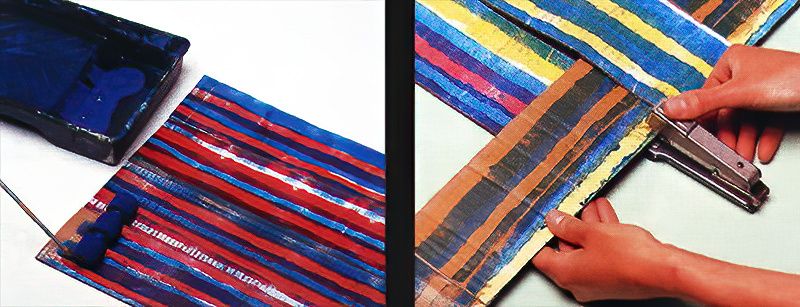
To start making a cardboard screen, get some heavy weight corrugated cardboard boxes and cut panels from them, making sure that they are as smooth and flat as possible. Then paint one side of the panel white, and then add your pattern of multicoloured strips to the white side.
The quickest and easiest way to do this is with a paint roller. Once done and dry, paint the other side in exactly the same way. Then the screen can be reversible.
2nd Stage
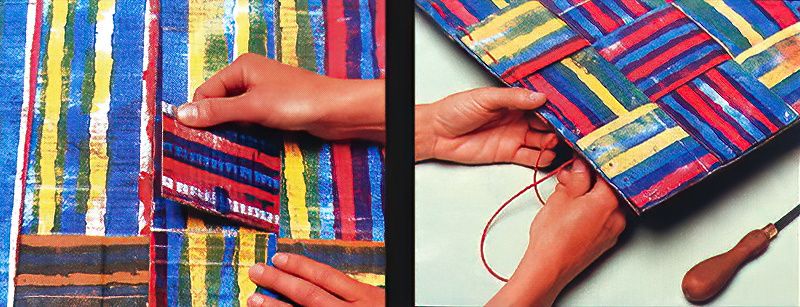
You now need to cut the cardboard into 10cm wide strips, by cutting across the corrugations. Then position six strips side by side and folding under 2cm at each of the ends of each of the strips. Then start weaving through a horizontal strip. Secure everything by stapling the ends of the vertical strips to it.
Weaved Cardboard Screen
3rd Stage
You will now continue to weave in the horizontal strips until you reach your chosen screen height. Then turn under the sides of the horizontal strips and staple them to the verticals as you are working.
4th Stage
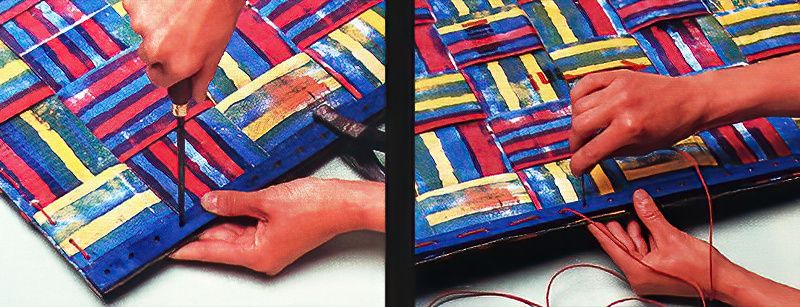
Now, using a bradawl, make holes in the top and bottom edges of the screen, on each panel. Then you need to sew a line of decorative stitching through the holes using some colourful nylon cord. A darning needle works best for doing this.
Making Battens For A Room Divider Woven Cardboard Screen
5th Stage
You now need to cut four lengths of batten the same length as the sides of the screen panels. Then drill a hole every 4cm. Apply some colourful paint to the battens with a sponge, any colour you like. Then clip the battens to the edges of the screen.
Next, place the edges of the panels onto some scrap wood and pierce through the batten holes into the cardboard using the bradawl tool.
6th Stage
Then sew the battens onto the screen edges using the nylon cord, making sure you pull tightly so that the cardboard screen stays together.
How To Tie The Cardboard Screens Together
7th Stage
Finally, place the panels together and match the edges. Then tie them together using the nylon cord, pass the darning needle underneath the top strip of the batten, over the join to the back and then under the second strip. Now you have a lovely woven cardboard screen.







.jpg)




.jpg)
