Rolled Paper Beads Are A Fun Project
Rolled paper beads really are one of those projects that just go on forever. Once you start, you may never need to find any other project to inspire young creative minds.
With endless variations and tons of time consuming fun to be had. This is the perfect project for children and adults of all ages.
What we need to make rolled paper beads
- Basic papercraft tools, eg scissors, ruler, pencil
- Sheets of paper of different colours and details, eg old wrapping paper or magazines etc
- Glue stick
- Cocktail stick, skewer, knitting needle or similar
- Extra plastic beads (optional)
- String
- Corded elastic
How To Make basic Paper Beads
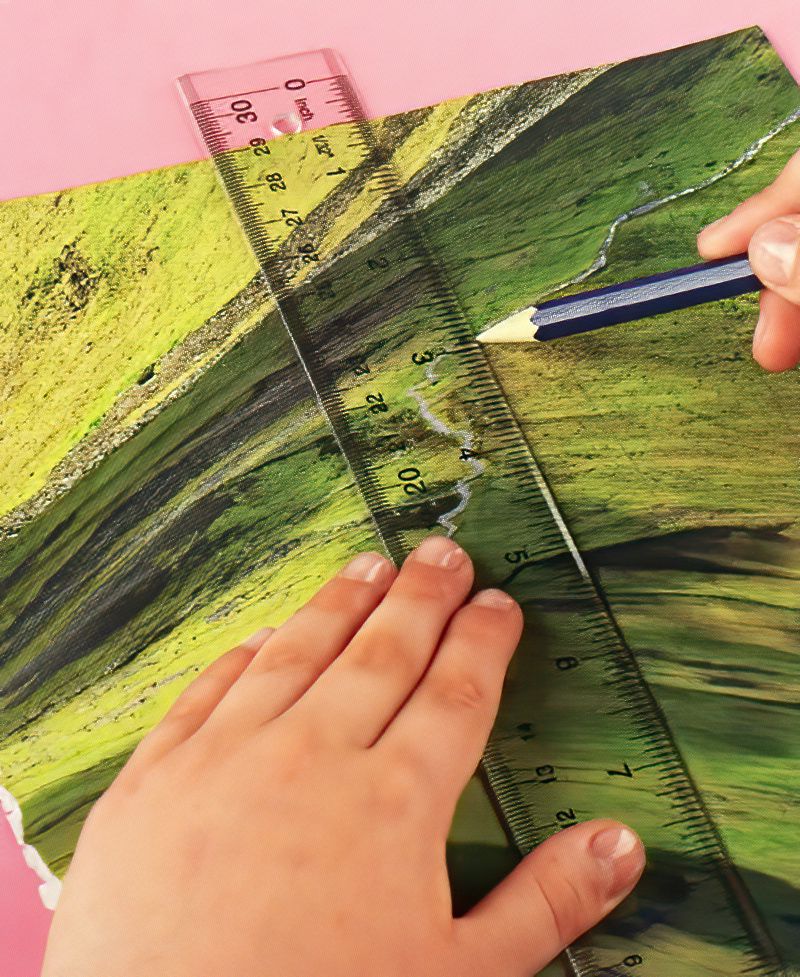
Step 1
First we make strips for our beads. Using your pencil and ruler, draw lines across your paper. The width of the line will be the length of your bead.
If you want a bead that has a flat end, like a cylinder, draw the lines parallel to each other. If you want your beads to taper a bit on each side, draw your lines across the page, slightly tapered.
Try a few test beads to start. Making beads is fun, so try a few experiments and see what different shapes of beads you can make.
If you keep rolling more and more strips around the same bead, obviously you will end up with a thicker bead.
So maybe try and make some different shaped beads. Some long and thin and maybe some shorter and thicker.
Start Making Strips Of Paper
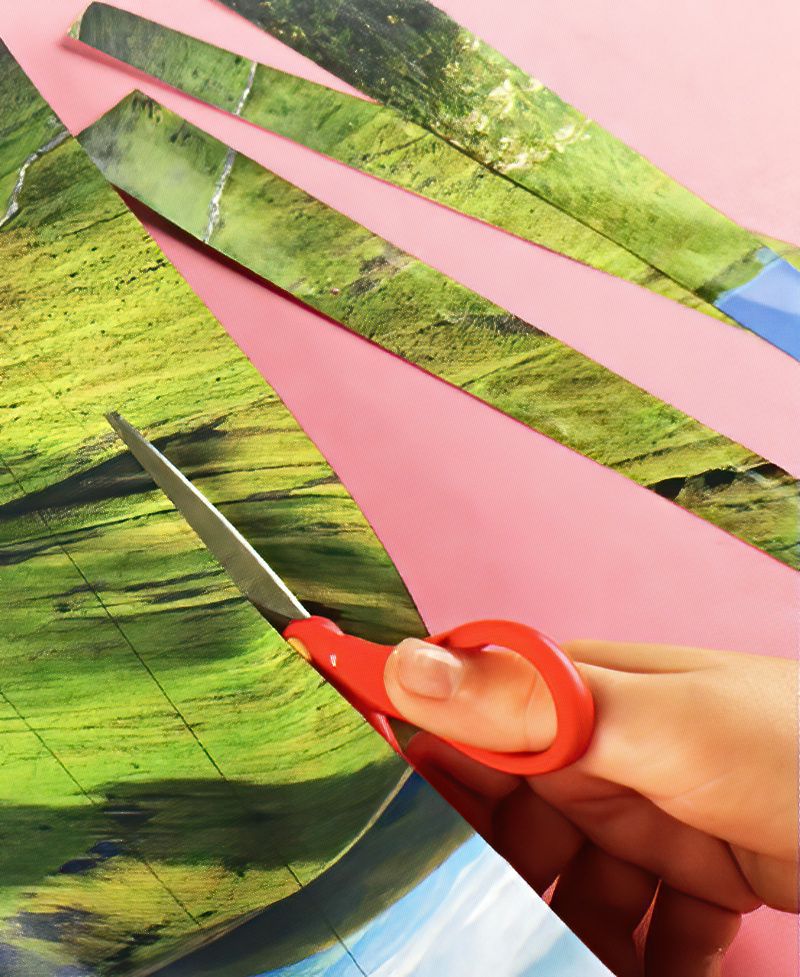
Step 2
See above I have drawn the lines at a very slight taper. A taper means when one end is slightly wider than the other end, so you get a slight wedge shape.
Once you have drawn the lines you want. Cut along the lines to make your paper strips.
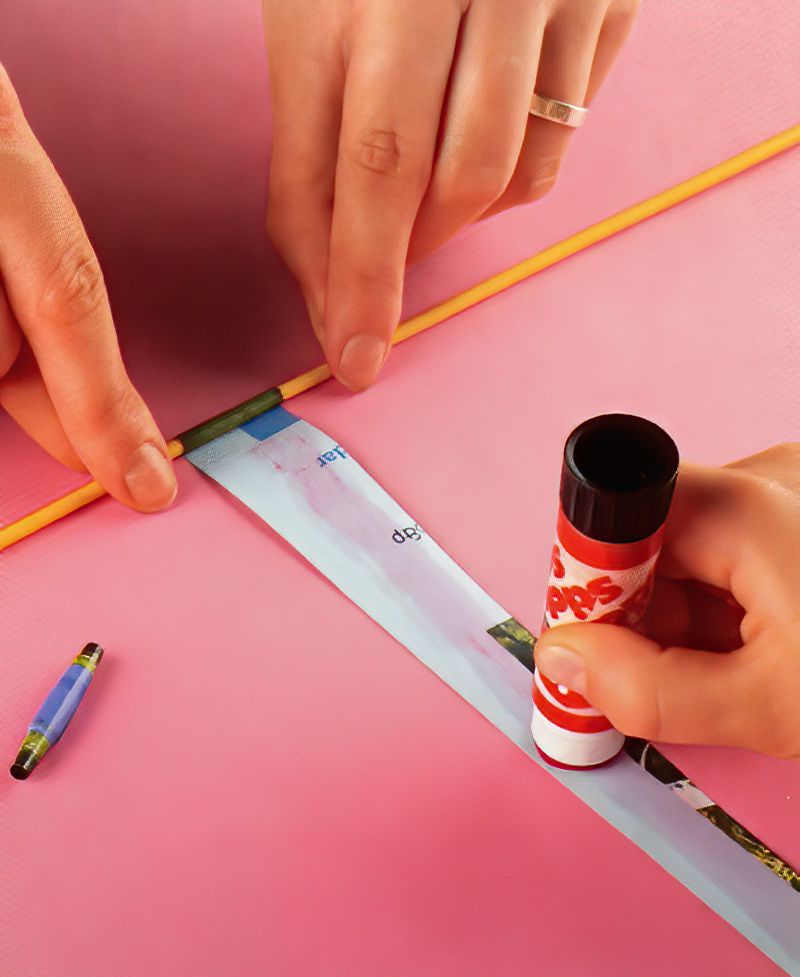
Start Rolling Paper Into Beads
Step 3
Now roll one end of the strip around your skewer or knitting needle or similar. We are going to wind the whole strip up to make one of our rolled paper beads. You can put some glue along the whole strip or you can roll and glue just the last few cms.
If you are having problems with the glue messing everything up. Practise rolling the strip first with no glue. The paper will get easier and easier to roll tightly each time as the paper becomes curly.
Take your time and learn a good technique. I like rolling it along a flat table.
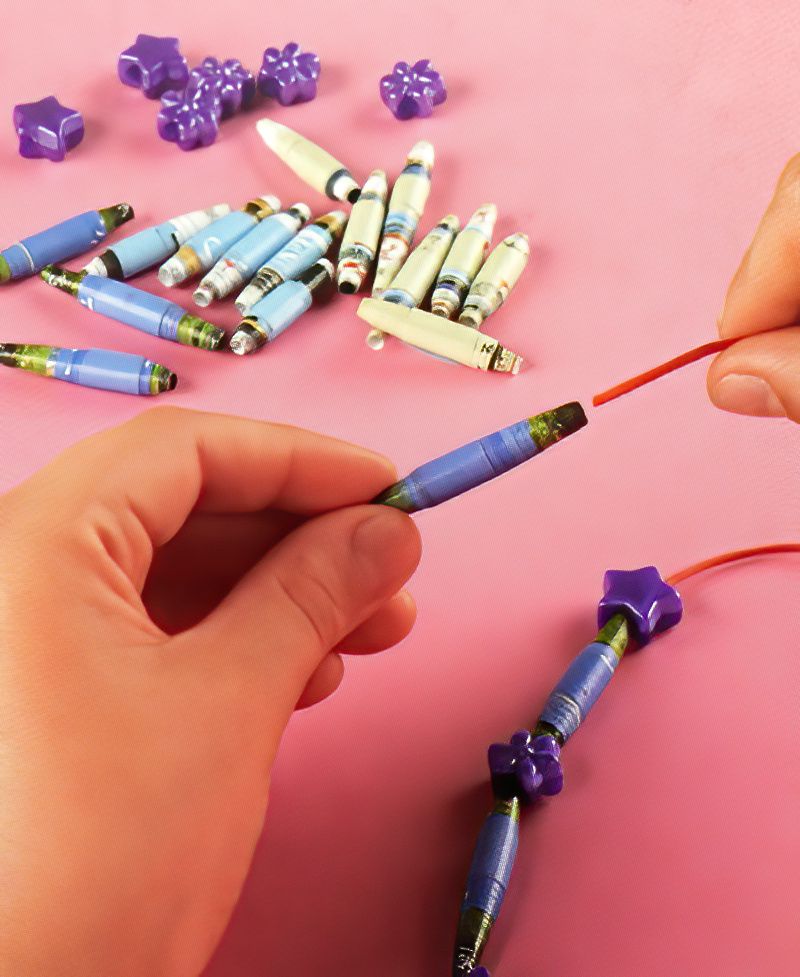
Finish Making The Paper Beads
Step 4
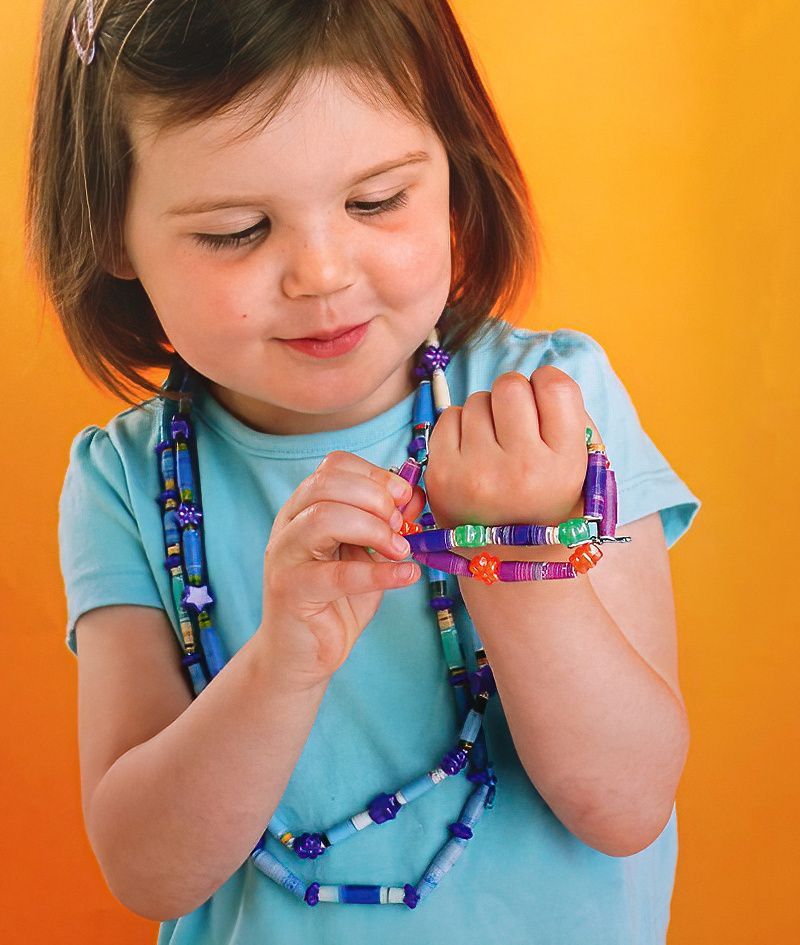
Finally we can finish our rolled paper beads for children project. Have fun making lots of different beads, until you feel you might have enough to make a bracelet or a necklace.
Remember, your first few won't be brilliant. This is ok. As fun things sometimes take a little practise to get good at. And this is a nice, fun, cheap project, so you can make a lots of mistakes and it won't cost you much.
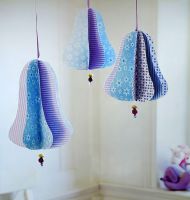
Once you have a little collection of beads. Thread them onto a length of string to make a necklace. Or thread them onto some elastic to make a really personalised bracelet.
Like I said, this fun little project for kids, and has endless possibilities. And before you even make any jewellery, I really find the process of rolling paper beads very relaxing.
Get yourself a cup of tea and a biscuit and have some fun making rolled paper beads.


.jpg)