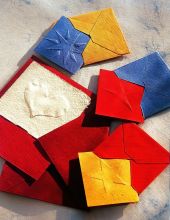
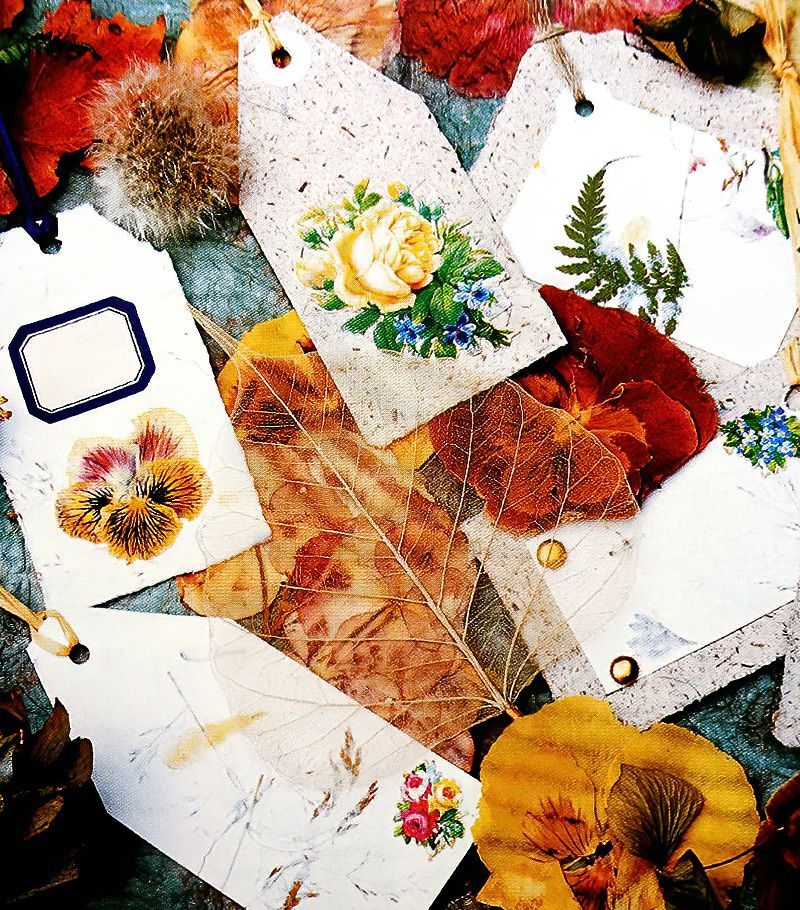
Pretty Pressed Flower Gift Tags
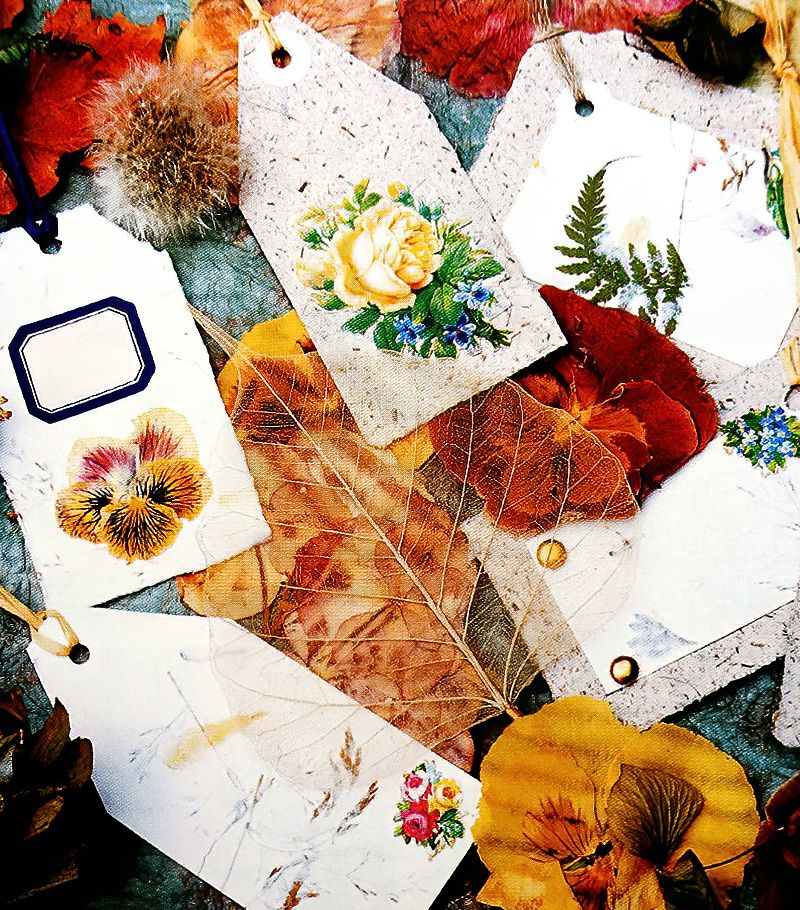
It is always fun adding a personal touch to gifts for friends and family. I make most of my own wrapping paper and gift tags, as I like to make a gift feel even more special, like I have put more thought into it. And I have always loved pressing flowers and leaves to add to various craft project. I would love to see some things that you have made with pressed flowers in the comments below. Also, you can apply the same technique as this for greetings cards, or even make matching ones to your gift tags.
Stuff You Need For Pressed Flower Gift Tags
Materials
- 2 Sheets of Handmade Paper in Different Colours
- Brass Paper Fasteners
- Pressed Flowers
- Printed Scraps of Paper
- Reinforcement Rings
- Raffia
Equipment
- Ruler
- Craft Knife
- Cutting Mat
- Hole Punch
Making Gift Tag Shapes
Stage 1
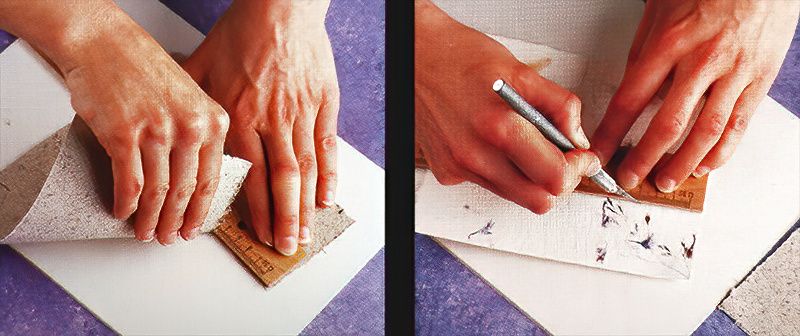
The first stage is to tear a rectangle out of a darker coloured paper, the torn piece should ideally measure 7.5cm X 9cm. The easiest way to do this is to hold a ruler down firmly on the paper and pull the paper against the ruler. This creates a softly torn straight edge.
Stage 2
Next, use a sharp craft knife, cut out another rectangle 1cm smaller all the way around the edge.
Decorating Pressed Flower Gift Tags
Stage 3
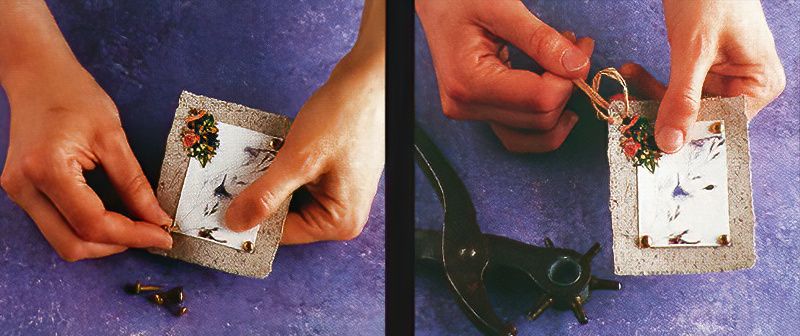
Now, attach the two pieces of paper together with brass paper fasteners in three of the corners. Then in the fourth corner, stick either some pressed flowers or some printed flowers if you do not have any excess to real dried pressed ones.
Stage 4
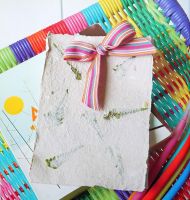
To finish off your pressed flower gift tags, make a hole in one corner with a hole punch and stick a reinforcement ring onto the back. Make the gift tag tie using a short length of raffia, and loop it through the punched hole. Now you have some really pretty pressed flower gift tags to add to gifts for family and friends.














.jpg)


