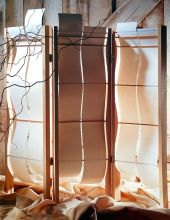
I Love This Amazing Colourful Room Divider
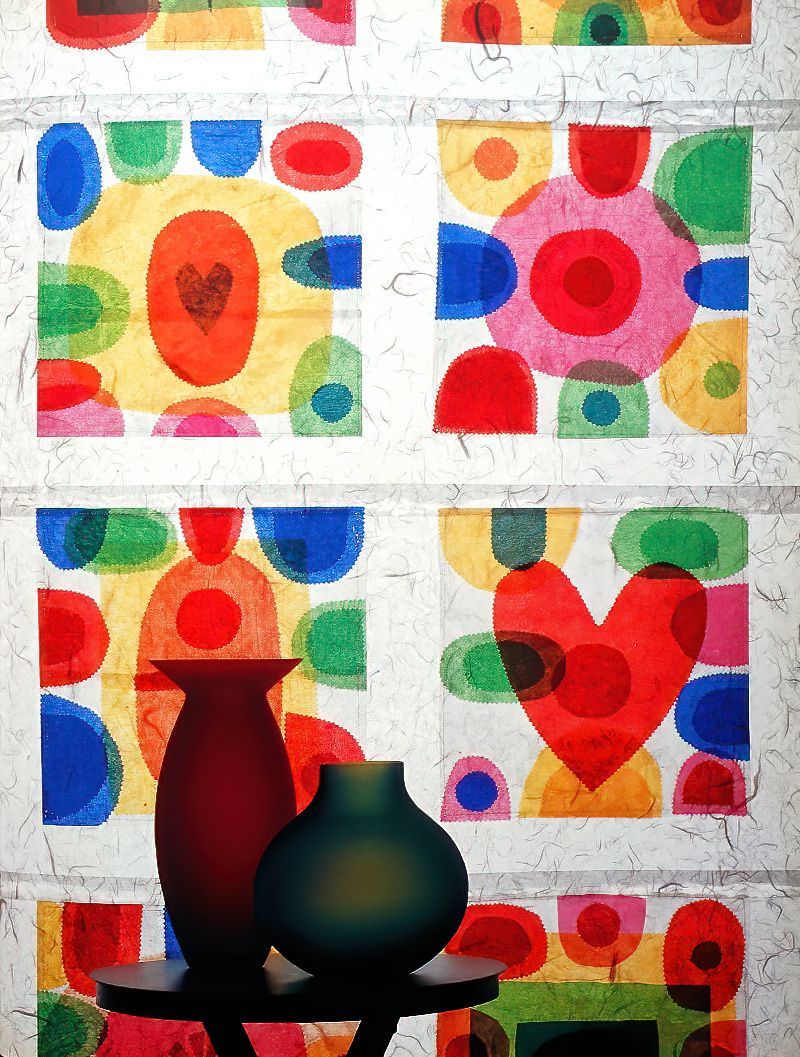
I really love making colourful room dividers with my kids. This is the second one that we have made together. Room dividers can really add a lot of colour and interest to a room, and it is even more special because it is handmade.
You can use any colours, patterns, shapes and designs that you like to make yours. My kids really wanted to use lots of bright colours for theirs, and lots of different shapes.
Craft Materials & Equipment
Bleedproof Tissue Paper in White and Colours
PVA Glue
Handmade Japanese Paper
Matching Sewing Thread
Dowel
Pinking Shears or Large Scissors
Sheet of Plastic
Medium Decorators Paint Brush
Metal Ruler
Craft Knife
Cutting Mat
Container for PVA Glue
Dressmakers Pins
Sewing Machine
Making The Design For The Colourful Room Divider
1st Stage
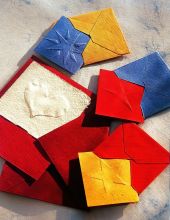
Begin by cutting out enough backing squares that you need from white tissue paper. These should measure about 35cm X 35cm. Then cut out a selection of colourful tissue paper shapes, in any colours that you like.
2nd Stage
Next, place one of the white tissue paper squares onto a sheet of plastic. And then lay the coloured tissue paper shapes on top, arrange them until you are happy with your design. Then brush some diluted PVA glue over the square, and apply your first layer of colourful shapes.
Then continue to build up the design adding more layers of colourful shapes, until you are happy. Repeat with the other squares and leave them all to dry thoroughly.
Sewing A Colourful Room Divider
3rd Stage
Once all of the squares are completely dry, gently and carefully peel them from the plastic. Then place each of the squares for the colourful room divider onto the cutting mat and carefully trim the edges straight using a craft knife and a metal ruler.
4th Stage
Next, place each of the colourful tissue paper squares onto the sheets of handmade paper, ensuring that they are evenly spaced out. Then pin the squares to the paper, and use the sewing machine to stitch them in place. Make sure that you remove each pin before you get to them.
Assembling A Colourful Room Divider Screen
5th Stage
If needed, now trim the handmade paper to size and glue the sheets together using undiluted PVA glue. Make the room divider screen as tall and wide as needed.
6th Stage
Next, fold over 2.5cm of paper to the back of the screen and crease it to hold it in place. Then stitch along the edge of the fold to create a casing for a length of dowel, so that it can become a suspended colourful room divider screen.

