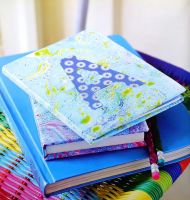
A Gift Bow Makes Every Parcel Look Amazing
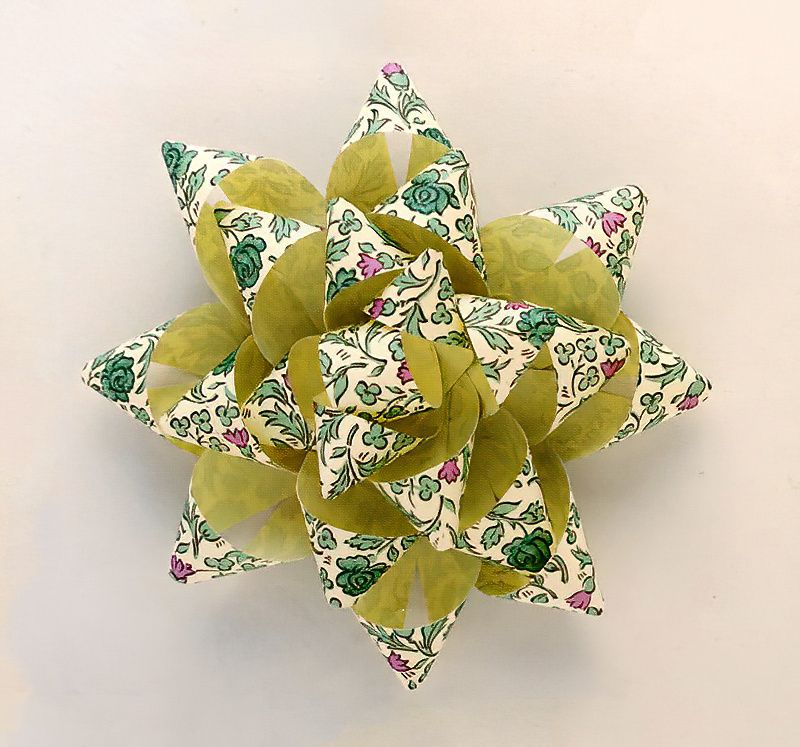
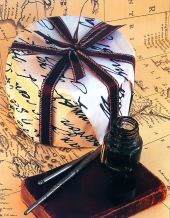
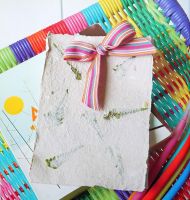
And if you can make a more personalised gift bow, this will lift your gifts to the next level. Make gift bows from the same wrapping paper as your gift is wrapped in. Or mix and match papers for a different feel.
Or maybe even make the individual gift bow out of all different types of wrapping paper for a more mix and matched effect. Once you understand the basic principle, I'm sure you will have fun experimenting and coming up with new and exciting ideas.
Things you need to make a gift bow
- Scissors or sharp knife
- Ruler and cutting board
- Wrapping paper or any pretty paper you have
- White glue and a cocktail stick for precise application
How To Make A Simple Gift Bow
Step One
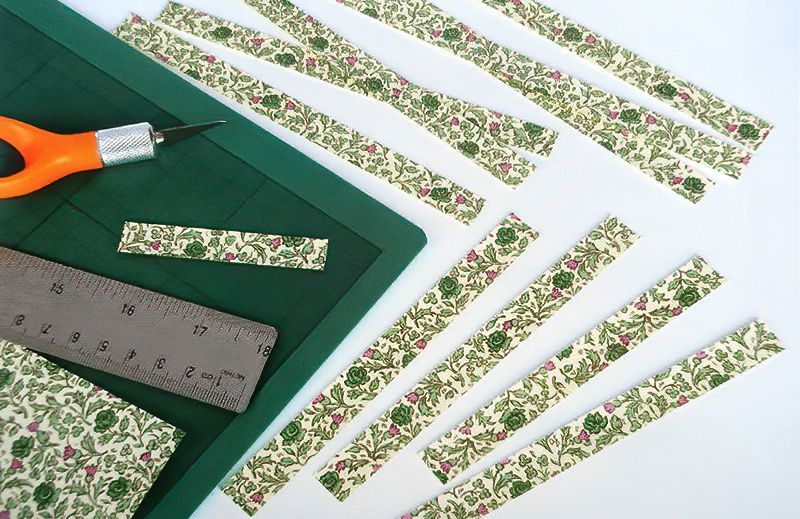
First we need to cut some strips from the wrapping paper. Obviously use your scissors or a cutting craft knife to cut the strips. We need a lot of strips in different dimensions. Don't worry too much about the precise lengths, we are trying to have fun after all and personally I don't like too many difficult instructions before I just get one with something, lol.
But here is a guide of what strips we need to make out gift bow.
- All strips are 13mm wide or half an inch wide
Then:
- 4 x strips at 20cms long or 7 and three quarter inches long
- 3 x strips at 16cms long or 6 and one quarter inches long
- 2 x strips at 14cms long or five and a half inches long
- 1 x strip at 12cms long or four and three quarters inches long
- 1 x strip at 6cms long or two and three eighths inches long
The Basic Principle Of Making A Gift Bow
Step Two
The basic principle will be repeated over and over to make the gift bow. We are basically going to make a sort of figure eight effect with each strip then pile up the strips.
So to start.
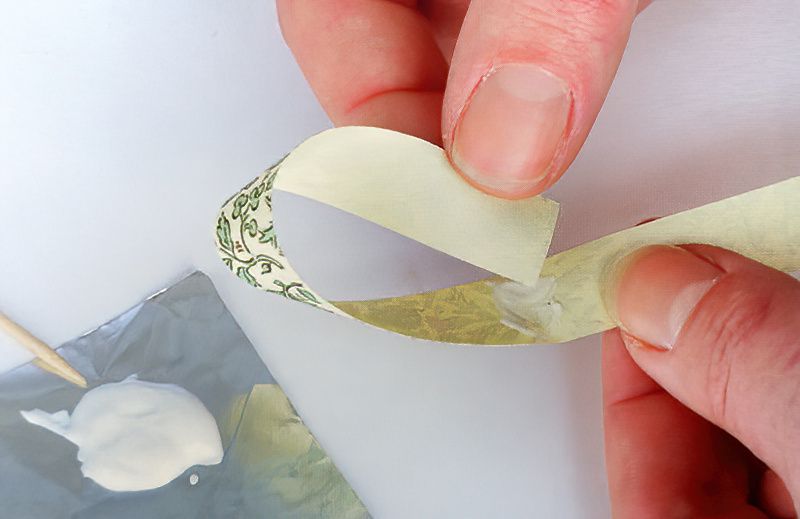
Use a cocktail stick or something similar to put some glue at the centre of one of the longest strips.
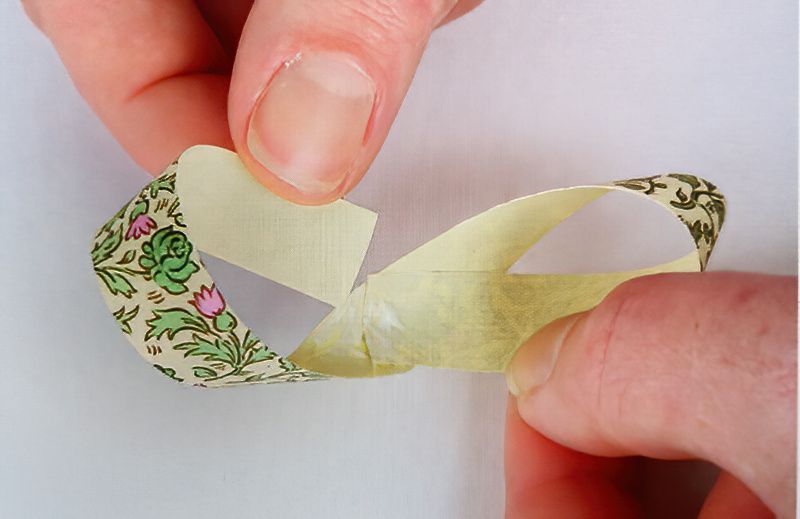
Then take one of the ends and sort of loop sideways and glue the end to the centre.
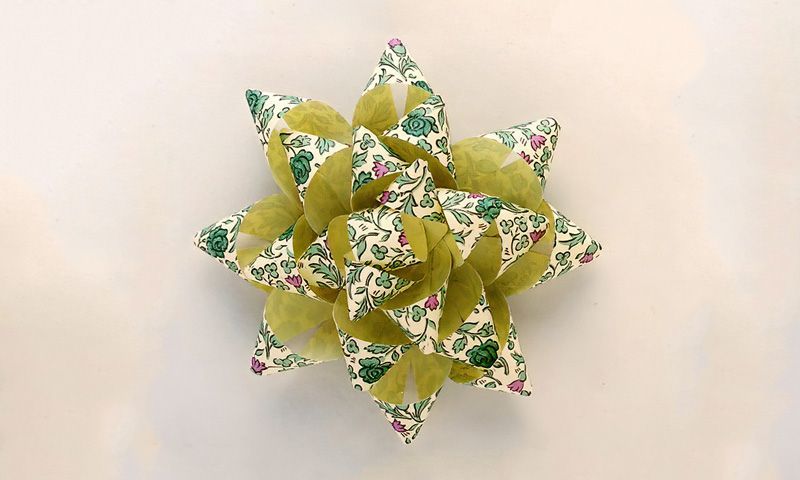
Don't just fold over the paper, that's not right. We need to create the bow effect, so grab the end of the strip and sort of bend it sideways rather than just folding it over. Take a look at the image above to see the bow effect we are going for.
To make it easier to understand, look at the pattern of the paper. We need to keep the patter side facing down when gluing the end to the centre.
Hold in place until it is set.
Making All The Parts Of The Gift Bow
Step Three
Now we need to repeat the process, as pictured above. Loop or twist the other end around and glue to the centre of the strip. Remember to keep the pattern of the paper facing down.
Hold until it is glued or else it will likely just ping back.
This twisting of the paper strips is the basic principle of making gift bows. See the next picture to see what we are trying to achieve will all the strips.
Taking Time To Add A Personal Touch Is Always Appreciated
Step Four
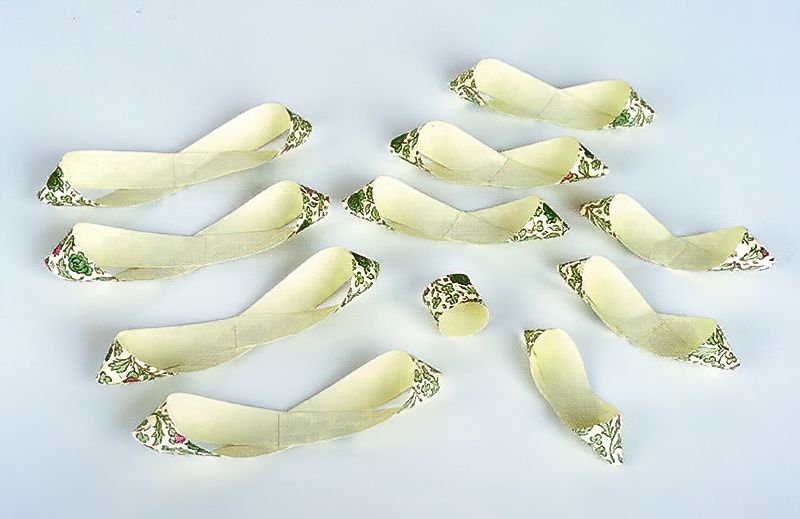
To get all the pieces we need to make the gift bow, we now need to twist and glue all the other strips.
STOP!
Except the very shortest strip. See in the picture above, the very shortest length is actually simply glued into a ring. This will be the centrepiece of the final gift bow. But don't worry, hopefully you have spare gift wrap to make more strips if you have a few errors. This is a really fun project for idle minds or little ones who want a project that involves a bit of production line.
Final Assembly Of The Gift Bow
Step Five
So now we have all the twisted pieces and the centrepiece ready, we can move forward to completing the gift bow.
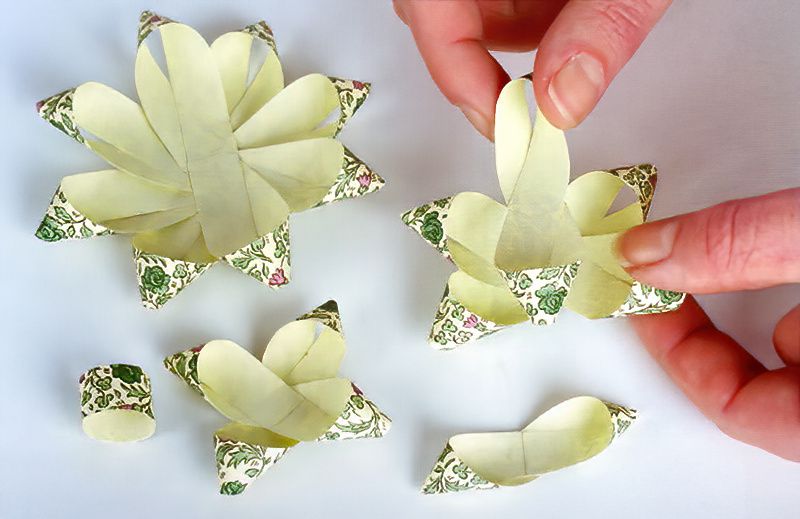
So now find the four largest twisted loop shapes and glue them on top of each other. Obviously fanning them out into the flower shape.
Then glue the three twists loops of the same size together. Again glue them in a flower effect as pictured above. Then again glue the two loops that are the next size down. Glue these crossing each other. Now we are ready for final, final assembly.
Gift Bow Tip
Once you have a little confidence, you can actually make more than one of these at a time. This will speed up the process, if you cut all the strips at the same time. Make all the twists at the same time. Then assemble the final gift bows at the same time.
You can't have too many gift bows, after all.
Basic Gift Bow Tutorial Conclusion
Step Six
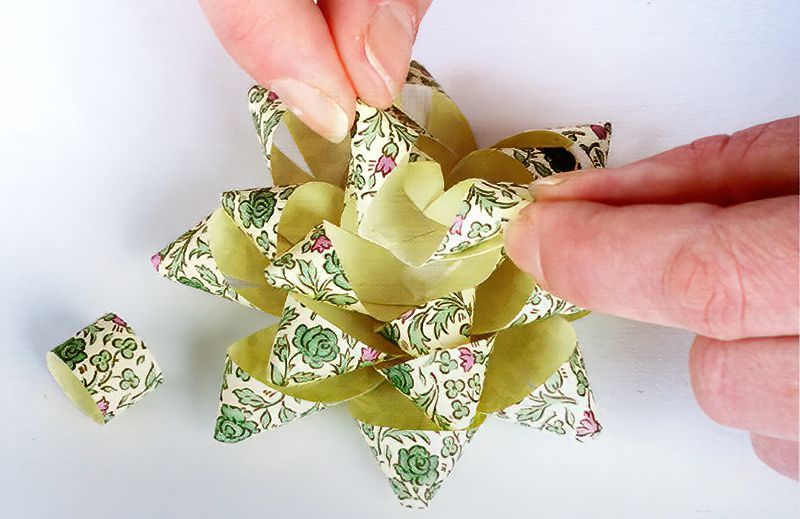
Now start with the largest piece at the bottom and glue other other pieces on top of each other to form the gift bow. Start with the largest piece and then move to the smaller and smaller pieces on top of each other.
Finally glue the single ring piece into the centre to complete the gift bow.
What a lovely thing and a super fun project. It's so satisfying to create these gift bows. It's almost like there is a lot of preparation and then it finally all comes together so quickly at the end, that I even get my own little wow moment.
















.jpg)
