Learning Basic Cross-Stitch Is Really Fun
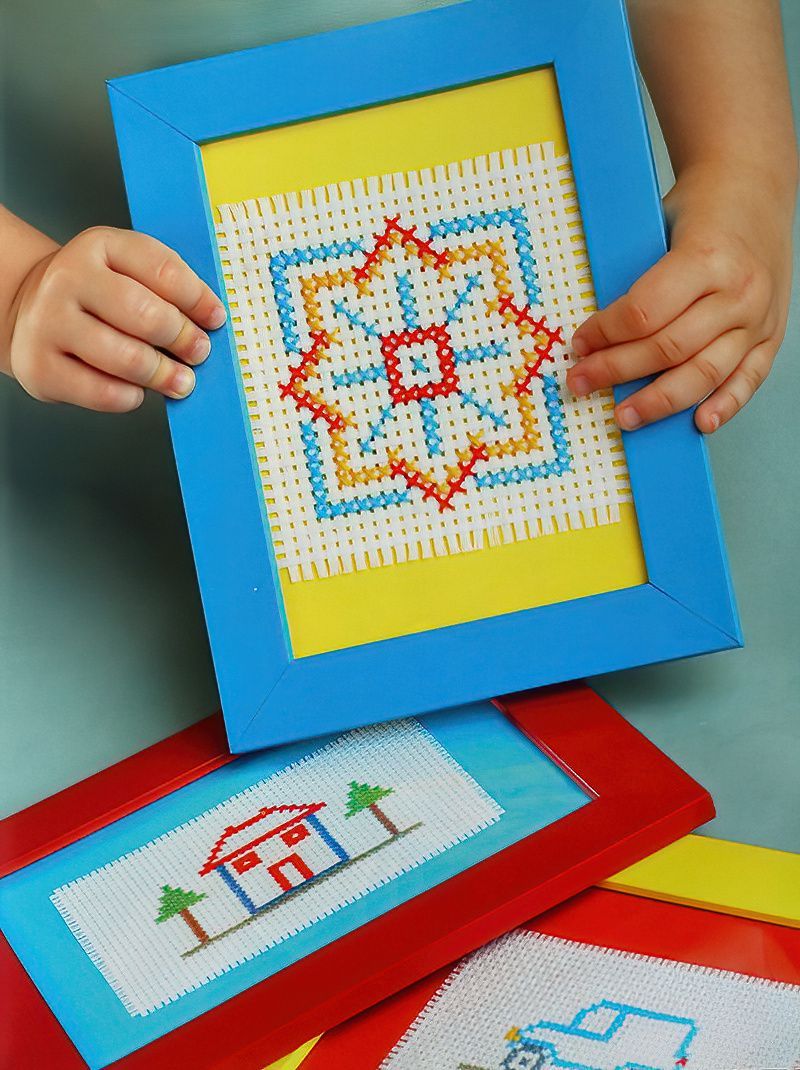
Cross-stitch is one of those crafts that is actually liked by both boys and girls. A simple and easy idea to understand. And one that doesn't require a huge amount of skill to get the basics.
And so once you get the general idea, you can concentrate more on being creative and coming up with cool and interesting pictures. Rather than being stuck just getting the techniques right.
So basic cross-stitch is a really great way to get anyone interested in creating stitched artwork.
What do we need to learn basic cross-stitch for children?
- Graph paper
- Felt tip pens
- Cross stitch fabric
- Embroidery thread
- Scissors
- Embroidery hoop
- Blunt sewing scissors
Cross-Stitch Starts With A Design Idea
Step One
The first thing to say with basic cross-stitch, is that there is no wrong answer or design. You can do anything you like. It is your design, so enjoy yourself and have fun. Even if the end result looks messy. That is interesting too.
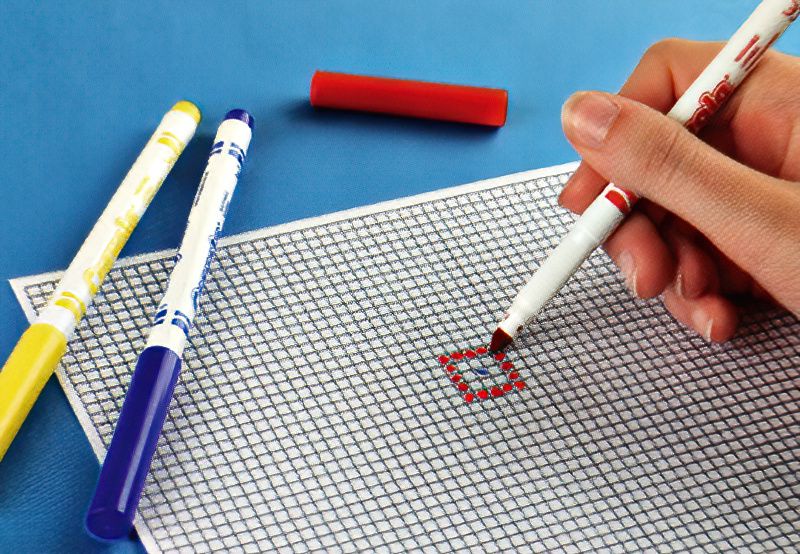
But because cross-stitching can take some time to complete. It is a good idea to have a practise first with some graph paper. This way we can try a few designs very quickly.
Take come graph paper and colour in squares, making a design you like. You can search the internet for cross-stitch designs to get some ideas.
Set Up The Fabric Hoop For Cross-Stitching
Step Two
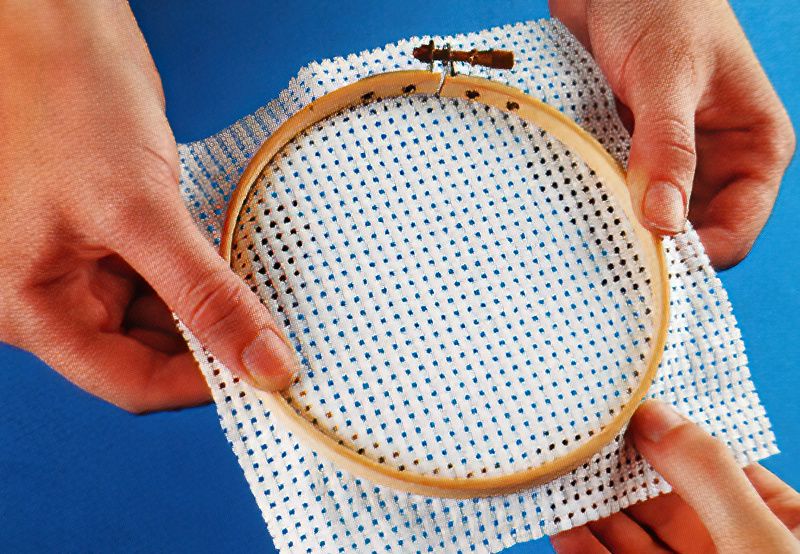
Once we have a basic cross-stitch design we like, we can move on and start. Stretch the cross-stitch fabric in an embroidery hoop.
The hoop makes it easier to hold the fabric once we start stitching.
You can get different weights of cross-stitch fabric. So make sure you select a course weave fabric that is good for beginners.
Begin In The Centre Of Your Cross-Stitch Design
Step Three
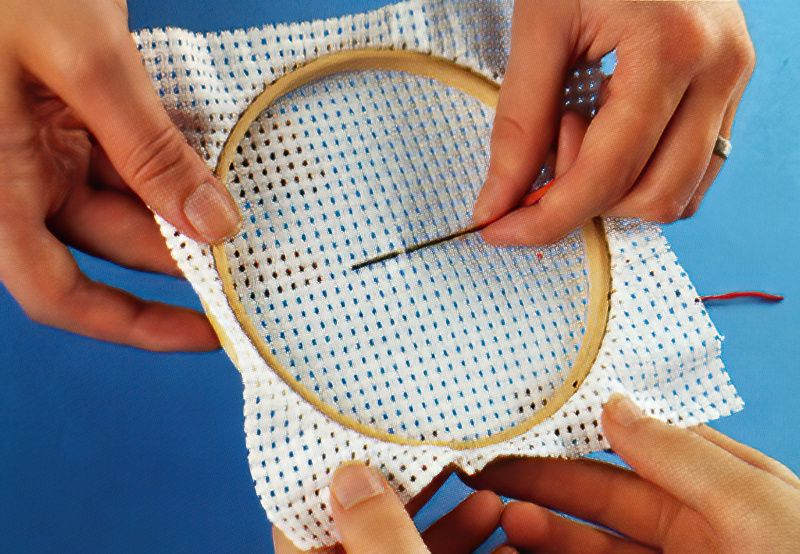
Now thread your needle with two or three pieces of thread. Start at the back of the hoop. Thread the needle through a loop and then tie it off.
We will do all the tying on the same side. It doesn't matter if that side looks messy.
How To Cross-Stitch, The Basics
Step Four
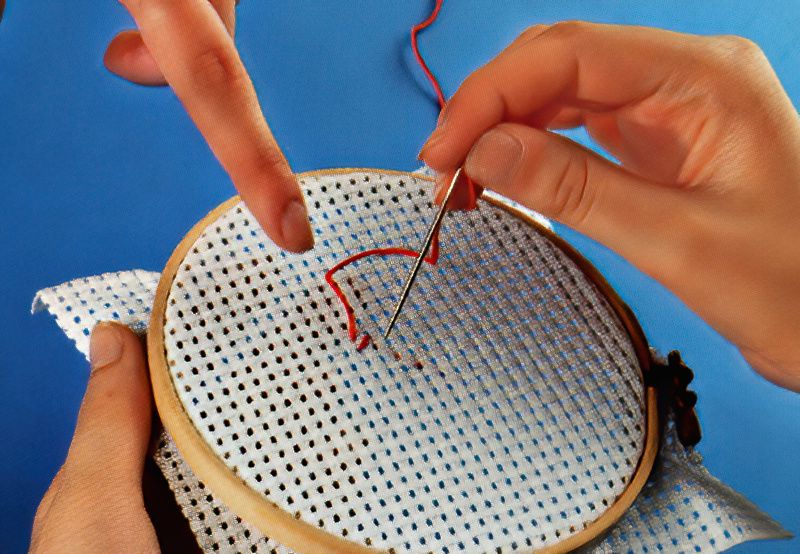
And now we start with out basic cross-stitch. So if we made a drawing on the graph paper, we can look at that now. Start at the centre of your drawing.
Where we coloured in a square, we want to make a cross on the front of our cross-stitch fabric.
So bring the needle through one of the holes to the front. Then go diagonally across and down to the next hole and poke the needle back through to the back.
Then go up one hole and come back through to the front. Then finally down and diagonally across again and back through to the back.
You guessed it, we basically want to make a cross with our thread.
Congratulations you have completed your first basic cross-stitch.
Finish Our Cross-Stitch Project
Step Five
And that is it!
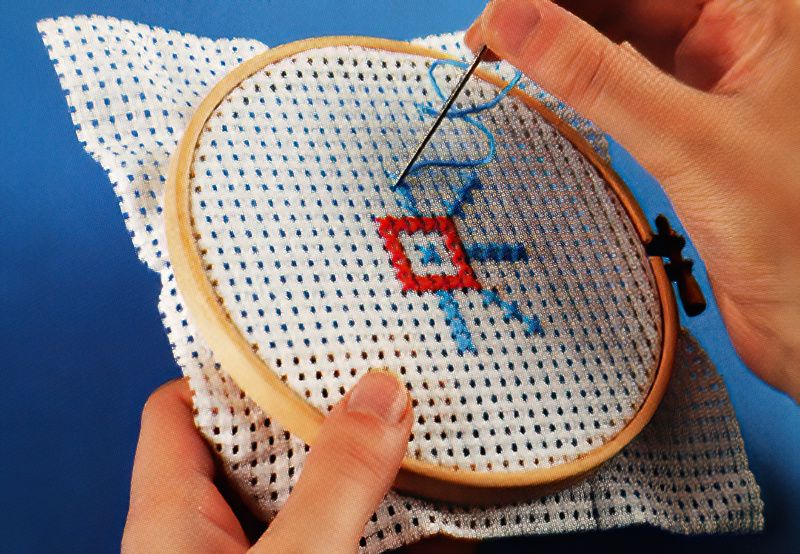
You are now a basic cross-stitch expert. Keep going following your graph paper or design, making more crosses. Change thread colour if you need to.
So now you can see how easy it is. The fun part is making different designs.
Cross-stitching is very relaxing and it's fun to just sit in front of the tv and chat to friends whilst you are making a picture. Or maybe relax in your bedroom and let your worries disappear.
When you finally finish your cross-stitching, just tie off the thread again at the back. And be proud that you have created such a neat and clever picture.
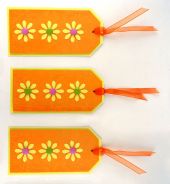
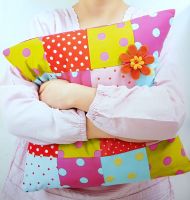
Maybe add cross-stitch details to cards or cushions or tags or anything else you can think of.



.jpg)

