Stencilling Is Simple and Fun and the Results Are Amazing
Stencilling is a clever technique that can be used for decorating paper, card, wood, fabric, walls anything really.
Stencilling means applying paint through a hole in a pieces of plastic or card. The shape of the hole can be anything. The plastic hole is called the stencil and you can buy stencils premade. Stencils come in all shapes from hamsters to rockets to people to anything.
But the real beauty of stencilling, is the ability to repeat the paint process over and and over to produce many copies of the original stencil.
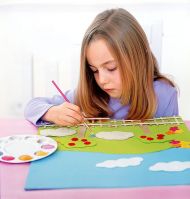
Children love stencilling as it produced great results and is very easy.
You can even make your own stencils, by cutting a hole in a pieces of cardboard like a cereal box.
Thing You Might Need for This Stencilling Project
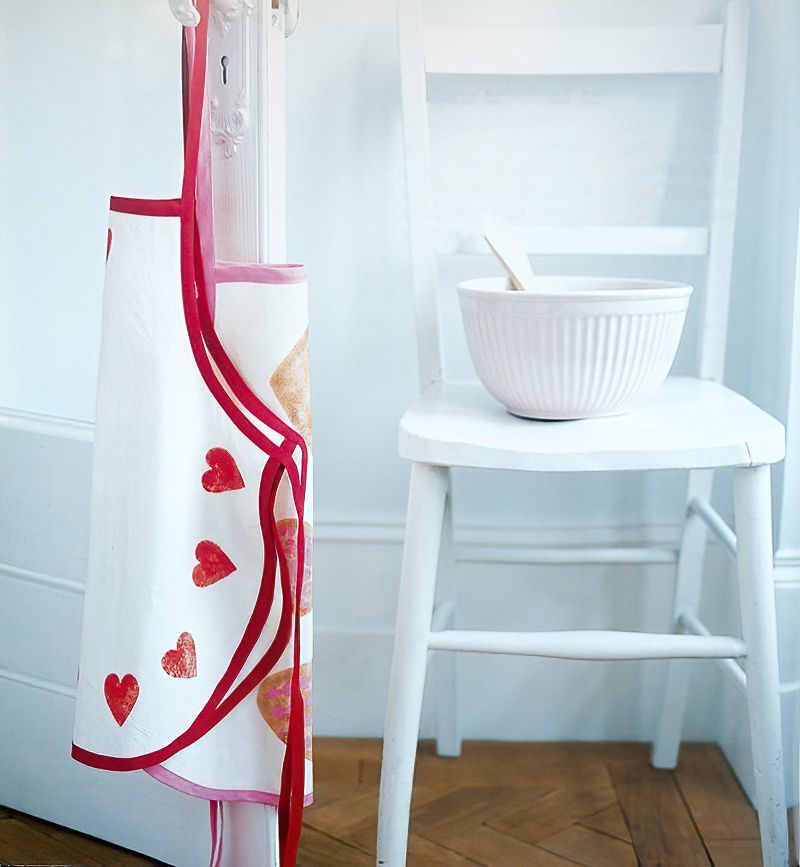
- A plain apron
- A heart stencil or similar one you like
- Masking tape
- Saucers to hold the paint
- Fabric paint
- Stubby stencil brush
- Kitchen towel for clean up
- Newspaper or similar to keep your work area clean
How To Stencil Onto Fabric
Step One
Remember, if you are new to stencilling, it's best to have a little practise with your heart stencil before working on your final piece.
Try stencilling on some white paper before working on the apron. Get familiar with the technique and how much paint your need on your brush. Take your time and enjoy the process. Practising is half the fun of it all.
Once you are practised. Get your apron ready.
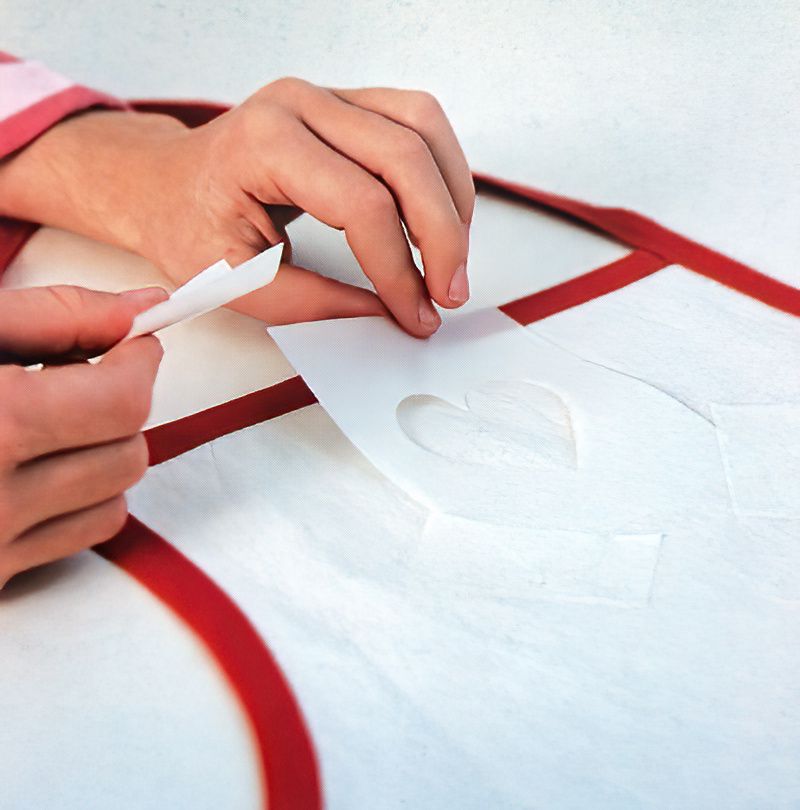
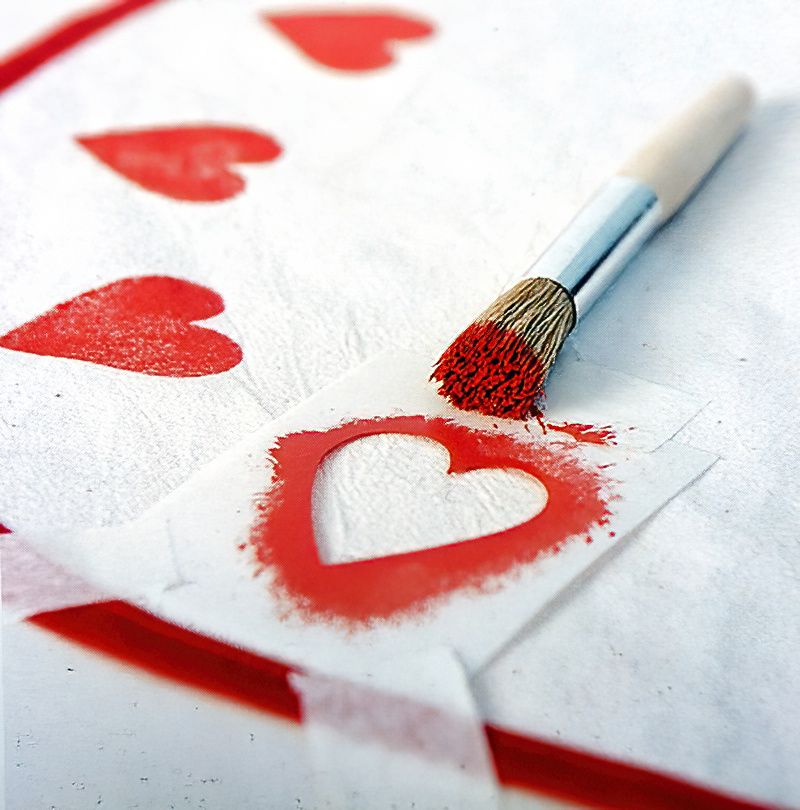
Position the heart stencil where you want to paint the design. Use some pieces of masking tape to secure the stencil in place. It is important that you do not move the stencil whilst applying the paint. Or you will have a wobbly heart shape. Unless that is what you are after :)
Stipple Paint Into The Cutout Shape
Step Two
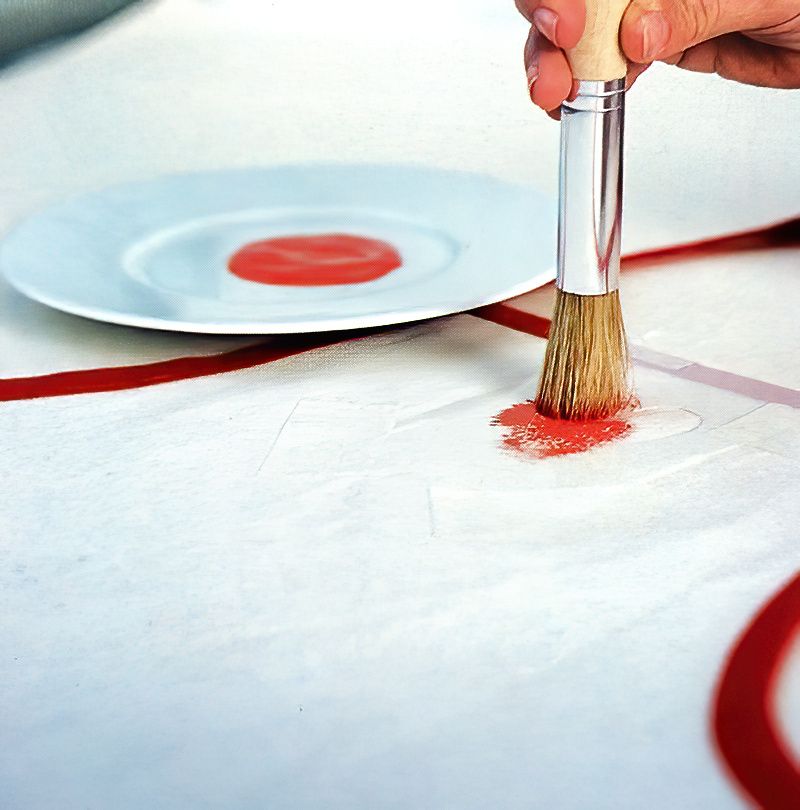
Apply the paint. Dip the stencilling brush into the paint. Try not to get too much paint on the brush. Stencilling seems to work better if you have less paint, but go over it a few times. A lot of paint will just bleed under the stencil and get all splodgy.
Use kitchen paper to remove any excess paint from your brush.
Hold the stencilling brush vertically and dab down over the heart stencil, rather than dragging the brush around.
Let the paint dry a little before removing the stencil from the apron.
Don't worry if it is not perfect, this all adds to the charm of something hand-made.
Continue Stencilling On Fabric To Make A Pattern
Step Three
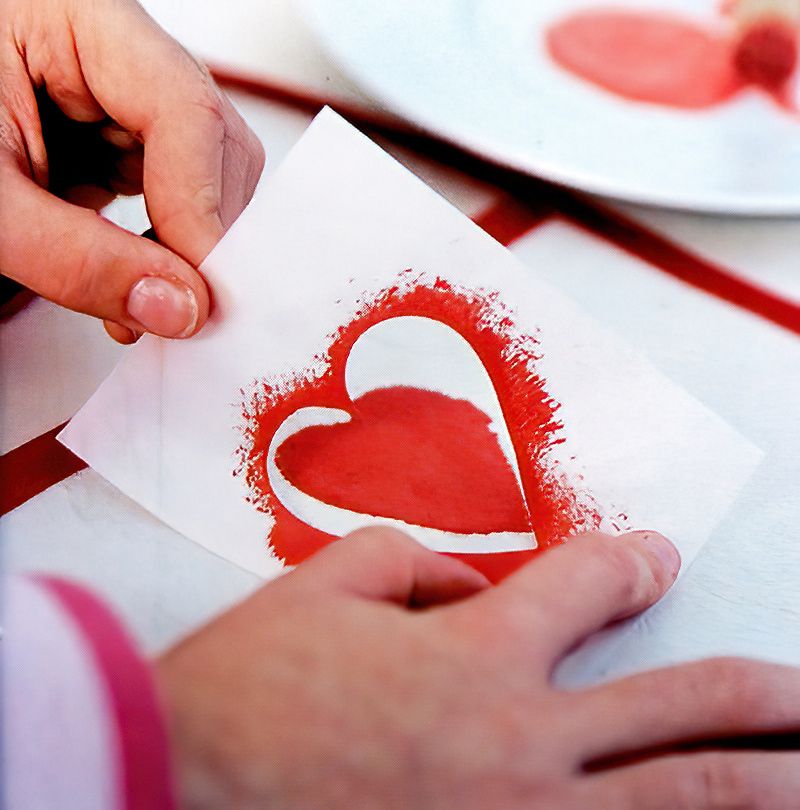
Once you paint is almost dry you can start thinking about removing the heart stencil. Take off the masking tape and pull up the heart stencil. Try and lift the stencil vertically off the apron rather than just dragging it to one side. This will reduce any paint drag lines, if there is still some wet paint spots.
Wipe the stencil clean with some kitchen towel if it needs it.
Complete The Fabric Stencilling Project
Step Four
Now you just need to move the heart stencil and repeat the process. Have a think about what sort of design you want to make or if you are just going for something random. There are no wrongs when it come to creating fun design. Even if things do go wrong, people's mistakes still often look quite interesting.
So don't worry too much. There is always another apron and another design to try.
When you have finished and removed the heart stencil completely, let the apron dry thoroughly. The fabric paint can be fixed by using a hot iron, but follow the instruction on the bottle.
How about some more stencilling projects?
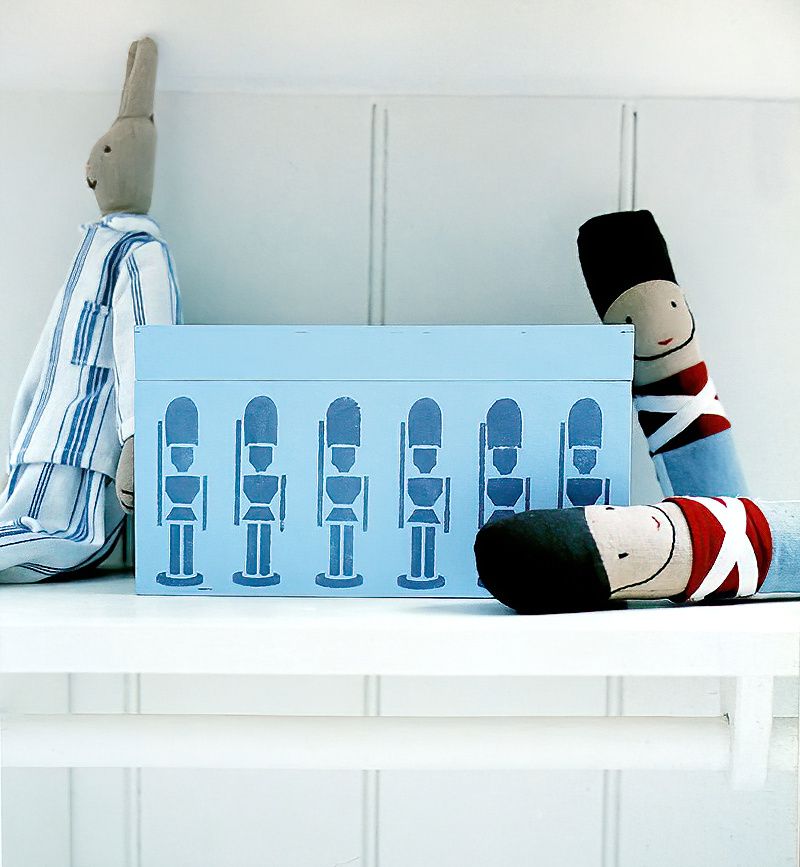
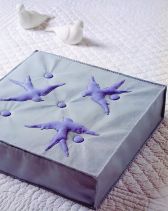
Stencilled Toy Box
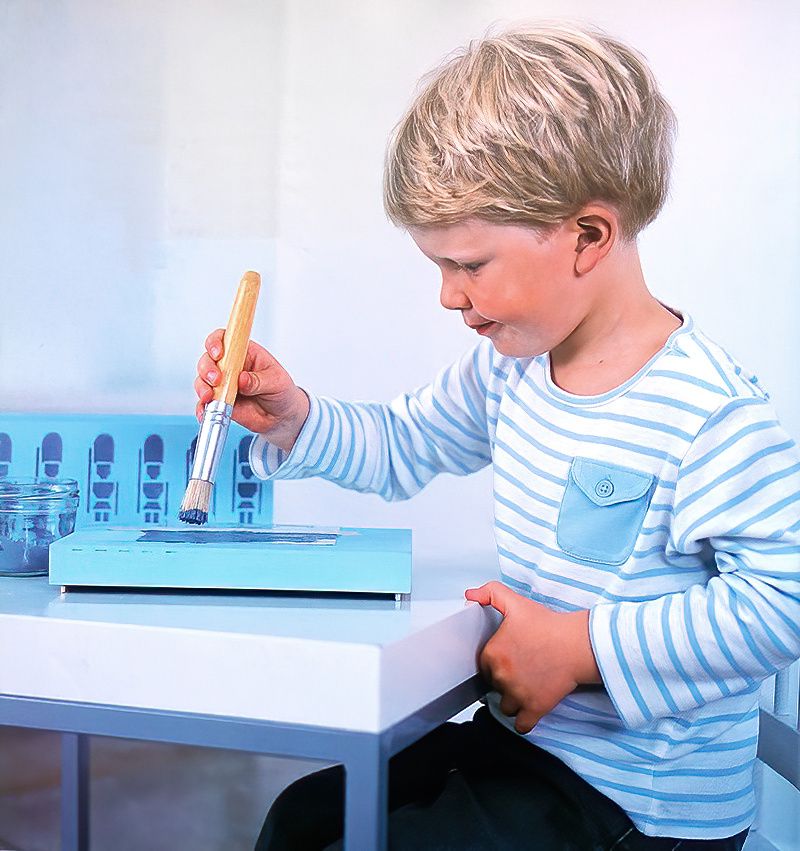
Set your kids to work decorating their own rooms and objects. They will absolutely love it. To speed up the drying process, you can use a hairdryer. But don't let your child use a hairdryer unsupervised.





.jpg)



.jpg)


.jpg)


