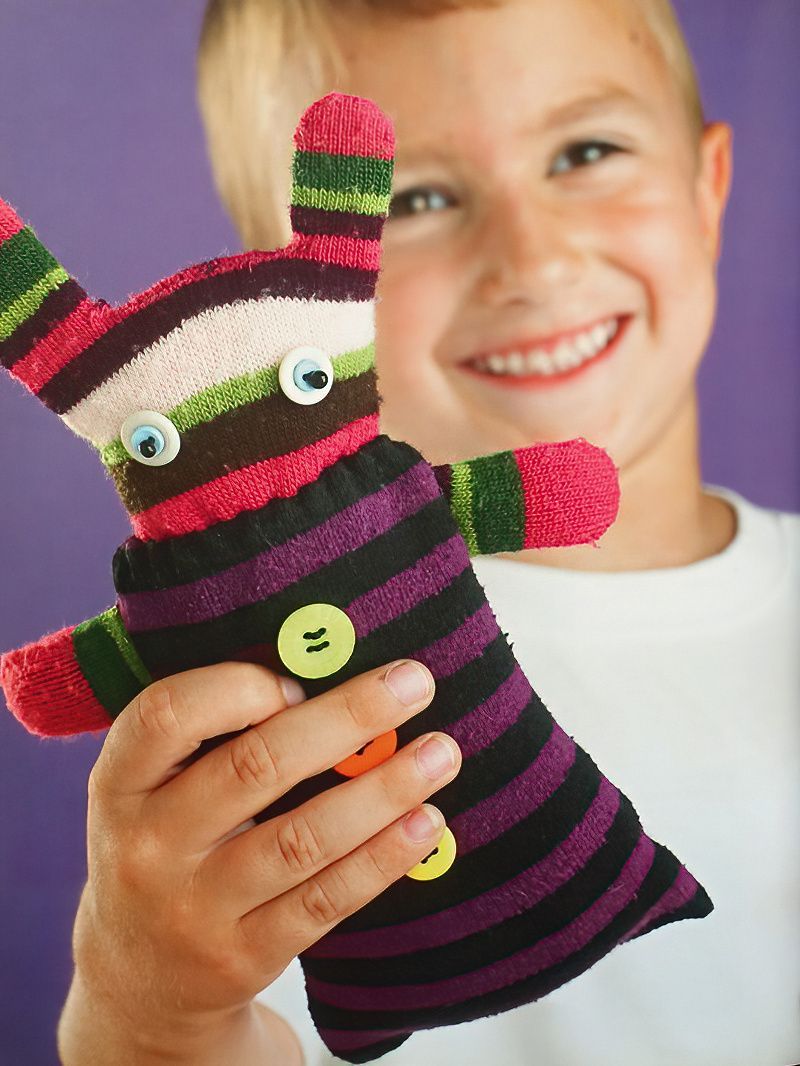
A Glove Rabbit Puppet is Really Fun
I've said it before. Making puppets is one of the most fun craft projects that children can make. You get all the creativity of actually making the puppet character. Decorating them to look the way you like. But then you get the creativity of making a play or a skit or sketch featuring your glove puppet creations.
So what do we need to make a fun glove rabbit puppet?
- One glove
- Sewing thread
- Buttons
- One Sock
- Polyester toy stuffing
- Scissors
- Sewing needle
How To Make A Glove Puppet
Step One
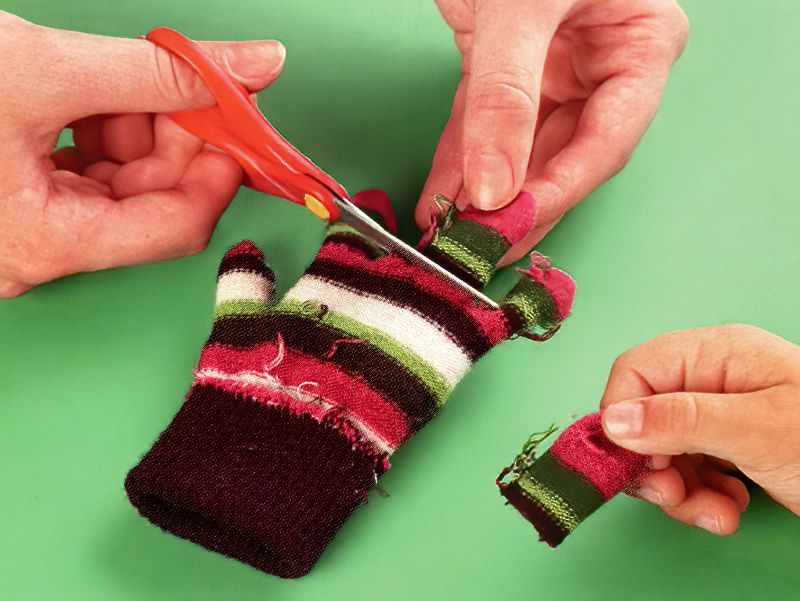
First we need to turn the glove inside out.
Now we can cut off the thumb, and the two middle fingers.
Now take your needle and thread and sew up the holes we just made by cutting off those fingers and thumb. Ask an adult to help with the sewing if you find sewing tricky.
Keep the fingers, these will be arms later.
Our Glove Puppet Needs Some Eyes
Step Two
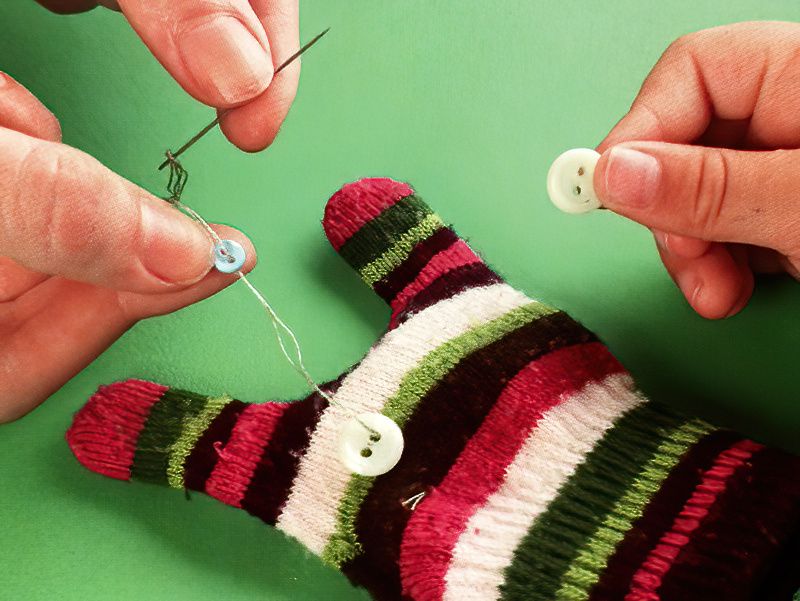
Now you can turn the glove back inside out again.
Now we can sew on buttons for the eyes of our funny little character. If you are going to let a small child play with the glove rabbit unsupervised. Consider gluing on felt eyes instead of buttons.
Make The Body To Our Glove Puppet
Step Three
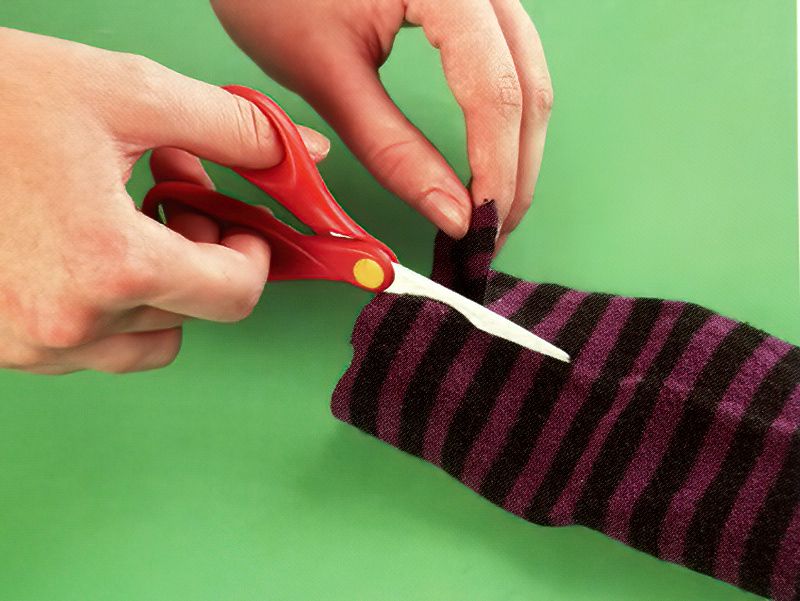
Now we need to add a body to our glove rabbit puppet. So take a sock and cut about 15cms or 6 inches from the top of the sock.
Turn the sock inside out. We want to make two snips on either side for the arms. Make these snips down the side about 4cms long or 2 and half inches long.
Make the snips on opposite side. These are going to be where our glove rabbit puppet arms will go.
Sew On The Arms Of Our Glove Puppet
Step Four
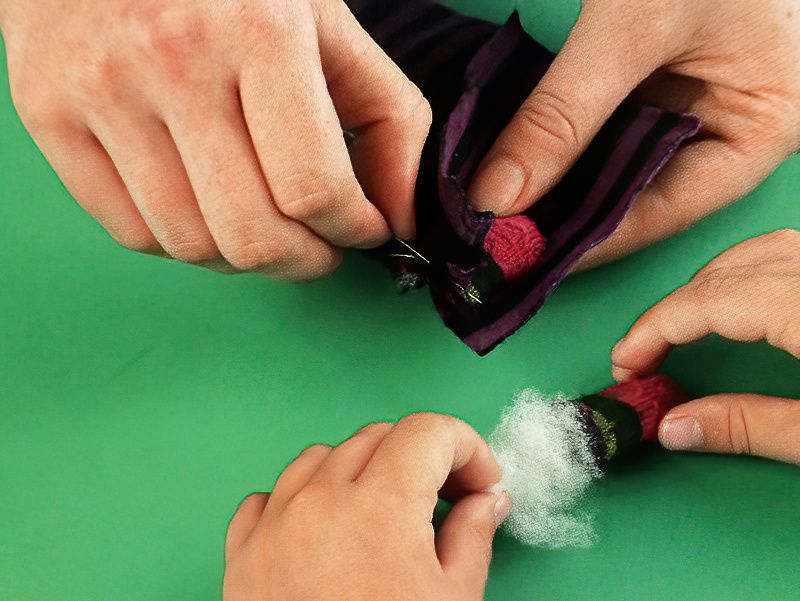
So now we need the two fingers we cut off at the beginning. Pop a little stuffing into each of these fingers. These will be our puppet's arms.
Now is a tricky bit.
We need to hold the little arms on the inside of the sock. Hold the cut edge of the finger or arm with the slit on the sock we cut.
We are going to sew them together. The arm has to be on the inside because we are going to turn the sock inside out after sewing. Then the arms will be on the outside.
Sew both arms into the slots. With the arms on the inside. Then when finished turn the sock back the right way round.
Finally Start Assembling Our Glove Puppet
Step Five
Sew buttons down the front of the glove rabbit puppet.
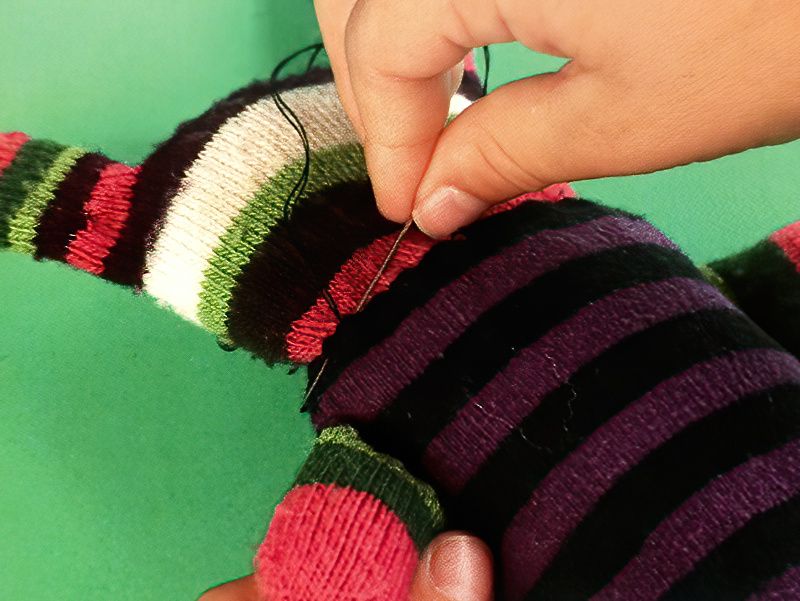
Now we need to join the sock body to the glove rabbit head.
Carefully sew the top of the sock, where the arms are, to the bottom of the glove. Take your time and ask an adult for help if you need it.
It is a bit fiddly, but sometimes the tricky things are the most rewarding.
Finish Off Making Our Glove Puppet
Step Six
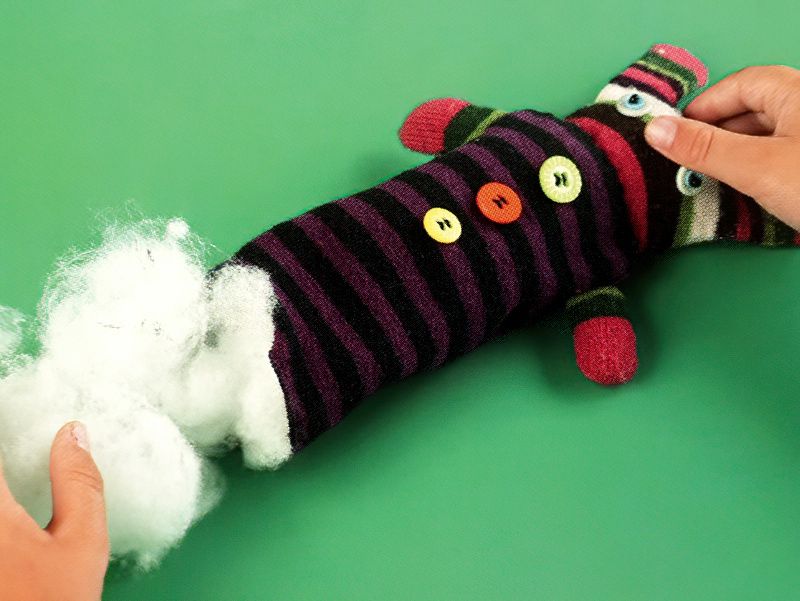
Finally, stuff the whole glove rabbit puppet with toy stuffing. Push stuffing all the way into the puppet, up in to the head of the rabbit.
Keep going and put in as much stuffing as you feel is right.
Finally, stitch closed the bottom opening of the sock and glove rabbit puppet.
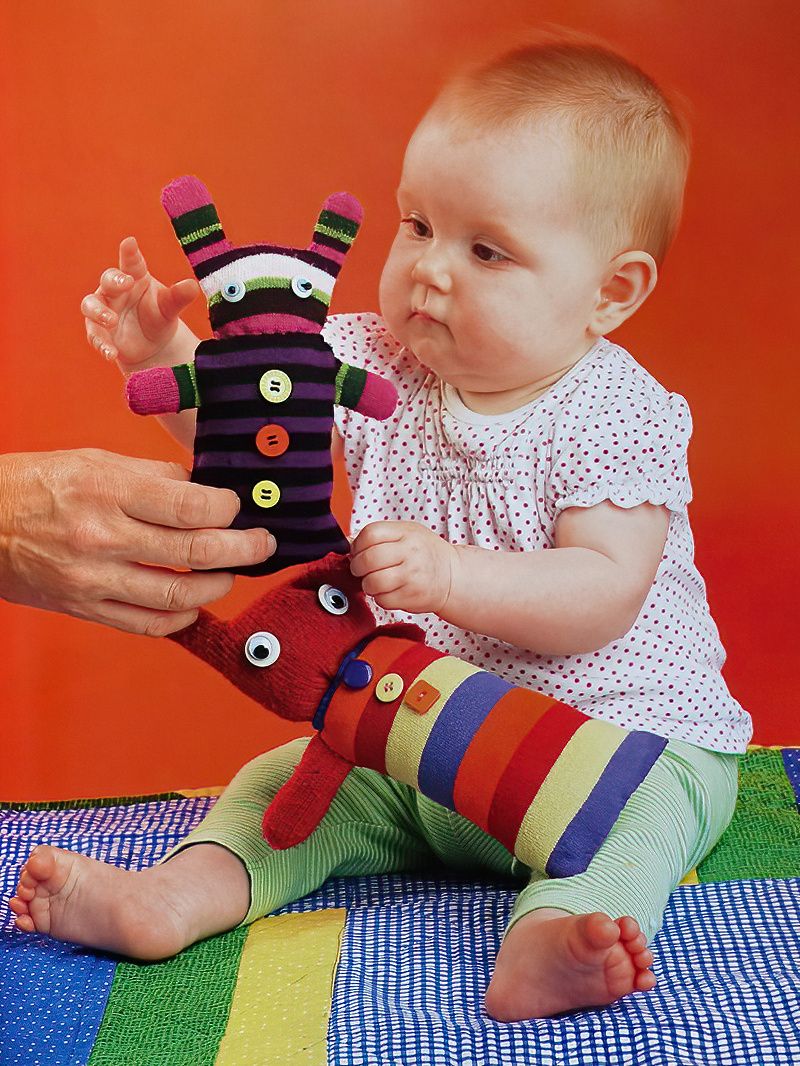
Children of all ages will fall in love with these funny little characters. Have fun making them, and have fun making up stories.

