Make a Simple Travel Game for Kids
Let's Make A Fun Checkers Simple Travel Game We Can Carry Around
This checkers or draughts board game is made from a fabric called calico. It is like a heavy duty cloth. So it is easy to roll up and throw in a bag with the felt game pieces. It is lightweight and bright and colourful. Ideal for children of any age. And adults will love it too.
So make this simple travel game for kids and then have fun at the beach or on a picnic with your friends and family.
What do we need to make a simple travel game for kids?
- 45 x45cms square of calico fabric or 18 x 18inches
- 5cm or 2inch Masking tape
- Red fabric paint
- Stencil brush
- Pinking shears
- Paper, pencil, scissors
- I sheet yellow felt
- I sheet blue felt
- 12 striped buttons, 2cms diameter or three quarters of an inch diameter
- 12 spotted buttons, 2cms diameter or three quarters of an inch diameter
- Glue
How To Start Making A Simple Travel Game For Kids
Step One
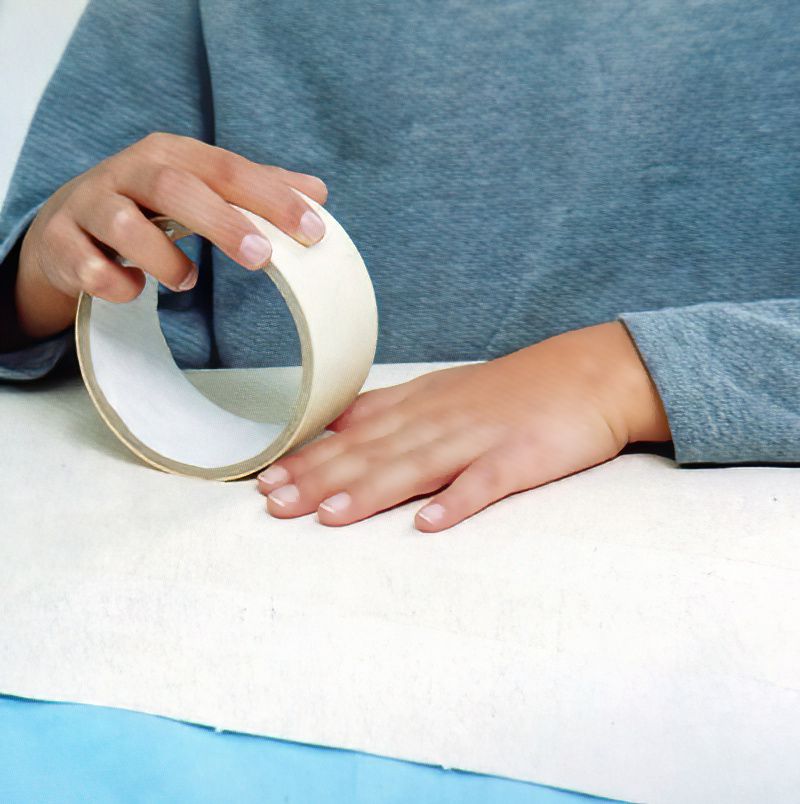
First we want to take our thick masking tape. We are going to stick a strip across from one edge to the other. But we want to go in 1cm or half an inch in from the edge. So we can trim the edges neat later.
So lay out your calico with one flat edge facing you. Stick down a strip of masking tape going across from one side to the other, at the bottom. Remember 1cm or half an inch in from the bottom edge. Now stick another strip down above the first. Leave a gap between the two.
The gap has to be the same width as your masking tape. So we have 5cm or 2inch masking tape, so leave a gap between each strip of 5cms or 2inches.
Continue sticking strips of masking tape until there are four strips across. All with gaps in between.
Now Turn Our Strips Into Game Squares
Step Two
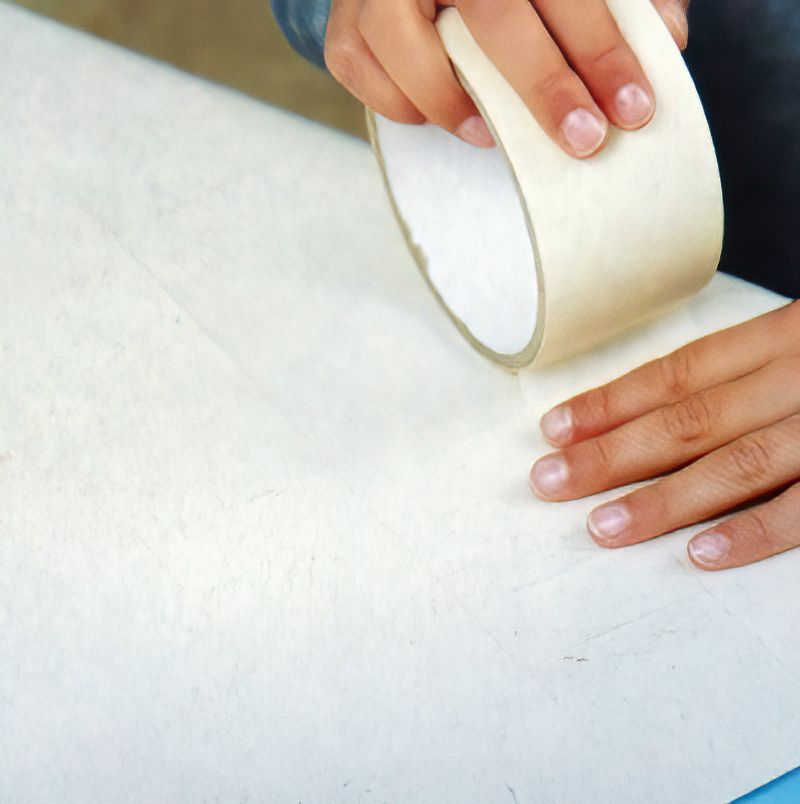
Now turn your calico fabric so the strips are going up and down. Spin your fabric 90 degrees. Do the same again with the masking tape. Stick strips going across. Leave a small gap at the start and then leave gaps inbetween.
Again sick four strips across. Hopefully you should start to see squares of fabric where we can paint.
Now Let's Start Painting Our Simple Travel Game For Kids
Step Three
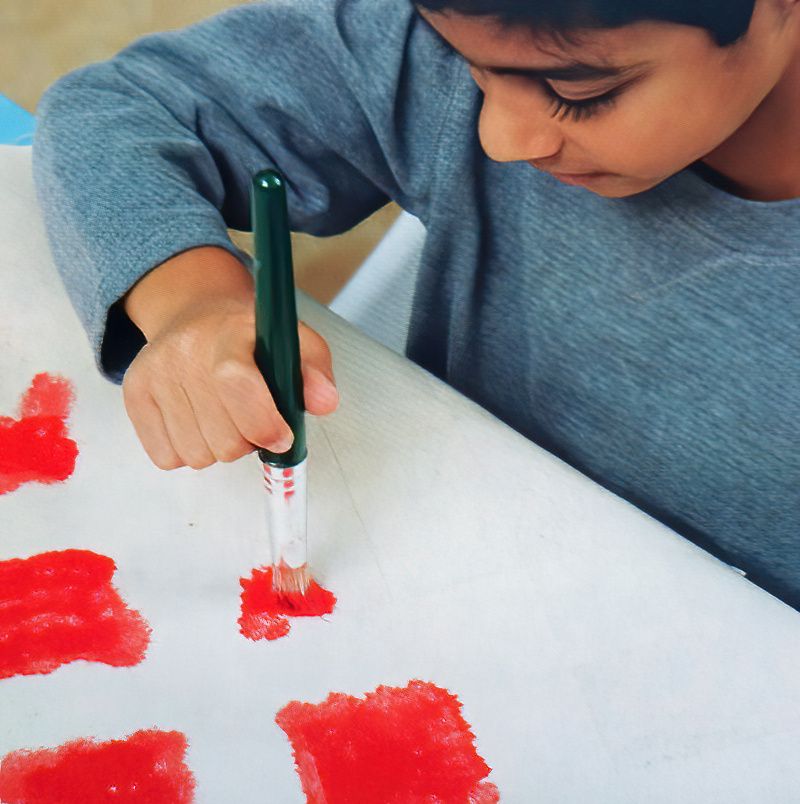
Now we can see some squares of fabric that don't have masking tape on them. We are using the masking take to make nice sharp edges when we paint.
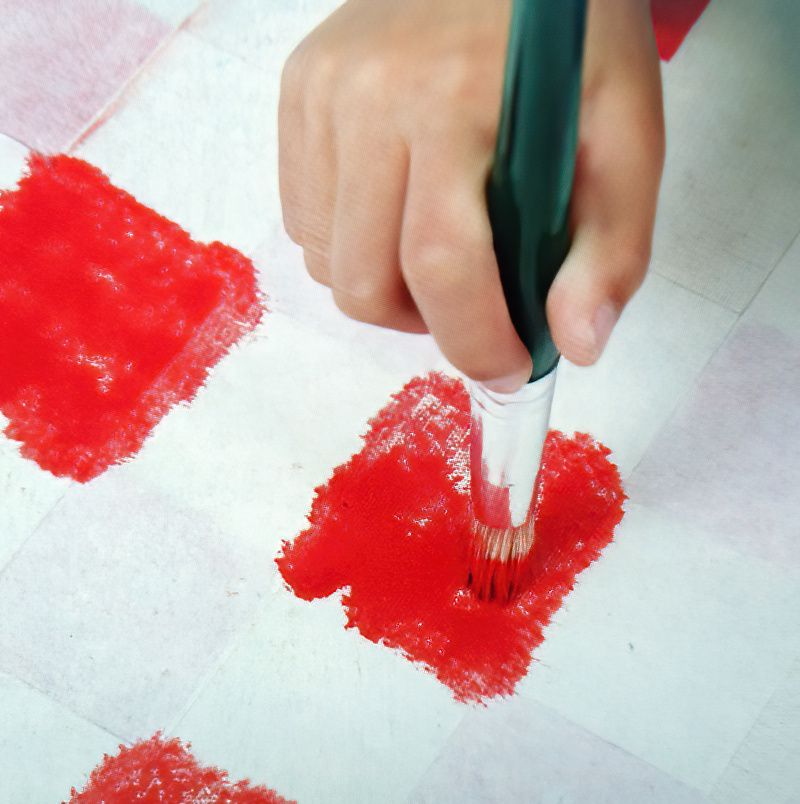
Pour some paint into a saucer and dip in your stencil brush. A stencil brush has a larger flat end. When we use it, we dab down on the brush. This is called stippling. If you don't have a stencil brush, you could try this with a clean sponge. Dab down paint into all the fabric squares.
Don't overload the paintbrush or sponge with paint. It is better to build up the layers.
Let the paint dry completely before removing the masking tape. If you don't wait, you may smudge your squares.
Now We Can Make The Other Squares For Our Travel Game
Step Four
Once the paint is dry you can remove the masking tape. Now, we basically want to stick more masking tape, like we did before. But this time over the top of the squares we have already painted.
Again, make sure all the paint is dry and stick strips of masking tape over the tops of the painted squares. Stick four lines again in both directions. And you should see more blank fabric squares to paint.
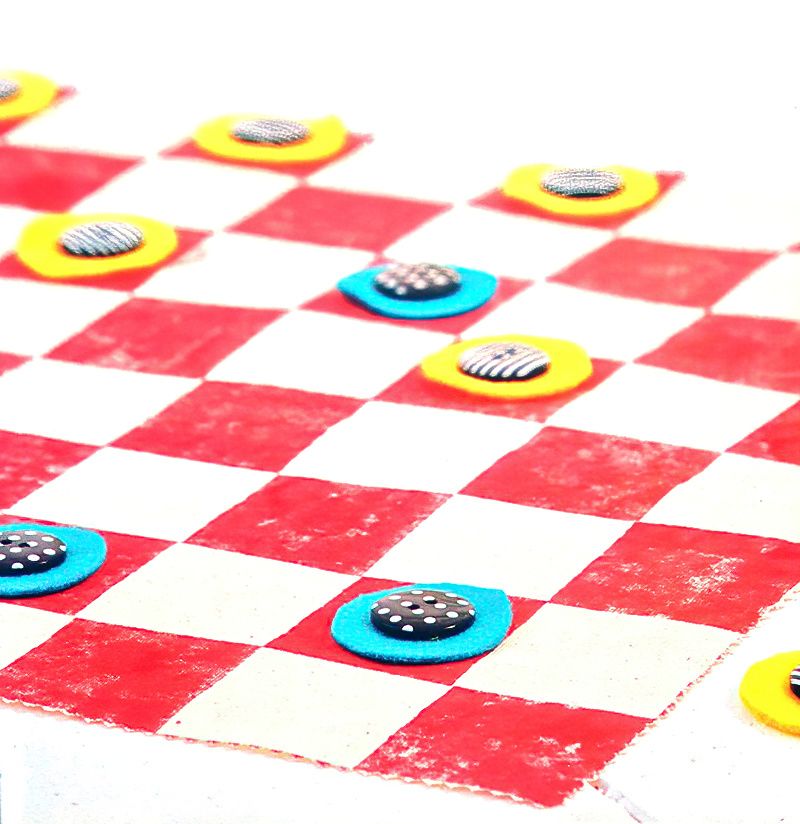
This is how we get the neat checker design for our simple travel game for kids. Again, paint the fabric squares you can see and let the paint dry thoroughly.
Finishing The Game Board For The Kids Travel Game
Step Five
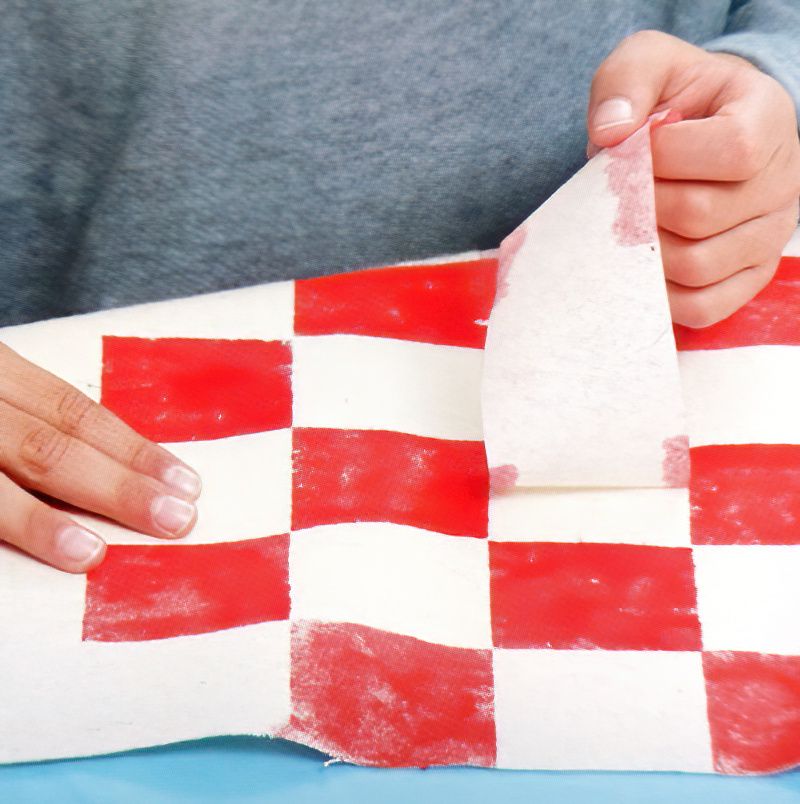
Again, only once the paint is completely dry, remove all the masking tape. You should see a checker board design.
Now use your pinking shears to carefully trim the edges neat. Pinking shears have a zig zag edge. These are used in sewing to stop fabrics from fraying. Fraying means when the edges of a fabric start unravelling. So we use pinking shears to help stop the fraying. And it gives a cool edge to our simple travel game for kids.
Now We Can Make Some Game Pieces For Our Simple Travel Game For Kids
Step Six
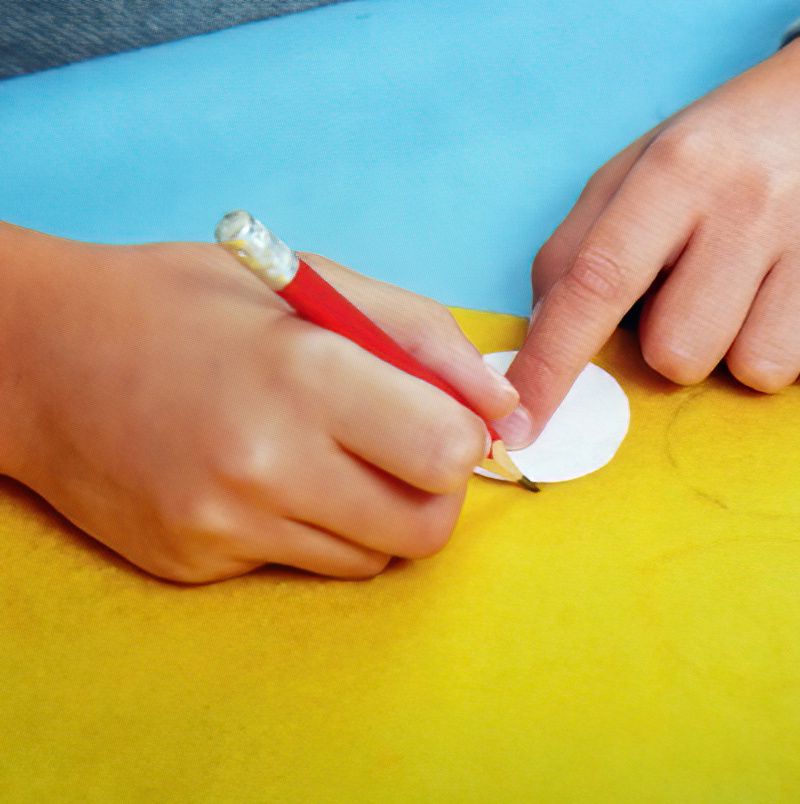
Make a paper circle template. It needs to be bigger than your buttons but smaller than the painted squares on your game board. Or you could find something in your kitchen that is circular to use as a template to draw around.
Use this circular object to trace around directly onto your yellow and blue felt. We need 12 yellow and 12 blue circles in total. Also think about making a few spare pieces while we are here.
Cut Out The Game Pieces For Our Simple Travel Game For Kids
Step Seven
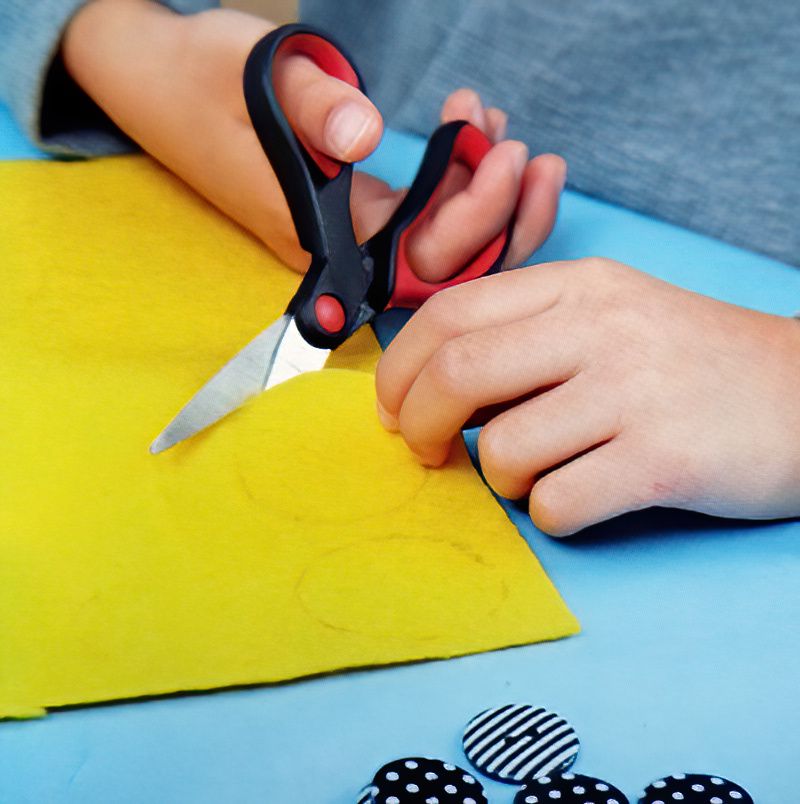
Use your scissors to carefully cut out all the felt circles. Ask an adult to help. In the end we will have at least 24 circle.
- 12 yellow felt circles
- 12 blue felt circles
Now we need to decide what colour felt will get spotted buttons and what colour will get striped buttons.
To Finish Our Simple Travel Game For Kids
Step Eight
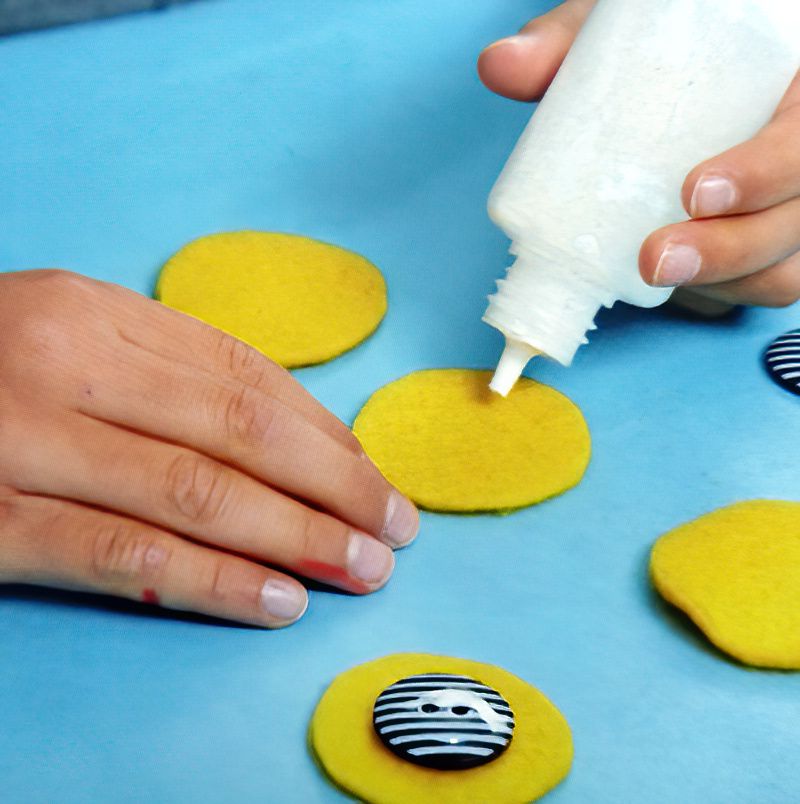
Now we just need to glue down the buttons to centre of each felt circle. Pop some glue into the centre of each felt circle and firmly press the correct button down. Finally let all the glued buttons dry completely.
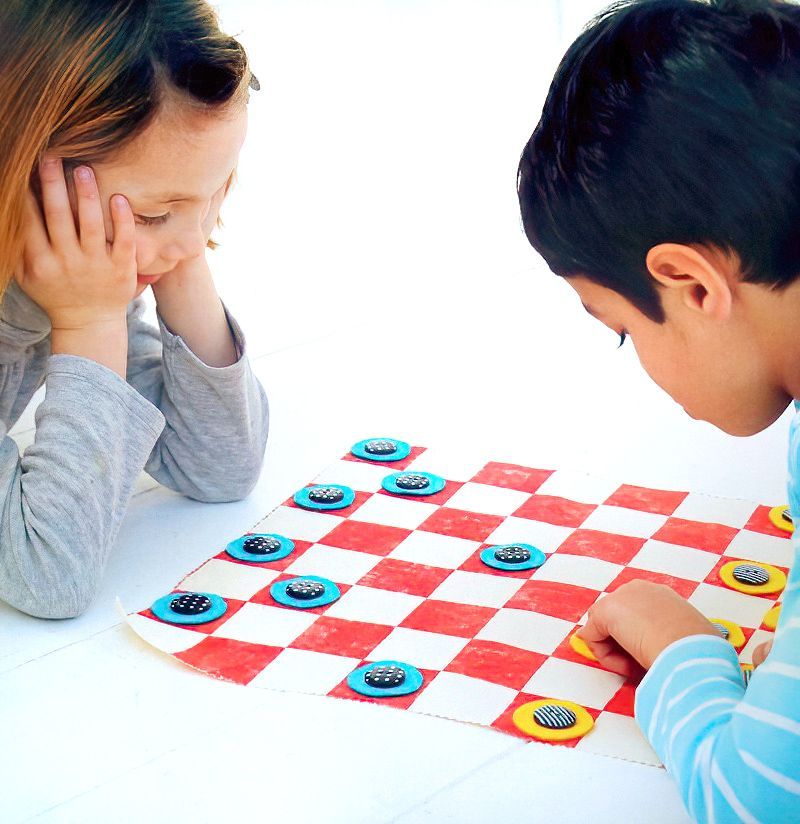
Now you can roll up your simple travel game for kids and use it next time you go on an adventure.
Maybe think about making a nice little bag for your game board and pieces.









.jpg)
