How To Make Easy Paper Snowflakes For Kids
When it comes to Christmas decorations, crafting easy paper snowflakes is a timeless tradition, and it's an enjoyable project to involve children in. With simple folds and clever cuts, you can generate an array of intricate designs from folded paper. As you experiment, you'll discover which designs come easily and which offer a more challenging creative journey.
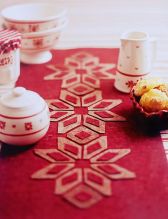
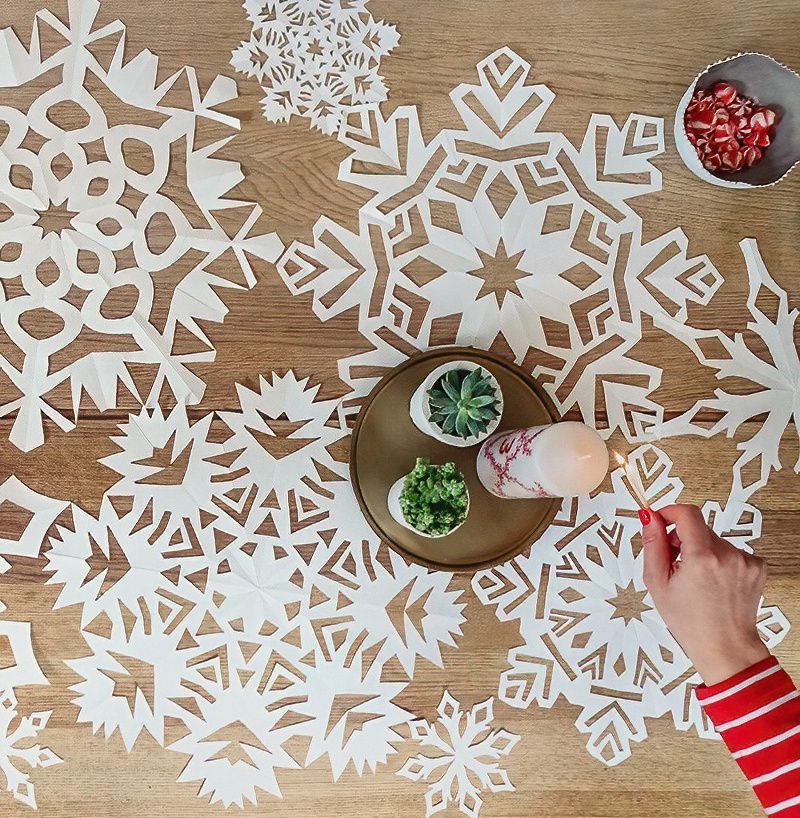
For this project, it's crucial to have a couple of sharp scissor. A small pair and a larger one are essential. Dull scissors can make cutting through multiple layers of paper a frustrating endeavor. As you gain confidence, your snowflake designs may become increasingly elaborate. Consider using larger paper sheets for some truly eye-catching decorations, or even fashion a distinctive table runner, as suggested on the next page.
What You Need To Make Easy Paper Snowflakes For Kids
- Good-quality white paper in various sizes
- Tracing paper and a pencil
- Two pairs of sharp scissors (small and large)
- Ruler
- Craft knife
- Cutting mat (optional)
- Iron and tea towel
- PVA glue and a paintbrush
Start Folding The Paper For Our Easy Paper Snowflakes
Step One
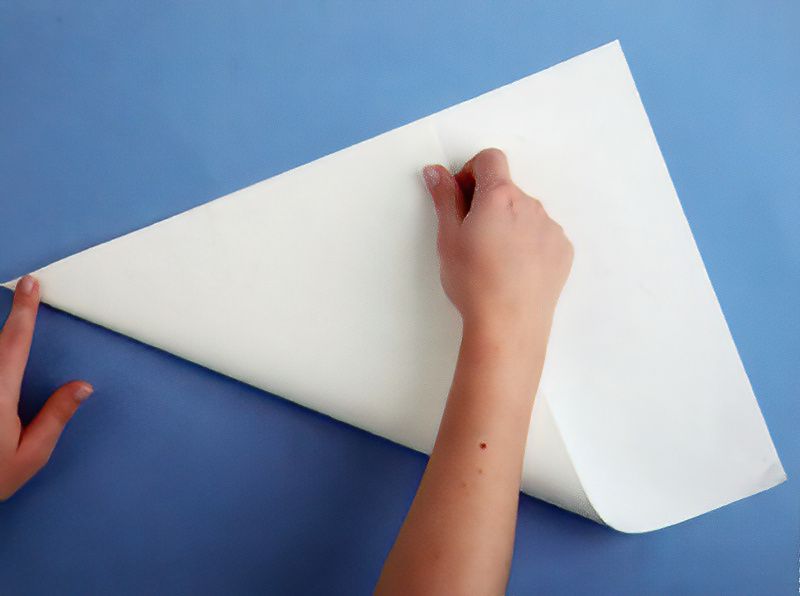
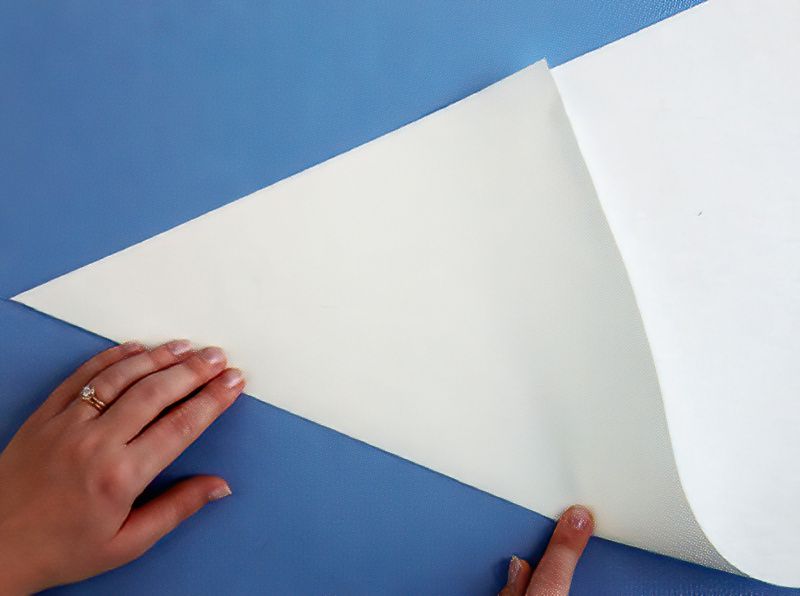
Start with a sheet of paper measuring 420 x 297mm (16 1/2 x 11 3/4in). Lift one corner of the paper and align it with the opposite edge, creating a square.
Step Two
Ensure the corner fold is neat and aligned, then press firmly along the diagonal fold. For added crispness, you can run the handle of your scissors along the fold.
Try And Be Accurate With Your Paper Folds
Step Three
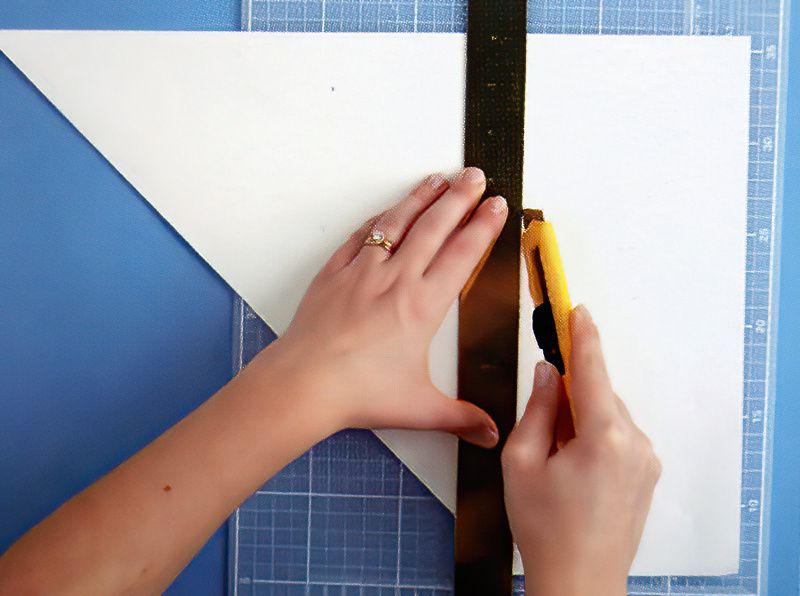
Trim off the excess paper either freehand with scissors or using a craft knife alongside a long ruler. Set the excess aside for making two more small snowflakes later.
Step Four
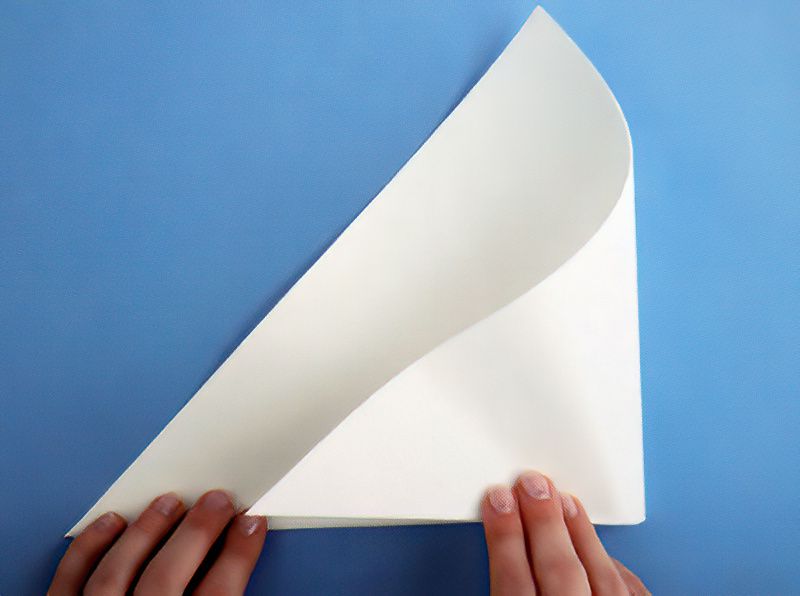
Lay your triangle on your work surface with the longest edge closest to you. Fold the triangle in half, corner to corner, to form another triangle.
Press Down The Folds Firmly
Step Five
Rotate the triangle so that the straight edge is facing away from you, then fold it in half once more. Ensure the fold is crisp.
Step Six
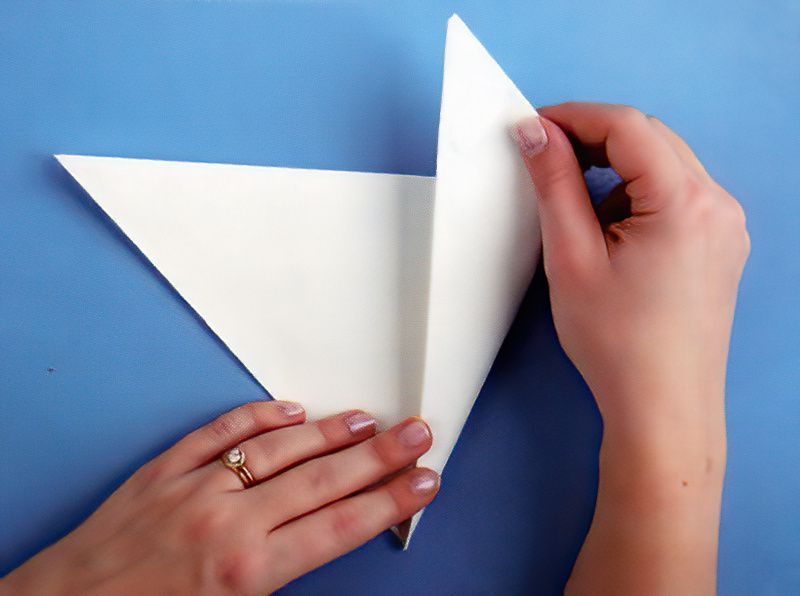
Unfold the triangle. With the point facing you, fold the right-hand corner so that the long edge aligns with the central fold.
Our Easy Paper Snowflakes Are Taking Shape
Step Seven
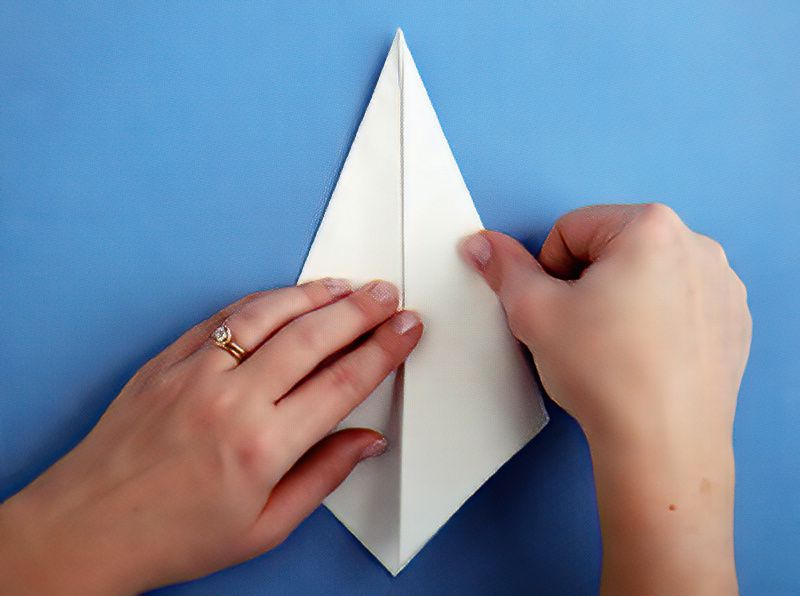
Repeat the process on the opposite side, forming a diamond shape. You can rotate the shape 180 degrees to make this step easier.
Step Eight
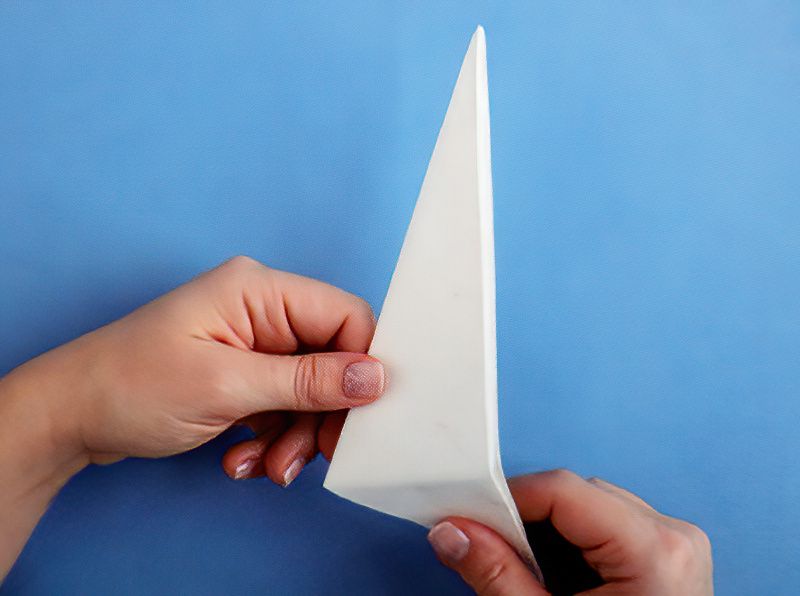
Fold the long right edge across to the long left edge, effectively folding the diamond in half. Press the fold to make it crisp.
Now We Can Start Cutting The Easy Paper Snowflakes
Step Nine
You'll notice a straight edge sandwiched within the folds near the bottom of your shape. Fold the excess paper over this straight edge to create a crease.
Step Ten
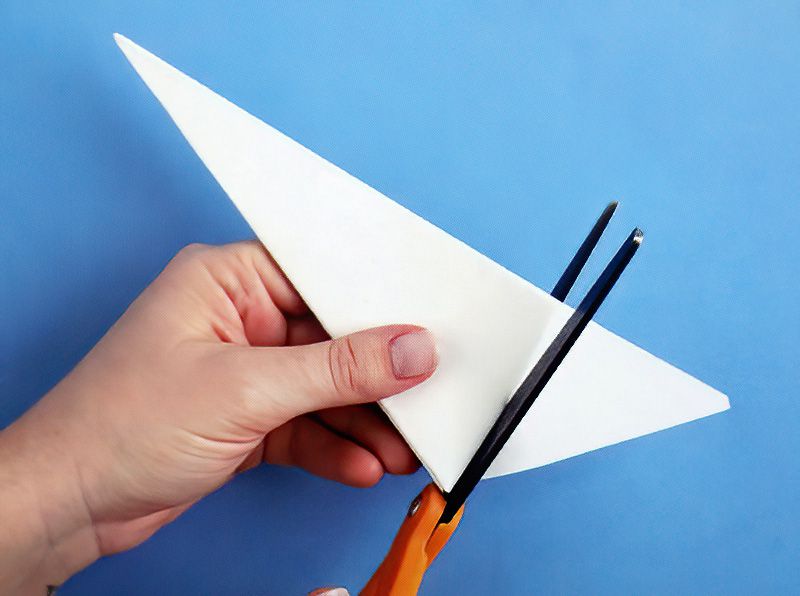
Use this crease as a guide to trim off the excess paper below. This serves as the starting point for all our snowflakes.
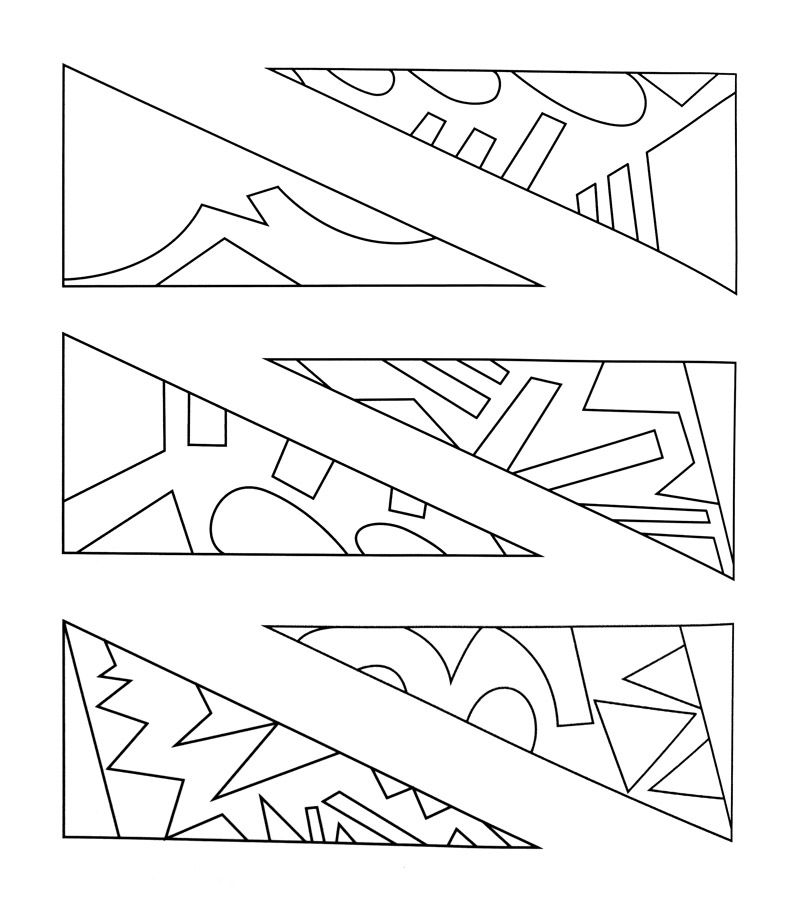
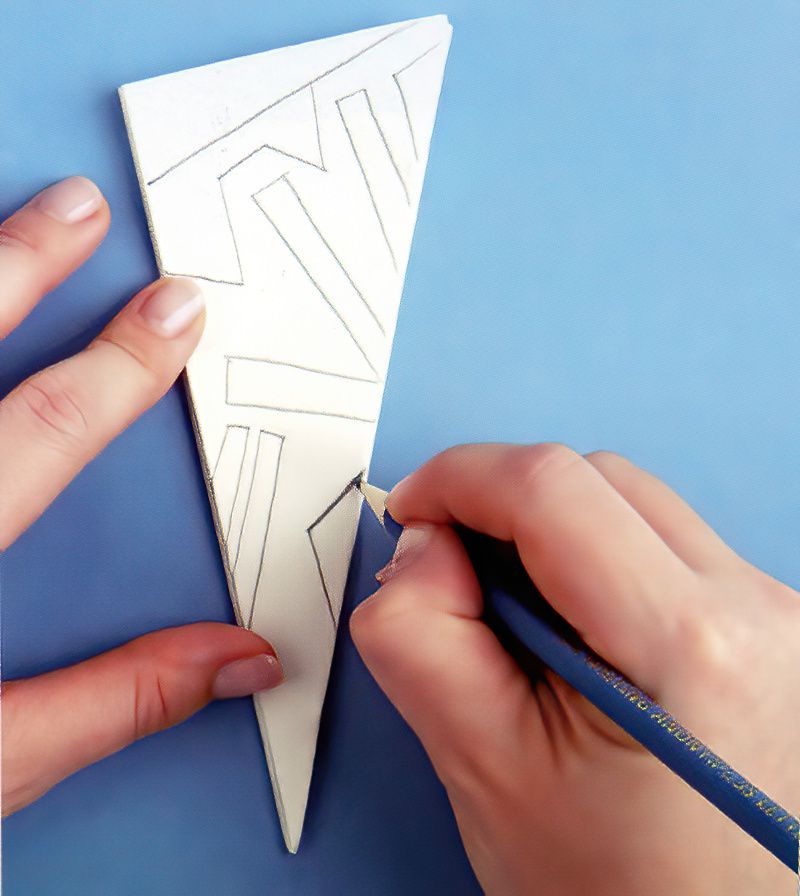
Now, the fun begins - designing! You can either draw the example designs found above freehand onto your folded paper or, if you prefer, trace the templates onto the folded paper.
Carefully Cut The Details For Our Easy Paper Snowflakes
Step Eleven
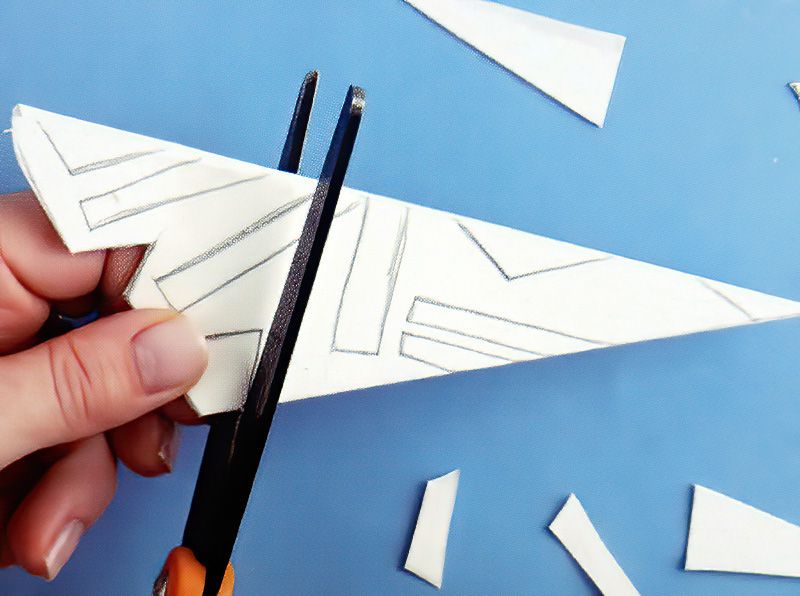
Draw or trace your chosen design onto the folded paper using a pencil. You can shade the sections you intend to cut out to make the process easier.
Step Twelve
Employ the large scissors to cut the straight lines, starting with the larger sections of our easy paper snowflakes.
Finish Making All The Cuts In The Folded Paper
Step Thirteen
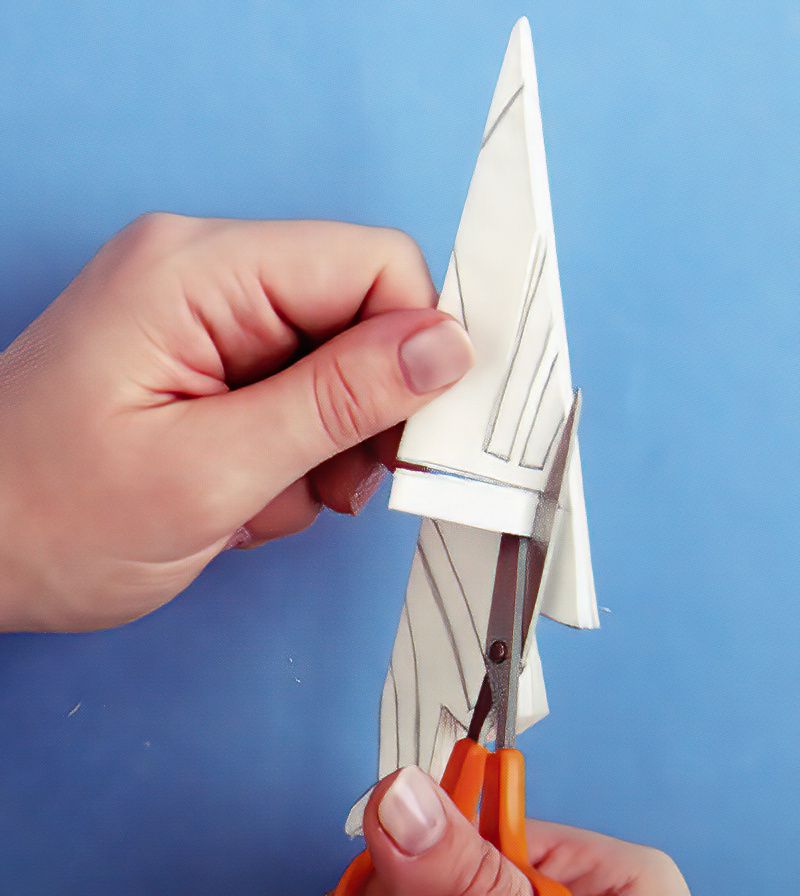
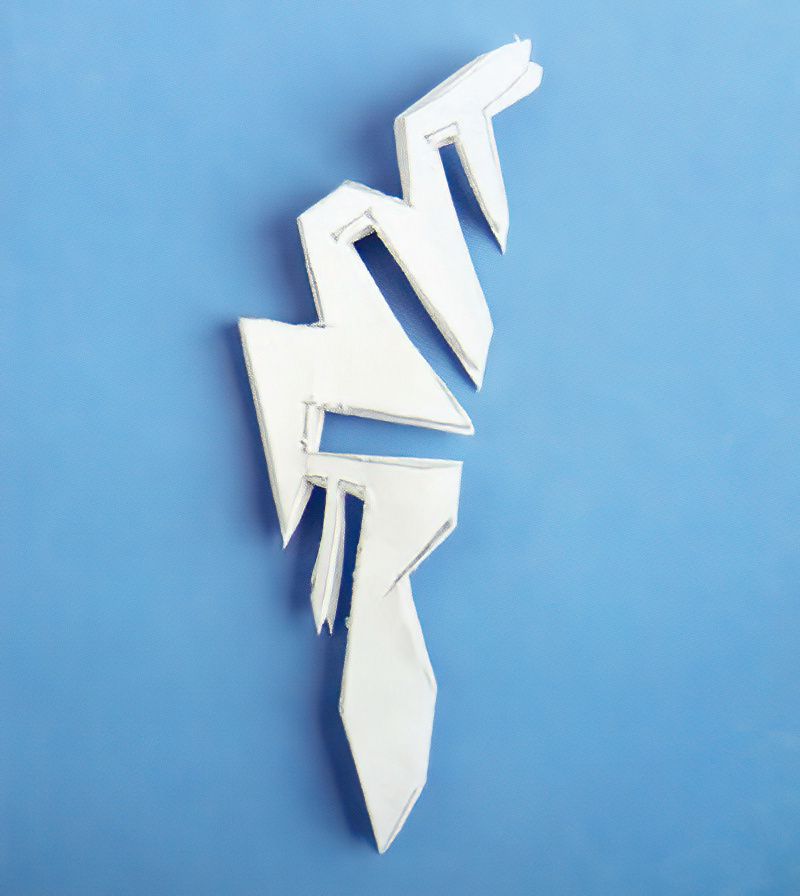
For intricate details or thick paper, use the smaller scissors. Tweezers can be handy for removing these delicate sections. You can open up parts of the snowflake and cut out individual details.
Step Fourteen
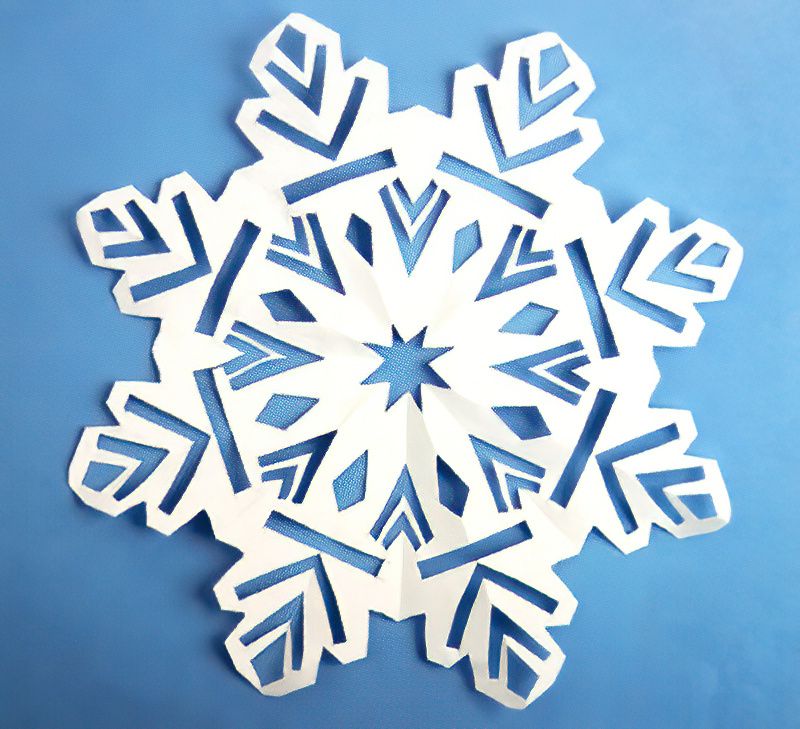
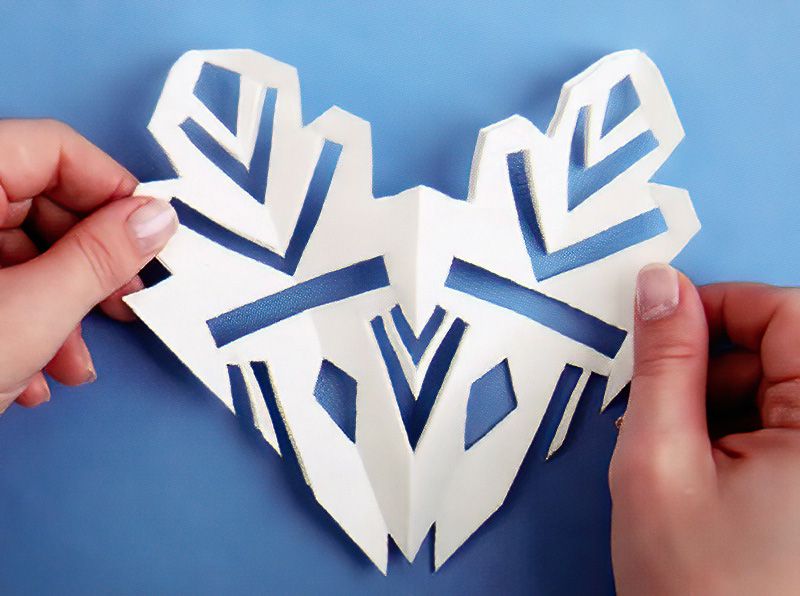
Once all sections are cut, carefully unfold the snowflake, taking care not to tear it. This is the most exciting part of making easy paper snowflakes.
Finish Making Our Easy Paper Snowflakes For Kids
Step Fifteen
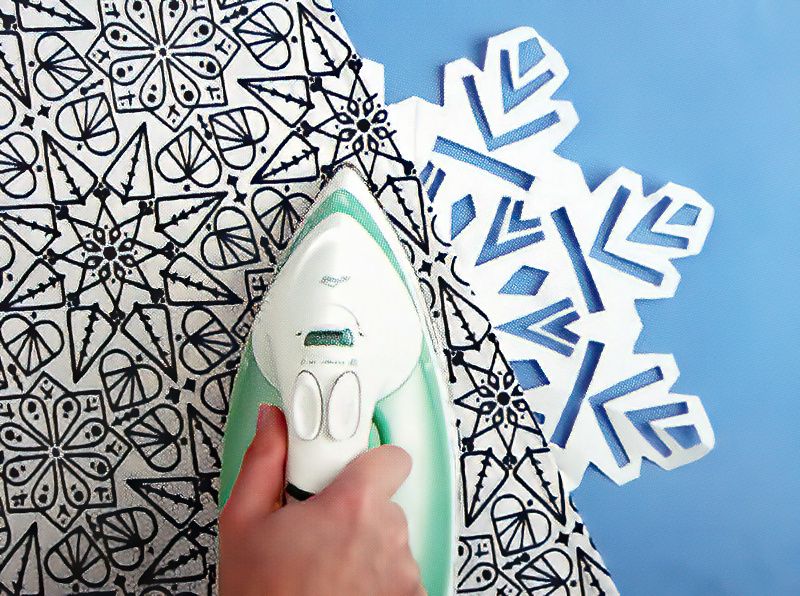
Place the snowflake beneath a tea towel and gently press it with a medium heat iron to remove creases. Adjust the heat as needed, but avoid overheating and damaging the paper.
Step Sixteen
Continue crafting snowflakes of various sizes. Once you're satisfied with their quantity and arrangement, apply a small dab of PVA glue where one snowflake ends and another begins.
If you plan to create a table runner, place your snowflakes on the table as you progress to gauge how many more you need to make.

.jpg)

.jpg)







.jpg)
